Reimagined Entranceway

Before: Old sheet rock sagged away from the ceiling, making for a decidedly undramatic entrance.
We "broke ground" about a month ago on a project that would revamp Better Farm's entranceway and give guests a strong first impression.

At the start, we were up against old sheetrock, visible lines, exposed electrical wiring, inadequate insulation, inefficient storage, and a boring color scheme:
Visible sheet rock lines, electric installed outside the wall, boring light fixture, and plain white walls and ceiling? No thanks.

There were a few elements worth saving: one, the "better be" tag former artist-in-residence Erica Hauser painted a couple of years ago over the entranceway:

And two, a chimney section we discovered when we started taking down the old sheetrock:

Three, the stunning custom staircase Gary Stephenson built back in 2011:

Local contractor North Country YDIY got started reinsulating, replacing sheetrock, and reclaiming old barn wood across the street to use as trim throughout the space.

Here are some photos of the process:

Nate Serafine, a painter and contractor out of Rochester with property and a camp in Rossie (Paintinate), came by to teach me how to mud and tape the sheet rock so it would appear literally seamless.
Though the idea was to simplify and clean up the space, there were certain embellishments added as well. I knew I wanted a bold chandelier to put in the center of the foyer, and found a beautiful one at Lowe's:

I'd thought a lot about putting a bold wallpaper in the immediate entranceway to offset the muted walls throughout the front hall; but when I found this amazing woodblock on Etsy, I had a change of heart:
Giant paisley stamp from DelhiDaze on Etsy.
Paint colors: Benjamin Moore's Sandy Hook Gray and Sherwin Williams' Wild Wild West.

On the ceiling, I decided to install some faux tin in a bronze color to create a formal entranceway. I thought the copper would contrast nicely with the barnwood trim gleaned from this property.

Creating a small alcove in the long hall allowed for visual highlights like the wooden carving and copper backsplash.

All the elements started coming together in a beautiful way:


To finish off the space, we added a holy water font from an old church as a key holder and an antique shelf found at another construction site that I screwed hooks onto for a coatrack:


Here's a side-by-side comparison:

This spring a project will be to make a bench with hinged lid for shoe storage in the front hall. Photos to come on that! If you've got a DIY home project you'd like to share, email us at info@betterfarm.org.
Comment

Nicole Caldwell

Nicole Caldwell is a self-taught environmentalist, green-living savant and sustainability educator with more than a decade of professional writing experience. She is also the co-founder of Better Farm and president of betterArts. Nicole’s work has been featured in Mother Earth News, Reader’s Digest, Time Out New York, and many other publications. Her first book, Better: The Everyday Art of Sustainable Living, is due out this July through New Society Publishers.

Thinking Differently About Demolition

Salvaging windows.
By outsourcing a lot of renovation and demolition work, a person will often miss the opportunity to salvage perfectly good materials that can be saved for other projects, donated, recycled, or even cashed in at redemption centers for money.

In New York City alone, 19,000 tons of demolition and construction materials are discarded daily. That's a huge amount of garbage being added to landfills that doesn't have to be. Organizations like Build it Green! NYC salvage materials such as furniture, wood, and windows from construction sites for resale at a shop in Brooklyn.


Each of us at some point or another will come across a renovation project that provides a wonderful opportunity for salvage if you're willing to take the time to be a little green. My chance came with the recent purchase of a small cottage around the corner from Better Farm that is being totally renovated and rebuilt for year-round use.

Instead of having a crew demolish the structure for rebuild, an unbelievably wonderful group of friends joined me in a salvage project that kept almost all of the original structure from a landfill.
Here's the salvage list from a 24x27 seasonal cottage structure, gleaned from 3 full days of demolition work:
  • 600 square feet of tongue-and-groove pine
  • 200 square feet of facing stones (to be used for raising the chimney)
  • three bed frames
  • three double-hung, insulated windows
  • 1,000 feet of electrical wiring less than 1 year old
  • two antique exterior lanterns
  • four interior lighting fixtures
  • 1,000 pounds of scrap metal for redemption
  • lamps, ceiling fans (2), and kitchen supplies for donation
  • six sound-system speakers
  • six 4x4 posts
  • metal corrugated roofing (80 square feet)
  • wood stove
  • 15 feet of double-wall, insulated metal chimney pipe
  • exterior walls
In addition to salvage materials, there are inevitable treasures to be found in each renovation project. At the cottage, we discovered an American flag painted across the entire ceiling:
Treasure!
New construction for this house starts in mid-April—but demo in winter allows us to get materials off the island while we still have tons of ice. For your own renovation/demolition projects, check with your local thrift shop, Habitat for Humanity, and other organizations to see how the materials from your project can benefit people in your community—and keep some waste out of landfills.

You can check out the full island-renovation album here.
Comment

Nicole Caldwell

Nicole Caldwell is a self-taught environmentalist, green-living savant and sustainability educator with more than a decade of professional writing experience. She is also the co-founder of Better Farm and president of betterArts. Nicole’s work has been featured in Mother Earth News, Reader’s Digest, Time Out New York, and many other publications. Her first book, Better: The Everyday Art of Sustainable Living, is due out this July through New Society Publishers.

Masterful Bath

Editor's note: This blog will cover the general outline of a bathroom renovation. Stay tuned to future blogs that will get into specifics for things like reviving claw tubs, installing sinks, updating toilets, and detailing with barn wood.

This fall and winter were spent with a downstairs bathroom renovation that split the old bath off the kitchen in two, moved the laundry area to another part of the first floor, and gave the master bedroom a master bath.

The concept was easy: provide Better Farm's present-and-future-directors with a small master suite, consolidate the downstairs bath, make a cohesive laundry area close to dry racks and clothesline... and do it all in a (mostly) sustainable way featuring reused/reclaimed materials, communal/DIY labor, and continue our mission to expand the space here without sacrificing our ideals.

First step was to take the existing first-floor bathroom and divide it in two. This wasn't so difficult, since the room was already obviously sectioned into a laundry area and bath/sink/shower area. We moved the existing door over about three feet and built a wall between the laundry and bath areas:

Moving the downstairs bath entranceway in order to put half that original bath in the master bedroom.
Next, we took the existing bedroom wall:
The master bedroom wall destined to disappear.
...brought it forward a few feet, and added a doorway:
New wall with doorway.
New walls and eco-friendly insulation were put in, walls and wiring were put in, and leftover flooring from our upstairs bathroom project was added.

Next up was to seek out fixtures and appliances. I scored a claw-footed tub off Craigslist from a dilapidated duplex in Watertown. With the help of some friendly volunteers, we got that tub out of the house, sanded down, and repainted:
Claw tub gets a makeover.
Freshly sanded and painted
For the toilet, we're reusing the existing toilet that was in Steve's bedroom originally. The sink was a hand-me-down from a neighbor (only needed a good scrubbing and two new handles):
Glam shot: vintage sink with designer dog.
We also added a small, built-in shelf utilizing old barn wood cut out of the Art Barn when we added new windows:


We trimmed out an old beam I opted to leave exposed with more old barn wood, and I found a great, old lamp at an antiques shop in New Jersey. An afternoon was spent reappropriating old barn doors into a sliding-track, barn-style bathroom door (tracks and pulley wheels are antiques, bought locally). Deer antlers from my friend Sunny, a Buddhist figurine and peacock feathers from the library, an old vase my pops brought back from Mexico, and various knicknacks (and jewelry) completed the look.

 And, at long last...
View from the master bedroom.
Inside the bathroom.


Fixtures from Elizabethan Classics.


Got a great design idea you'd like to share? E-mail us at info@betterfarm.org.

Campy Bath Goes Glam (and Green!)


We were passed-due for a big overhaul and update on Better Farm's downstairs bathroom; but with the space being structurally sound, it was low on the priorities list. Three years since our start, and with a renovation project bearing down to create a master suite on the first floor, the opportunity arrived to shrink the downstairs bathroom, make a more sensible laundry area closer to the clothesline, and update some outdone interior design. More blogs to come about those other projects—for today, we'll focus on that downstairs bathroom and how we set about getting it glammed up in a functional way that's ready for all the high-traffic Better Farm brings.

What we did:
  • Removed the laundry area entirely to create a master bath off the bedroom downstairs, thereby shrinking the existing bathroom to a more manageable, realistic size
  • Moved the entrance door from the kitchen to the bath, spurring a refrigerator move and island addition
  • Took a standing three-part shutter system that hid an open shelving area in the bathroom, shrunk it to two panels, and used hinges to affix the shutters to the wall
  • Updated old lighting fixtures, made them more energy-efficient
  • Used discarded tongue-and-groove pine flooring to outdo the old linoleum floor (also helped with heating efficiency)
  • Added color to the old, campy walls
  • Brought in bright, insulated curtains
  • Removed clutter
The bathroom in 2009:


...and the bathroom in 2010...


...and the bathroom's metamorphosis in the last few weeks...


...and the final results!


Donated chalkboard, gold frame, vase. Upcycled baking dish used as soap holder. Magazine rack taken off back of church pews in kitchen. Painting is of old Grandma Caldwell!
Found sign, reused hooks

Lovable hand-me-downs: shower curtain, window drape, and floor rugs were all passed down to us.

Got a great design idea you'd like to share? E-mail us at info@betterfarm.org.

Many thanks to the following people for their time, energy, donations, and work on this project:

Adam McBath
Jackson Pittman
Greg Basralian
Jaci Collins
Joel Zimmer
Nicole Caldwell
David Garlock
Kristen Caldwell
Comment

Nicole Caldwell

Nicole Caldwell is a self-taught environmentalist, green-living savant and sustainability educator with more than a decade of professional writing experience. She is also the co-founder of Better Farm and president of betterArts. Nicole’s work has been featured in Mother Earth News, Reader’s Digest, Time Out New York, and many other publications. Her first book, Better: The Everyday Art of Sustainable Living, is due out this July through New Society Publishers.

Skeletons From the (Water) Closet

Our new, bare-bones bathroom design
There are few things worse in interior design than a dim, outdated bathroom. Of the three we have at Better Farm, the older bathroom upstairs fit that description perfectly; with a toilet that only occasionally flushed, a dark design, and peeling flooring.

Let's take a closer look at where we started from.
In 2010, the walls were a hodge-podge of repairs, hippie cob, and outdated appliances: the cumulative efforts of 40 years' worth of people needing different things from the space.


The door to the bathroom,  along with all the other doors on the second floor, wasn't properly hung, didn't fit the door frame, and didn't exactly work with the existing hardware.


The linoleum on the floor was cracked and peeling from all sides, especially the doorway:

Something had to be done! I've learned in the last year to love white-on-white, and wanted to experiment with that upstairs. Check out some of these beautiful images I found:


Then Kristie Hayes-Beaulieu, one of our betterArts residents this summer, gave us one of her beautiful x-ray images from her gallery show in July. I decided to make the whole bathroom design work around this image, which lent itself nicely to the white decor. Luckily we also have amassed a large collection of skulls and bones from various adventures, feathers, and a few other oddities that when showcased together made the room a stark, skeletal exploration of the body (and a few branches and trees thrown in for good measure). Green initiatives employed:
  • Keeping our low-flow shower head that we installed last year
  • No-VOCs, eco-friendly Olympia paint (white eggshell)
  • Upcycling our interior design—saves us money, keeps items out of landfills (the only purchased items came from Craigslist, including the sink)
We were also able to secure free tongue-and-groove flooring that was someone else's excess, and caught a break on a bunch of perfectly good doors. With all these components in place, here's what we came up with:
Reclaimed shelving from Craiglist, cigar boxes, muskrat skeleton, and an unidentified animal skull adorn one section of the bathroom.
A sink and vanity off Craigslist, donated curtains, and upcycled mirror create a compelling white-on-white decor.
Found branches in a tall vase, old chair from inside the house, and donated hooks create a nice contrast to all the white.
A horse skull, found by Han Solo.
A row of x-ray images captures the eye.
From left to right: human torso, deer head, human ankle, dog head, human head, goldfish, human hand, chicken skull. All images were found online and printed at the farm.
Antique bottles add an apothecary vibe to the room.
Many thanks to the following volunteers for their help: Greg Basralian, Adam McBath, Elyna Grapstein, and Kevin Carr. Thanks to Kristen Caldwell for the shower and window curtains.

Got a great DIY design idea you'd like to share? E-mail us at info@betterfarm.org.
2 Comments

Nicole Caldwell

Nicole Caldwell is a self-taught environmentalist, green-living savant and sustainability educator with more than a decade of professional writing experience. She is also the co-founder of Better Farm and president of betterArts. Nicole’s work has been featured in Mother Earth News, Reader’s Digest, Time Out New York, and many other publications. Her first book, Better: The Everyday Art of Sustainable Living, is due out this July through New Society Publishers.

Art Barn's New Deck

It was barely two weeks ago when the guys from Passerino Painting and Contracting stopped by to break ground on a new deck for the Art Barn at Better Farm. With construction now completed, we've got easy access to the second-floor studio spaces. That opens up the entire downstairs area for gallery and additional studio space, and gives us a great stage overlooking the natural amphitheater out back.

Here are some after shots (see the full album by clicking here):


To complete the Art Barn renovation, we'll be doing the folllowing in the coming weeks:
  • Wiring the upstairs and deck for electric
  • Installing a new ceiling downstairs to cover the spray foam insulation we put in last fall
  • Putting in a new sliding glass door and steel exit doors downstairs
  • Building a kayak and canoe rack to open up the carport space
  • Brush hogging/borrowing goats to eat the burdocks and tall grass in the amphitheater
  • Cleaning and organizing the studio and gallery spaces
Stay tuned for completed interior photographs!

To schedule an estimate for one of your at-home projects, contact Passerino Painting and Contracting at passerinojm@gmail.com or (315) 783-3994.

Breaking Ground on Art Barn Deck

The men of Passerino Painting and Contracting dig holes for 6x6 posts that will hold up our new Art Barn deck.
It was a little more than one year ago when we began putting together plans for Better Farm's new Art Barn. Continuing from those ideas (several new banks of windows and sliding doors, gallery walls, track lighting, and recycled spray foam soy insulation), Passerino Painting and Contracting stopped by the farm yesterday to break ground on the Art Barn's brand-new custom, second-floor deck. Spanning more than 26 feet by 12 and overlooking a lovely natural amphitheater, this is going to be our new outdoor concert hall: bands on the deck, crowd on the hill...

The materials.
The decking material we decided on is MoistureShield, environmentally friendly composite decking that utilizes 95 percent recycled materials. Here are some fast facts about this company:
  • No new trees are cut down to make MoistureShield Decking.
  • Their process stops more than 270 million pounds of trash from entering landfills every year—that's 36 football fields of trash, each stacked 10 feet high!
  • They save more than 5.3 trillion BTUs of energy per year.
  • MoistureShield's process saves 1 million gallons of gas a year.
  • Not only does a 12´ x 12´ MoistureShield deck save 110 gallons of gas, but it also reduces greenhouse gas by 619 lbs. CO2 equivalent.
  • The plastic and wood A.E.R.T. recycles annually is comparable to taking 54,000 vehicles off the road.
Here's what goes into each board of MoistureShield:


The deck is going to run up the side of the barn:

Then across the entire back of the barn:

And overlook a natural amphitheater behind it:

As the guys get the deck in ship shape, we're going to bring in a friendly neighborhood goat to clear out all that brush and burdock (seriously). Stay tuned for more photos!

To schedule an estimate for one of your at-home projects, contact Passerino Painting and Contracting at passerinojm@gmail.com or (315) 783-3994.
Comment

Nicole Caldwell

Nicole Caldwell is a self-taught environmentalist, green-living savant and sustainability educator with more than a decade of professional writing experience. She is also the co-founder of Better Farm and president of betterArts. Nicole’s work has been featured in Mother Earth News, Reader’s Digest, Time Out New York, and many other publications. Her first book, Better: The Everyday Art of Sustainable Living, is due out this July through New Society Publishers.

Revive Your Floor Without Emptying Your Pockets

Better Farm's library floor, foreground, was badly beat up, weathered, dented, and lifeless. Patching knotholes and applying fresh paint, background, gave the floor a new lease on life for less then $75.
Flooring can be an intimidating project to take on. Nice, durable wood may cost you an arm and a leg (as will many eco-friendly alternatives), laminate flooring leaves much to be desired, and a carpet to cover a badly abused, old wood ground is bound to get stained—but more importantly, carpets trap and hold all kinds of bacteria, dirt, allergens, pollens, dust mites, chemicals, and other contaminants.

We've researched all of the above extensively. And while there's certainly a time and place for luxurious and new wood flooring (natural hardwoods are often worth their price tags, as they'll last forever), bamboo flooring, cement floors, recycled laminate flooring, and even carpet, for our needs and budget we found a nice alternative to all of that other stuff.


First, let's go over the issue at hand: Better Farm's library floor. Here are some pictures of the floor back in 2009:
Duct tape used to cover knot holes had all but worn out.
The famous Sadie dog hangs out amidst a floor covered in duct tape, chipped paint, and loose ends.
The ramp's color is totally worn out.
Here's another shot of the ramp, close-up, that I took last week:

The first thing I did was figure out how to patch those knot holes. This wasn't an easy investigation, as most DIY sites were trying to tell me to use a jigsaw to cut circular pieces of wood to fit the holes—a feat I wasn't sure I was going to be able to accomplish in a safe or timely manner. 

Instead, I picked up some metal screen lath (the mesh or metal patch people use to fix drywall holes) and a quart of Bondo. When we ran out of the screen lath, I cut circles out of plastic recyclables and used those. Here's how we patched:
  1. First we took the duct tape off the knothole, sanded away the old adhesive, and thoroughly swept and mopped the floor.
  2. Then we mixed the Bondo solution together to form the super-strong hole-filler.
  3. With an unfolded paper clip (string or anything else you can think of would also work) attached at one end to the screen (already cut to cover the bottom of the hole), we pushed the screen through the knothole, then pulled up on the paper clip so the screen became flush against the bottom of the hole.
  4. Holding the clip  and screen taut against the bottom of the knothole, we applied the bondo then held the clip in place for several minutes while the adhesive began to take hold:
The Bondo begins to harden. Note the top of the straightened paper clip poking out. That piece came off easily with sandpaper.
Then we sanded the whole thing down, washed the floor again, and painted.


Still rustic farmhouse chic, the floor is one cohesive color without holes. We'll be able to touch the paint up as we need to. And the best part? This whole project cost less than $75—a teeny tiny fraction of what a new floor, or new carpeting, would cost. Here's the price breakdown:
  • Two gallons of paint: $50
  • A bag of four rollers: $6
  • Bondo: $6
  • Screen sheath: $6 (or cut your own with found materials for free)
  • Package of sandpaper: $5
Got a great DIY design tip? E-mail it to us at info@betterfarm.org. Many thanks to intern Maylisa Daniels for heading this project!
2 Comments

Nicole Caldwell

Nicole Caldwell is a self-taught environmentalist, green-living savant and sustainability educator with more than a decade of professional writing experience. She is also the co-founder of Better Farm and president of betterArts. Nicole’s work has been featured in Mother Earth News, Reader’s Digest, Time Out New York, and many other publications. Her first book, Better: The Everyday Art of Sustainable Living, is due out this July through New Society Publishers.

Warming up to Soy Spray Insulation

Better Farm is up to two totally off-grid structures, the Birdhouse (powered with a small DIY solar setup and built with locally mined wood) and the Greenhouse (built with donated old windows and locally mined lumber, and utilizing passive solar).

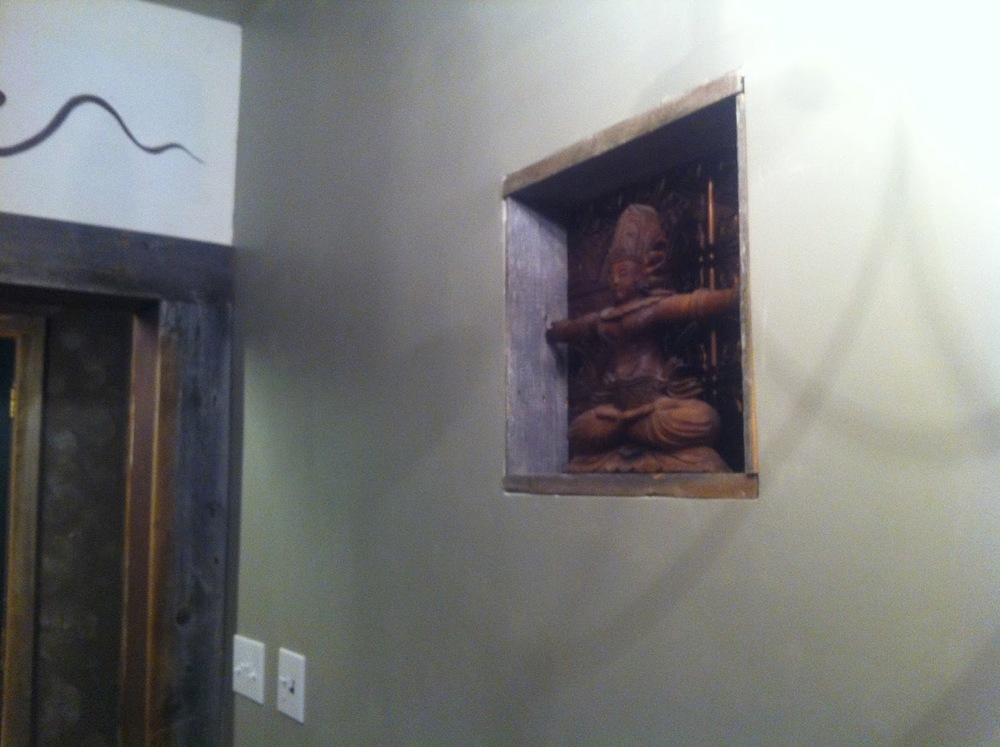
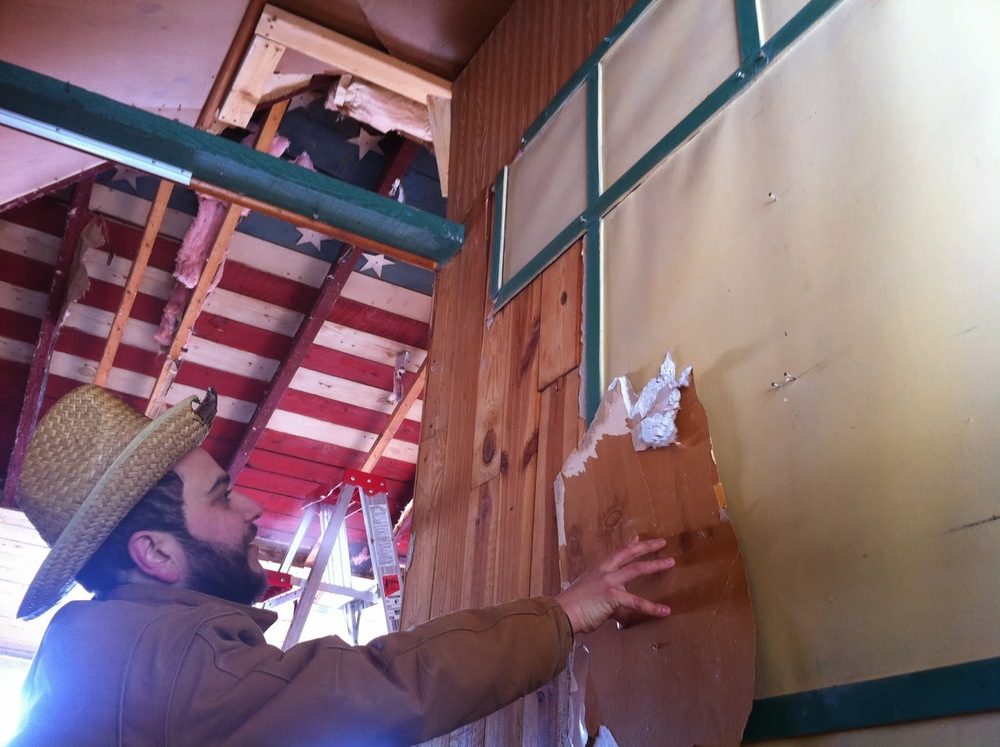
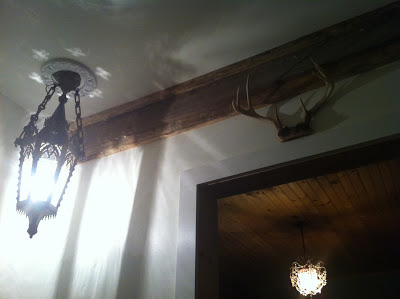
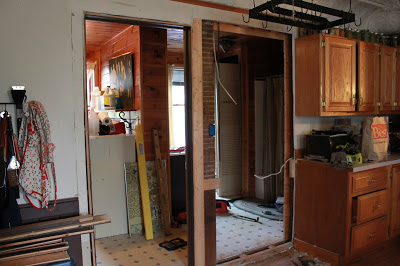
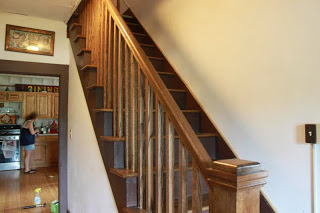
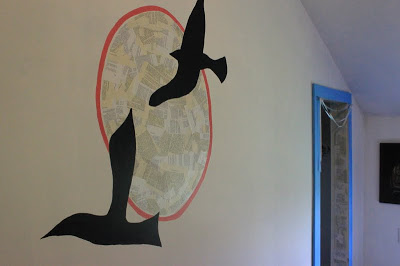
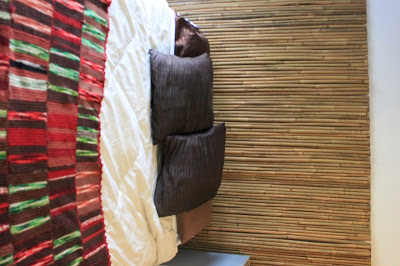
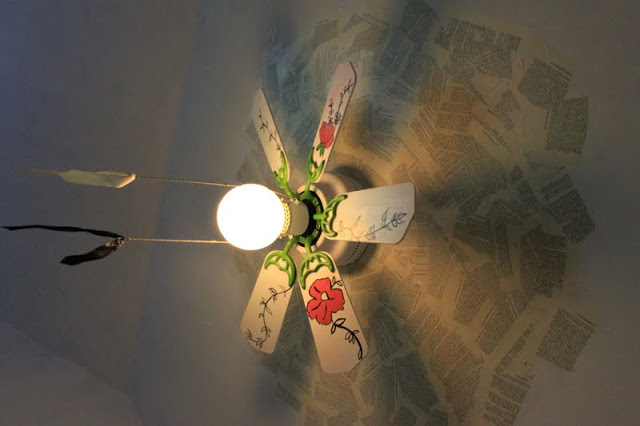
But our biggest project to date, the Art Barn, is a task totally unlike the other two in that it involves a complete overhaul of an existing, on-grid structure: taking a 1,400 square-foot hay barn and transforming it into a totally green, state-of-the-line artspace, studio, and gallery. We've utilized found materials, upcycled items like overstock and/or discarded windows from a local hardware store and storage lockers marked for the dump over at Fort Drum, done much of the work ourselves, sought out energy efficient means to power the space, and scheduled our first on-site visit next week with

One Block of the Grid for our upcoming 10-panel solar system.

All of this is very well and good, but left out a major player in any renovation project: Insulation.

For smaller projects in and around the house, we've utilized 100% recycled cotton batting insulation, which is so eco-friendly and nontoxic you can actually rub your face in it. Makes for a very pleasant change from the days of masks, gloves, and long sleeves and pants to avoid fiberglass fill and other nasties.

Disadvantages to the recycled batting insulation are cost and effectiveness—the stuff we got from Lowe's was only R-19. So I began looking into other green options. Spray-in fiber fill is good and cheap, but continually settles over time

and doesn't add anything to the integrity of your walls. Then I discovered spray foam installation, which can strengthen walls but is often a toxic mix of chemicals you wouldn't want blown your way in a breeze let alone left to sit in the walls that literally surround you.

Then betterArts board member Scott Mueller tipped us off to Demilec.

These guys offer a Heatlok Soy 200 spray foam barrier that adds to the integrity of your walls, seals in all the gaps and cracks that might exist in your structure, is made from recycled plastic bottles and soybeans, and is in general just a totally amazing way to insulate your home or office. For each inch of sprayed soy insulation, you get an Aged R-Value of 7.4 (we're doing three inches on all the walls and the ceiling of the Art Barn's first floor). This insulation also offers five barriers: air barrier, insulation, water barrier, vapor barrier, and drain plane.

The company estimates that its Heatlok Soy 200 sprayfoam helped to keep 12 million plastic bottles out of landfills in the last year alone. It's not cheap, but adding to the barn's strength as a building, offering a great water barrier to the elements, and potentially (with wood stove installation) keeping the Art Barn at a sweet 75 degrees all winter long are all very attractive options.

Needless to say, we've decided to give them a try. Negotiations are underway for our Heatlok Soy 200 application to be completed in the next couple of weeks. We'll of course be documenting the process—and our thoughts—along the way. Stay tuned!

Want to find out more?

Demilec USA

1BOG Home Solar Power Discounts

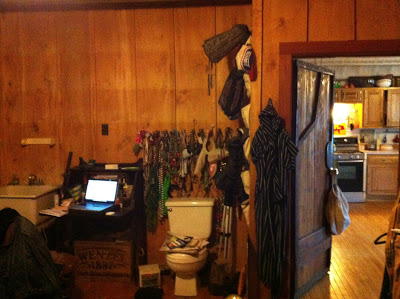
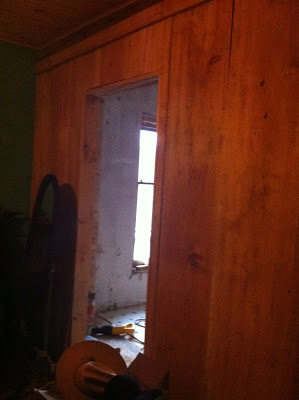
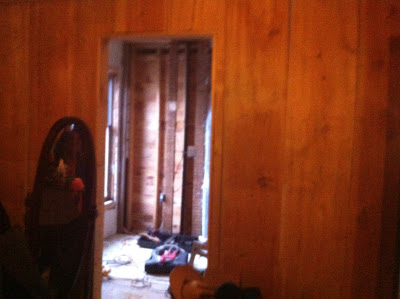
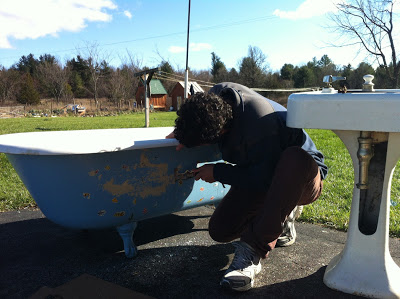
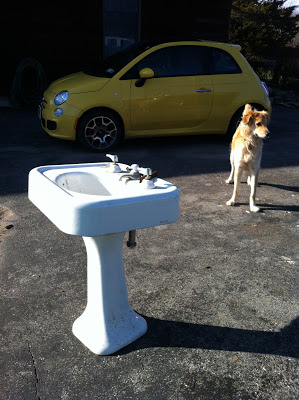
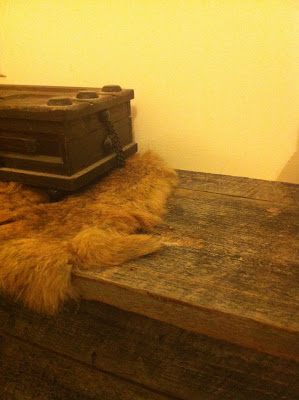
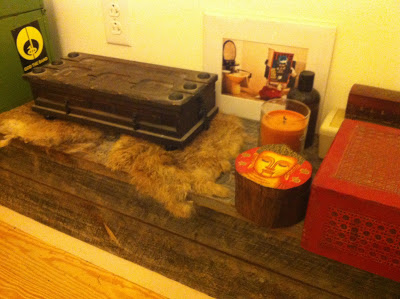
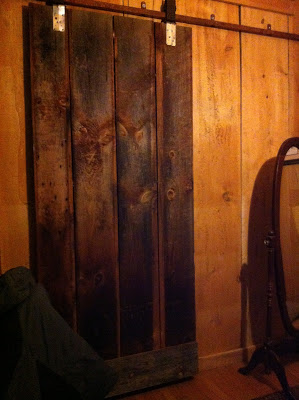
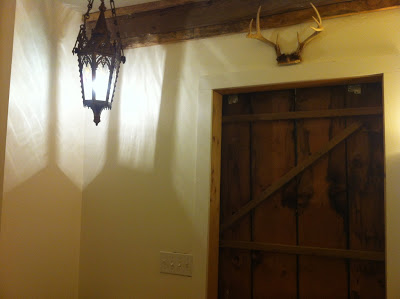
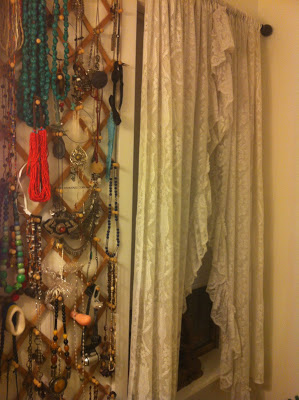
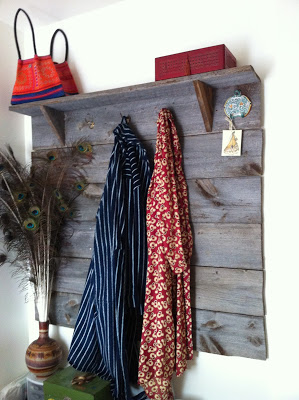
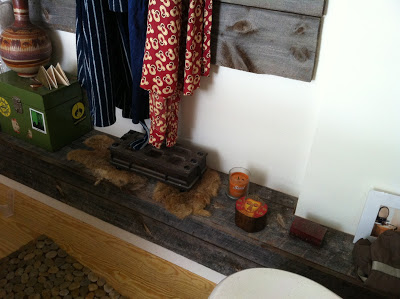
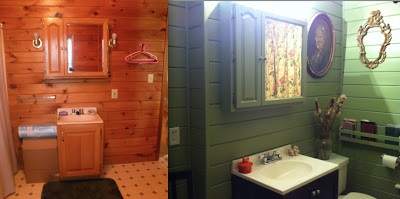
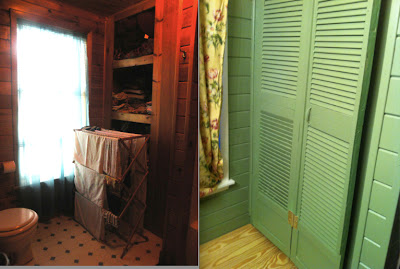
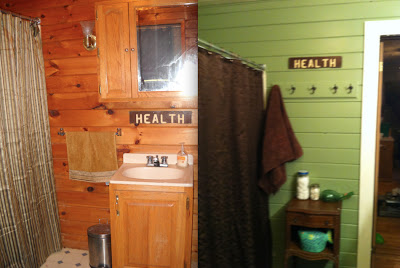
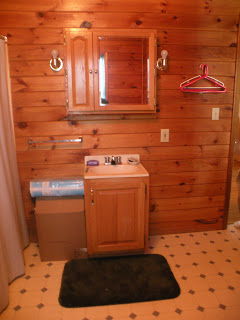
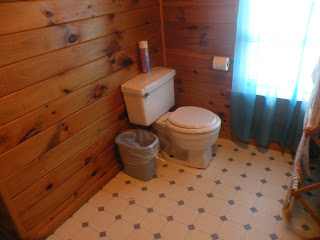
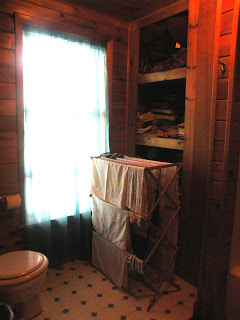
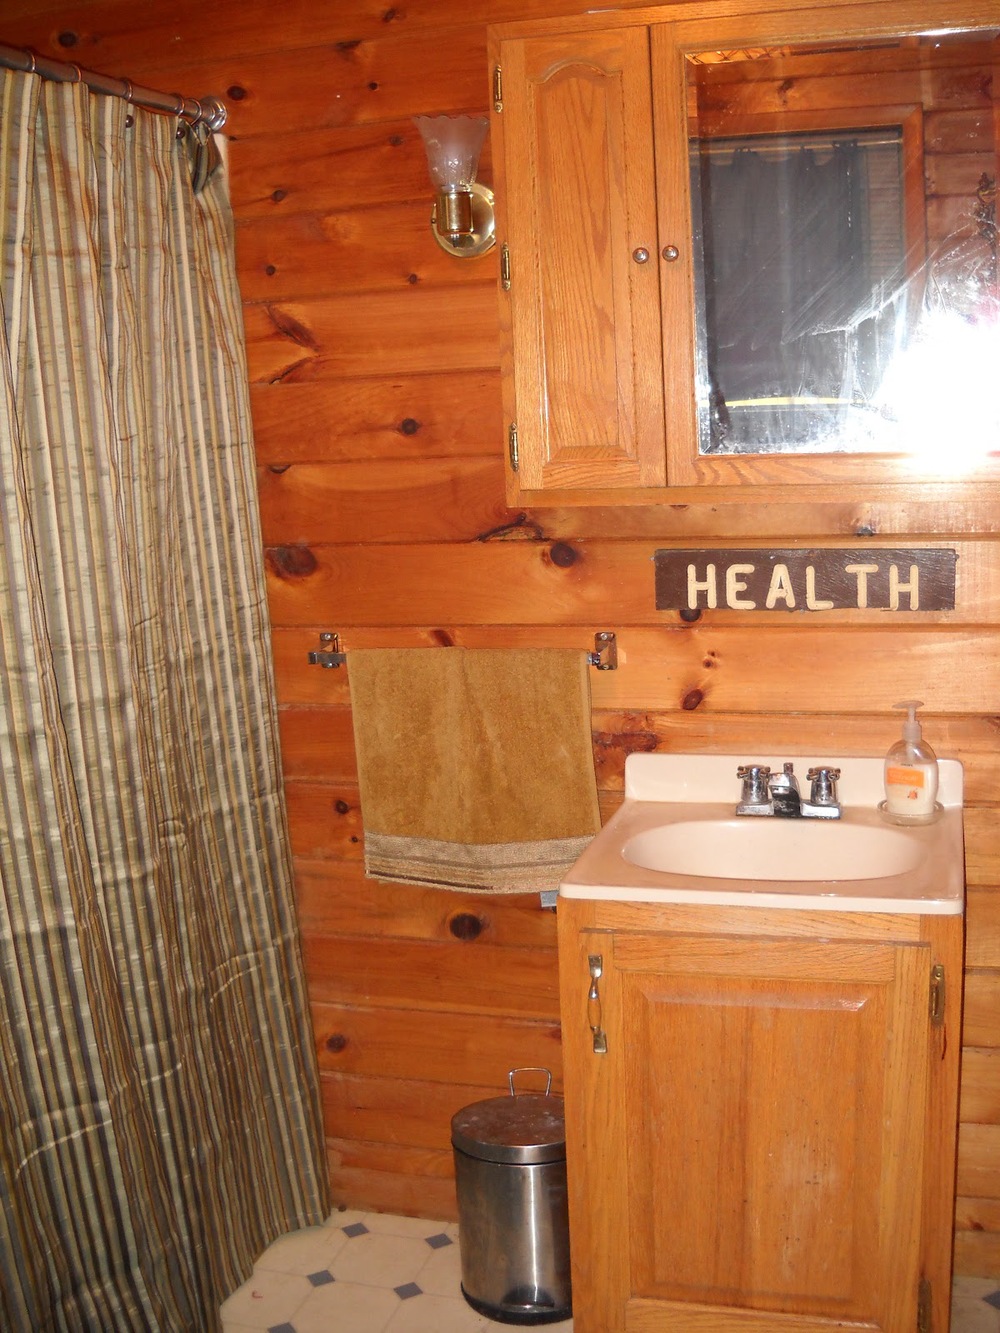
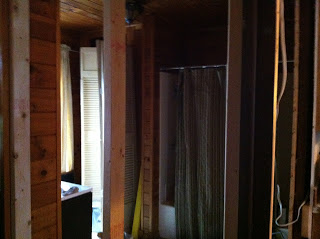
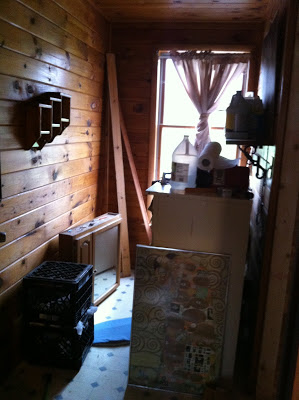
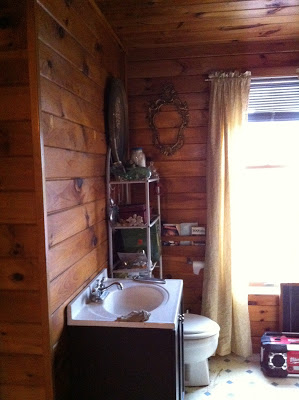
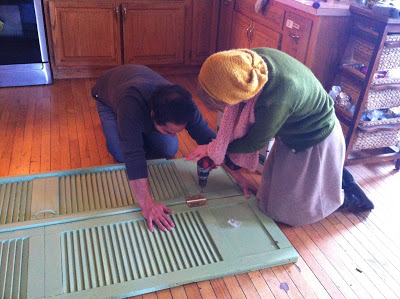
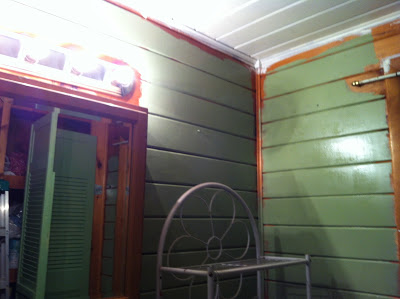
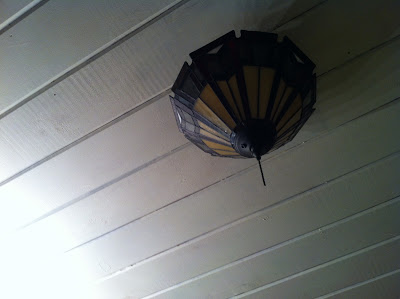
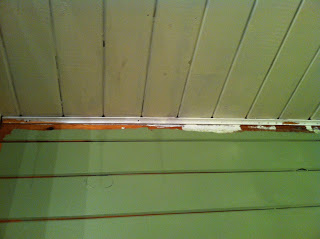
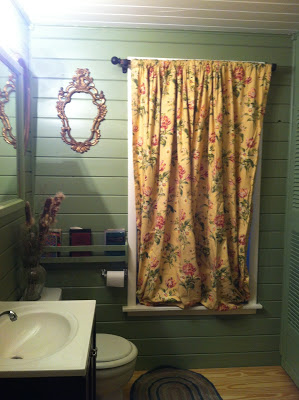
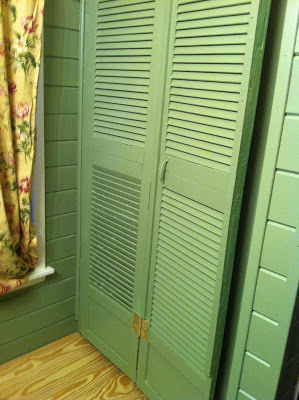
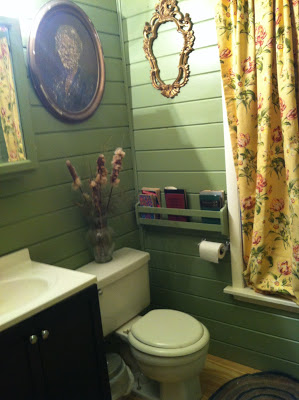
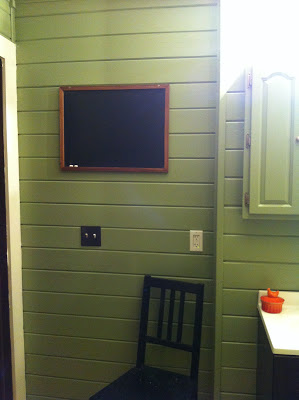
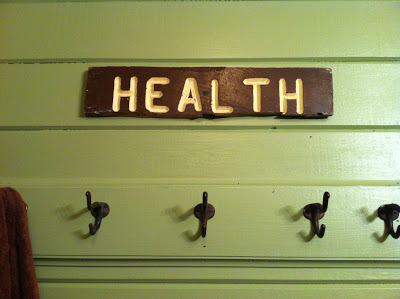
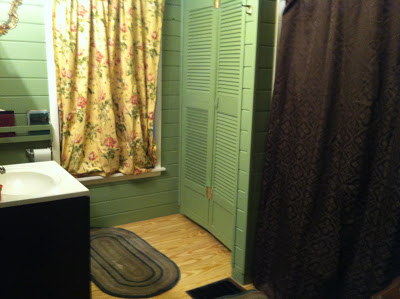
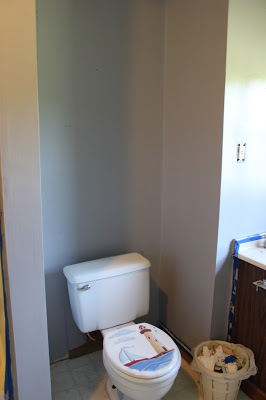
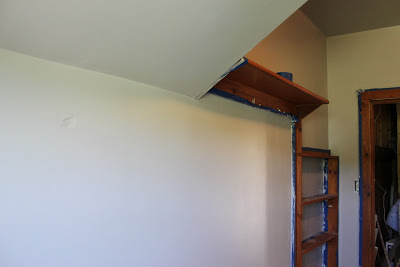
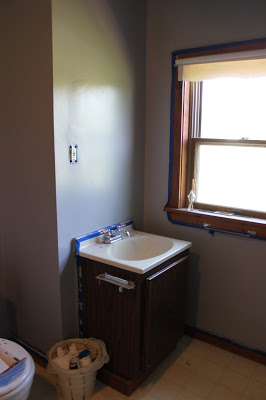
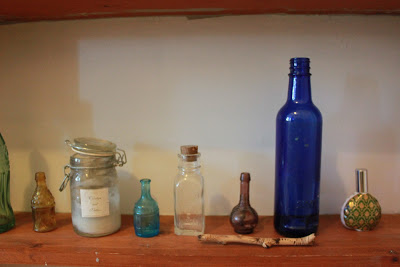
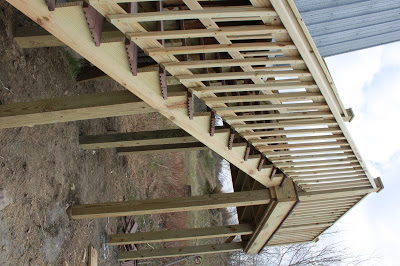
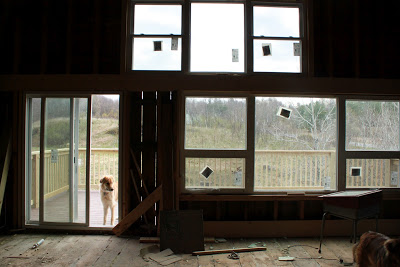
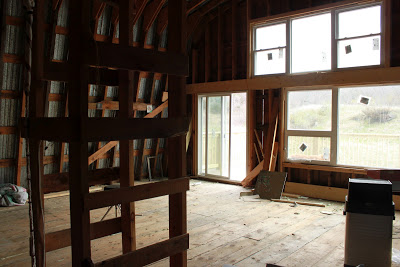
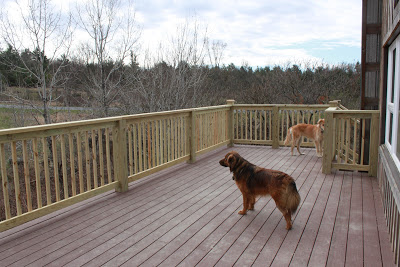
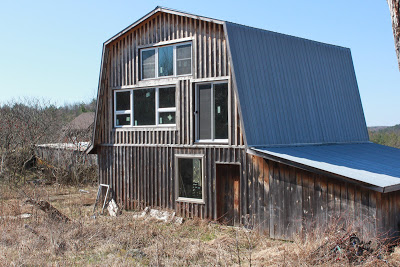
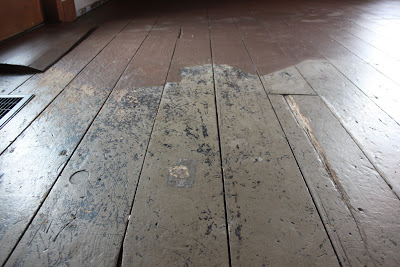
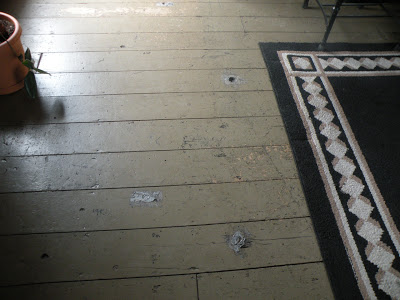
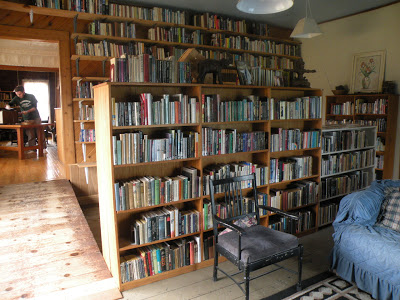
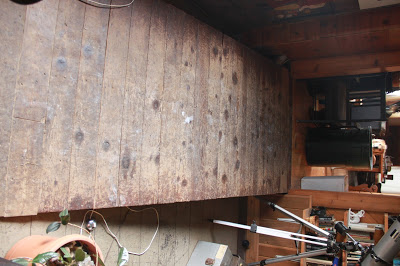
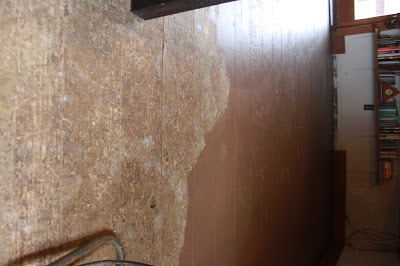
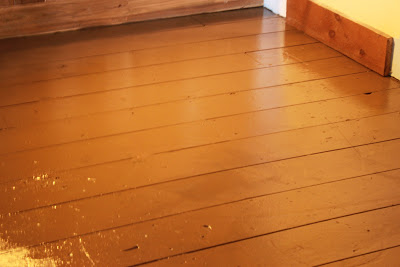
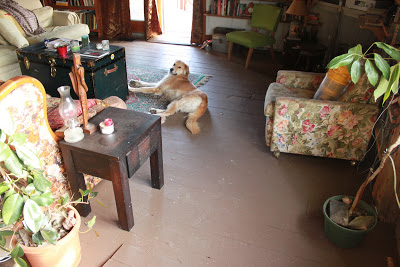
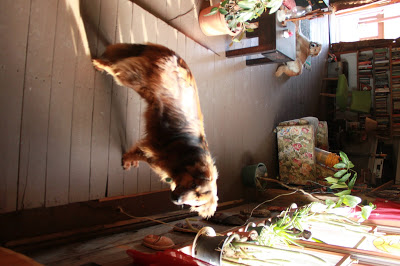
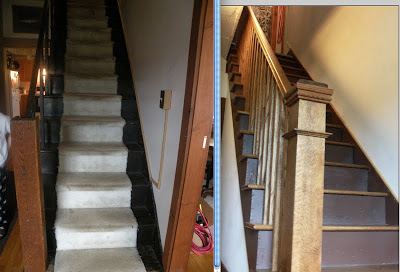
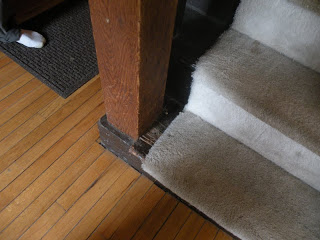
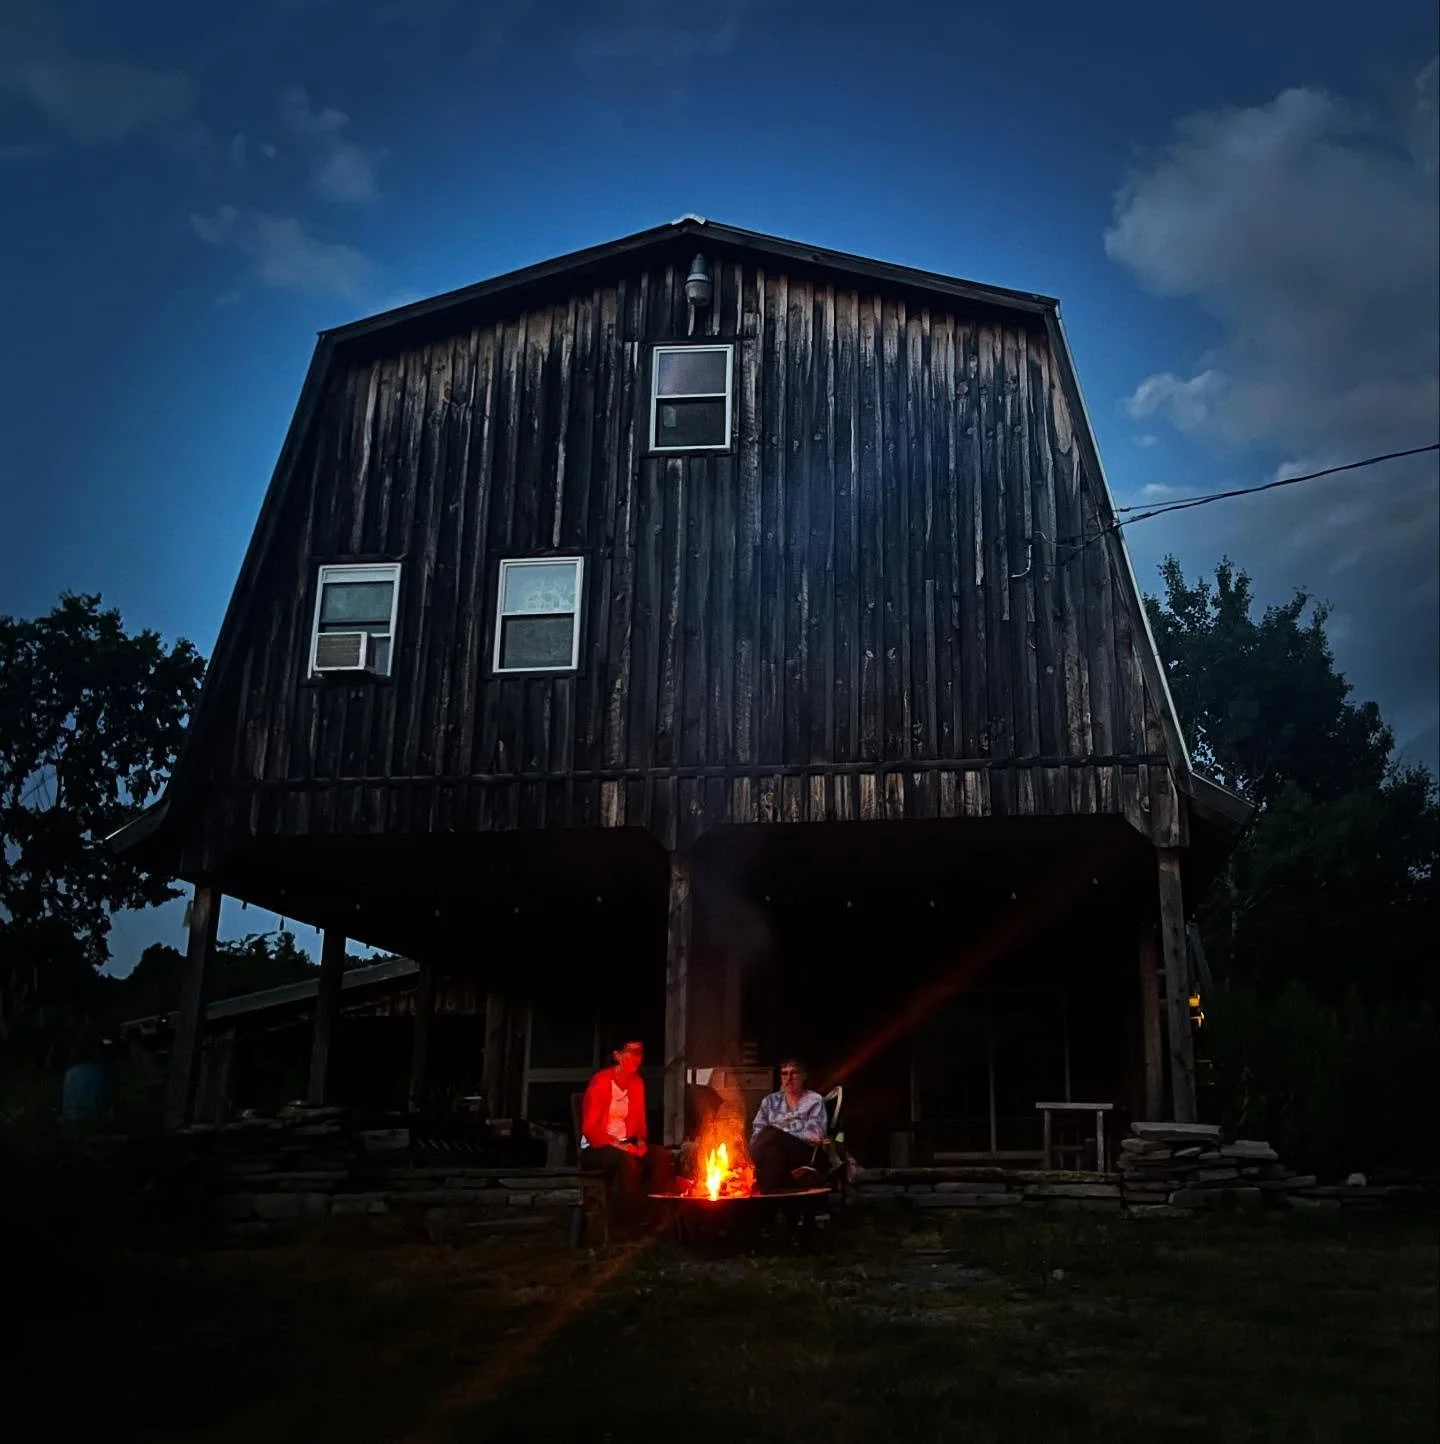
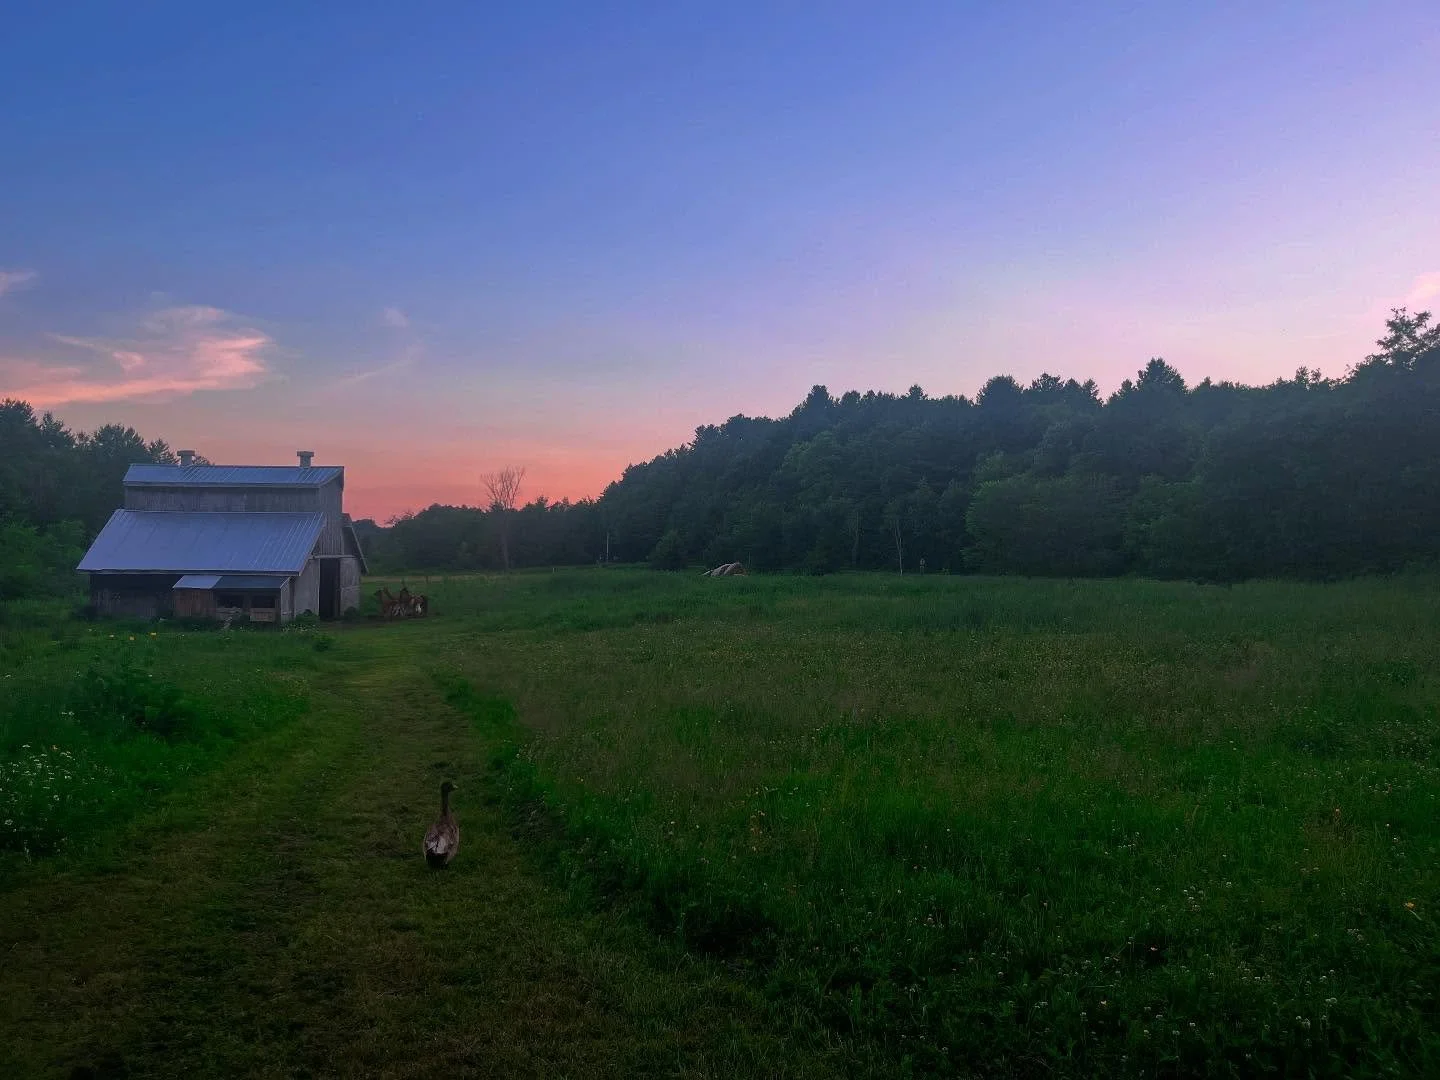
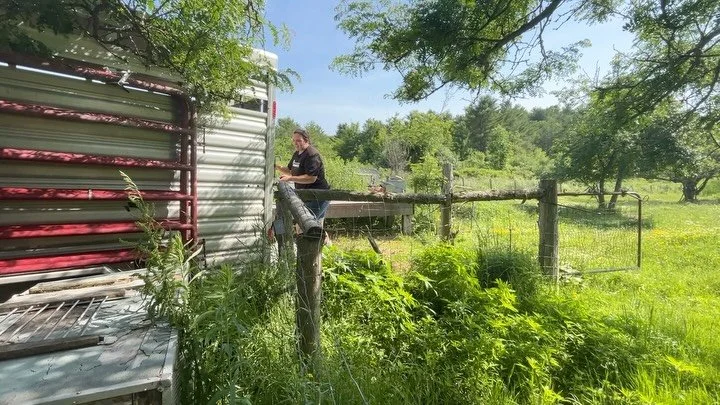
Photos of Better Farm's Art Barn renovation so far

Better Farm's Stairway Goes from Hellish to Heaven

Better Farm's main staircase before, at left; and at right with new oak treads, fresh paint job, spindles, and custom newel post.
I've kicked around a bunch of different ideas for Better Farm's main staircase in the last two years; from utilizing a dead tree trunk as a hand railing to putting in new carpet to prevent slipperiness (bad idea, nixed that one almost immediately). Needless to say, we needed a new staircase design. Bad:


I did a bunch of online searching to see traditional farmhouse staircases, railings, and newel posts. Here are a few of my favorites:


Key here is the utter simplicity of old farmhouse stairs. They serve their function, they're beautiful in their directness, and they're free of over-the-top gaudiness or fanciness.

To start, I knew we needed spindles that were up-to-code in their distance from each other (check with your local building inspector to find out the rules in your town or state). We'd also need a new newel post. When I consulted with our carpenter, Gary Stevenson, we realized we could utilize some of the aged oak across the street my uncle had stored in the wood shed more than a decade ago. Gary ended up using the oak to build a custom newel post for the bottom of the stairs. He stained and cut the store-bought oak, which we used for new treads, spindles, and the newel post at the top of the stairs.

In the process of taking things off and moving them around, Gary found this gem; ancient-looking little girls' shoes hidden underneath one of the steps:

Gary labored away getting all the cuts right and painstakingly replacing each tread, spindle, newel post, and hand railing. And finally, he was done:


Many thanks to Gary Stevenson for his as-always amazing work; Garlock Building Supplies & Design Center for helping us pick out the upstairs newel post, hand rail, treads,and spindles; Joel Zimmer and Mark Huyser for volunteering their help in installing the handrail; and everyone at Better Farm for putting up with this work-in-progress during peak season.
Comment

Nicole Caldwell

Nicole Caldwell is a self-taught environmentalist, green-living savant and sustainability educator with more than a decade of professional writing experience. She is also the co-founder of Better Farm and president of betterArts. Nicole’s work has been featured in Mother Earth News, Reader’s Digest, Time Out New York, and many other publications. Her first book, Better: The Everyday Art of Sustainable Living, is due out this July through New Society Publishers.

In the White Room


We celebrated last year when one of Better Farm's guestrooms ditched the blues and got a fresh update that left it sparkly white:


But most of the furniture left along with one of our tenants, and the bareness of the room begged for a little TLC. We recently set in to take care of a few small details, like:
Bamboo room divider from Ikea reappropriated as headboard.
Closet doorway gets matching collage gleaned from found book pages.

Children's overhead fan at left gets a custom paintjob by Jennifer Elizabeth Crone.
Doorway gains some blue trim while a bare wall gets birds in flight and collaged wall piece by Jennifer Elizabeth Crone.
And, for the finished look:


1 Comment

Nicole Caldwell

Nicole Caldwell is a self-taught environmentalist, green-living savant and sustainability educator with more than a decade of professional writing experience. She is also the co-founder of Better Farm and president of betterArts. Nicole’s work has been featured in Mother Earth News, Reader’s Digest, Time Out New York, and many other publications. Her first book, Better: The Everyday Art of Sustainable Living, is due out this July through New Society Publishers.