Keeping a food scale on-hand during harvest season will allow you to keep track of how much you're producing—and saving.
Whether you're a backyard gardener or a commercial farm, DIY-ing your food is a surefire way to live healthier and save a lot of money... but exactly how much? This blog will explore ways for you to keep track of just how much you're making (or saving) by growing your own—and how much food waste you're keeping out of a landfill by composting.
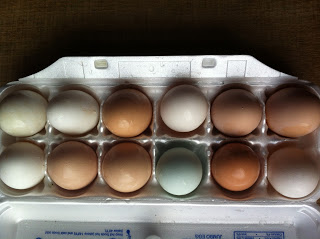
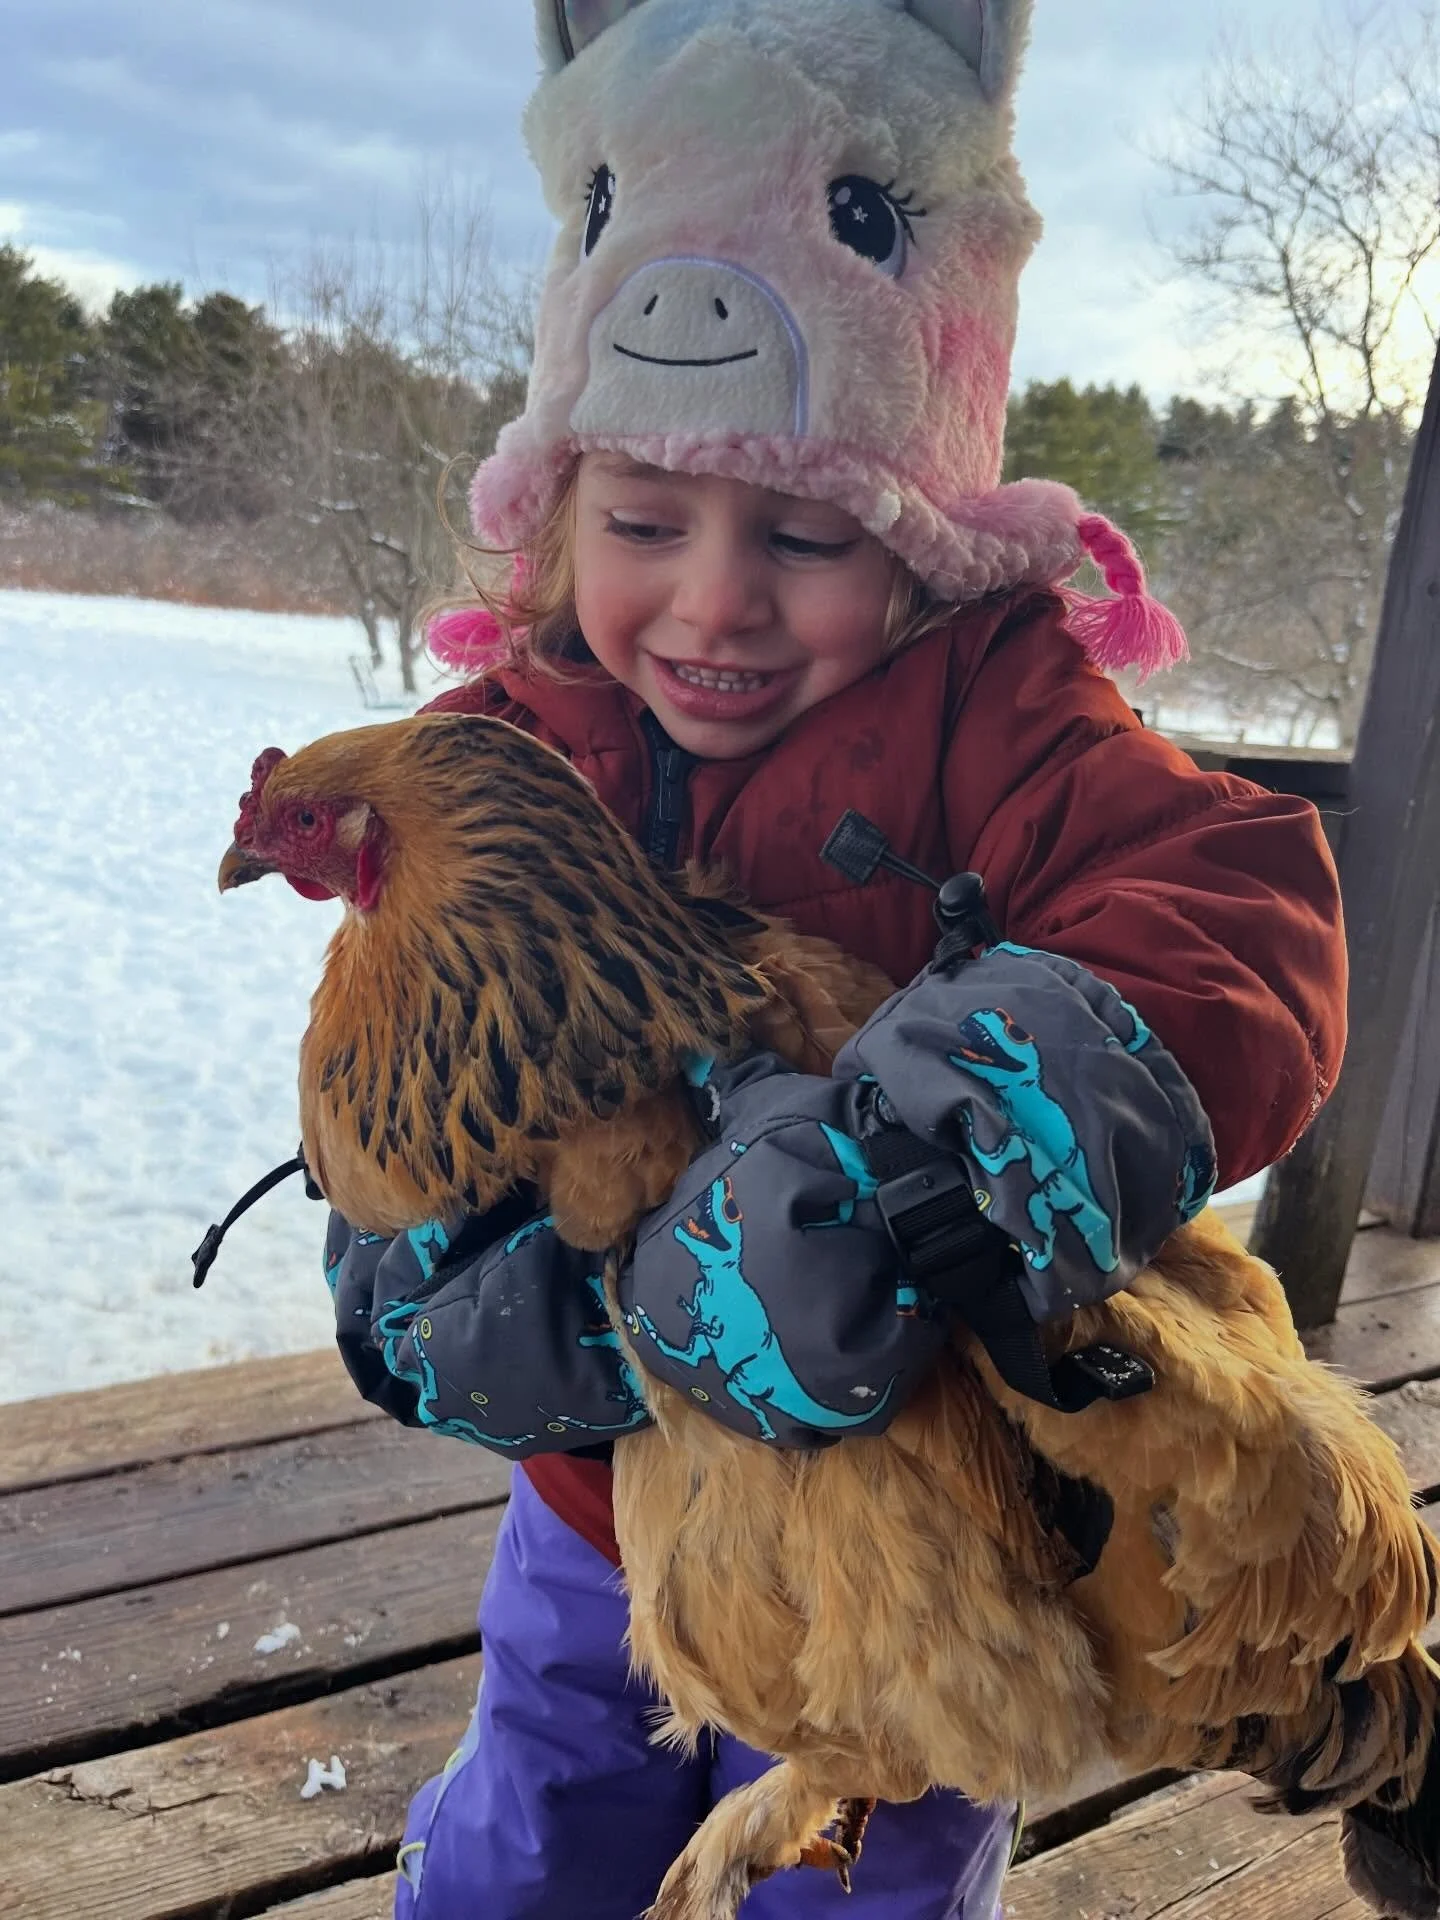
Chicken Eggs
Organic, free-range chicken eggs will run you anywhere from $3 at a local grocer to $7 at specialty food co-ops; while generic eggs will run you around $2 a dozen. If you're making your foray into having backyard chickens, keep in mind that a bag of generic feed (50 lbs.) is around $15; for organic, you're looking at twice that amount.
To make a cost-analysis worksheet for your birds,
you'll need to make a chart that looks like this:
DATE #EGGS FEED COSTS OTHER SUPPLY COSTS, NOTES
Some days you may have "zero" written in for your number of eggs; and your feed costs should only be coming up once a month (conversely, your egg numbers will rise in warmer months while your feed costs drop because the birds are able to forage more). After a few months, you should have a very clear idea of how much you're saving (or making!) by having chickens. In the last month (keep in mind this is January, the second-to-worst month for laying hens to produce in Northern New York), this is how our dollars totaled up:
# EGGS FEED COSTS OTHER SUPPLIES
113 $28 $0
So, that's almost 10 dozen eggs. We're only halfway through our feed (remember, we supplement with lots of food scraps from our kitchen, and when there isn't snow on the ground the birds have full access to tons of grass, foliage, and seasonal bugs and pests), which means we will likely double our number of eggs before the food is gone and we have to buy more. Based on that logic, we've essentially "purchased" 20 dozen free-range, organic eggs for $28. We're averaging a dozen organic eggs for just over a buck! Keep in mind these numbers are for 31 birds; this is the middle of winter (lowest egg-producing time); and that 18 of these birds are
rescued hens discarded by the commercial egg industry
. We'll check back with more updates when the weather's warmer and egg production jumps.
Not acknowledged on our worksheet is the amount of money we save by keeping our
hens in the gardens
. This provides us with much-needed fertilizer, sped-up composting (they eat our more delicious food scraps), mini-tilling, and bug and pest control.
Click here for all kinds of facts about eggs
.
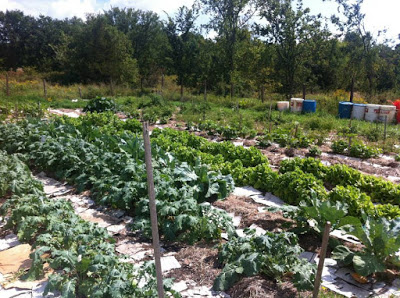
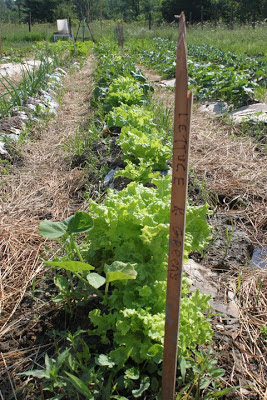
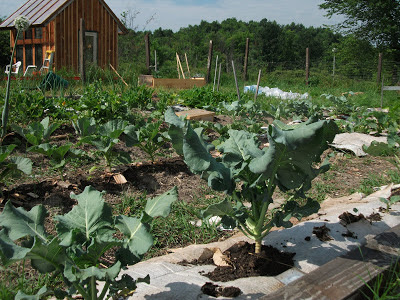
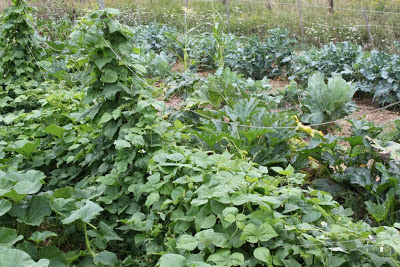
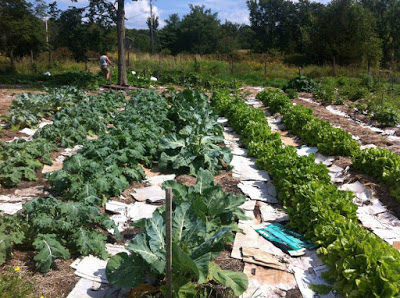
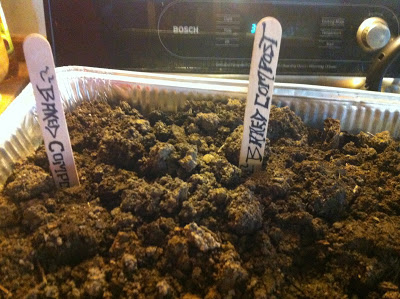
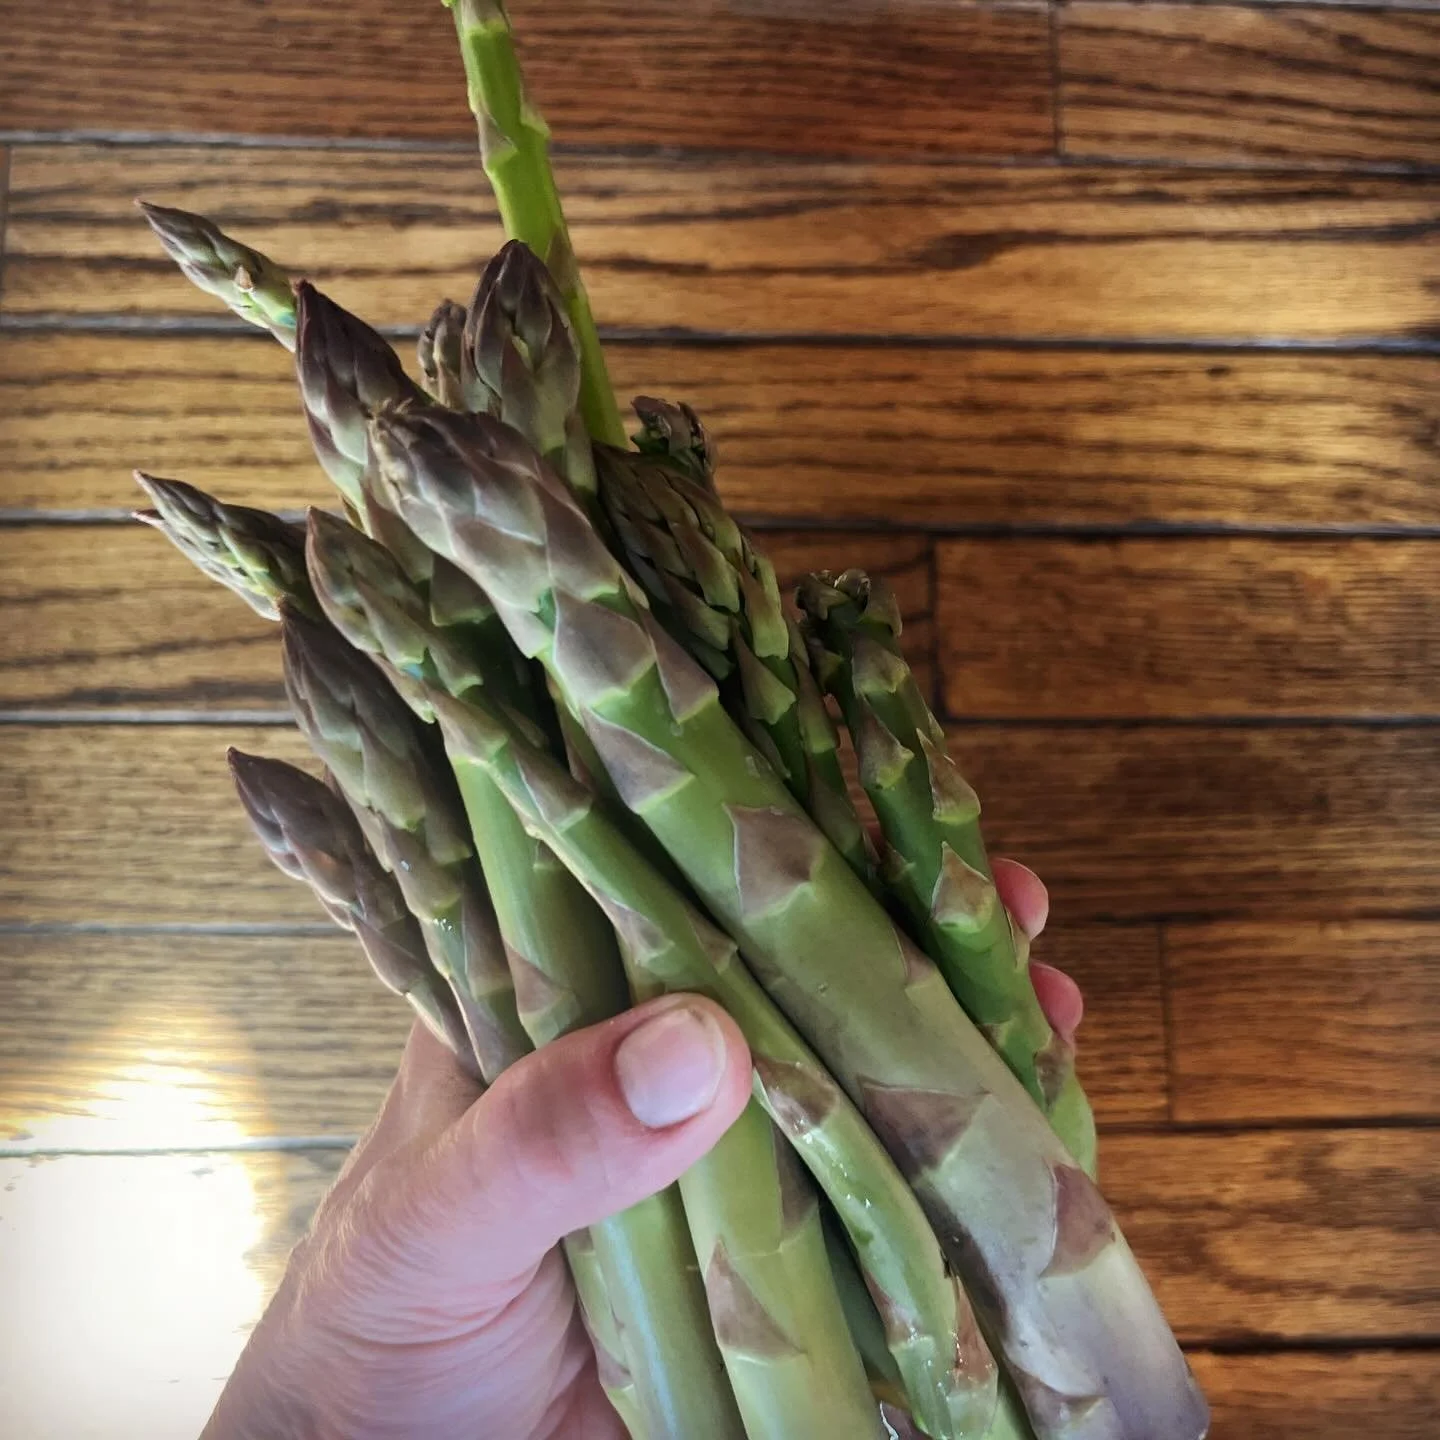
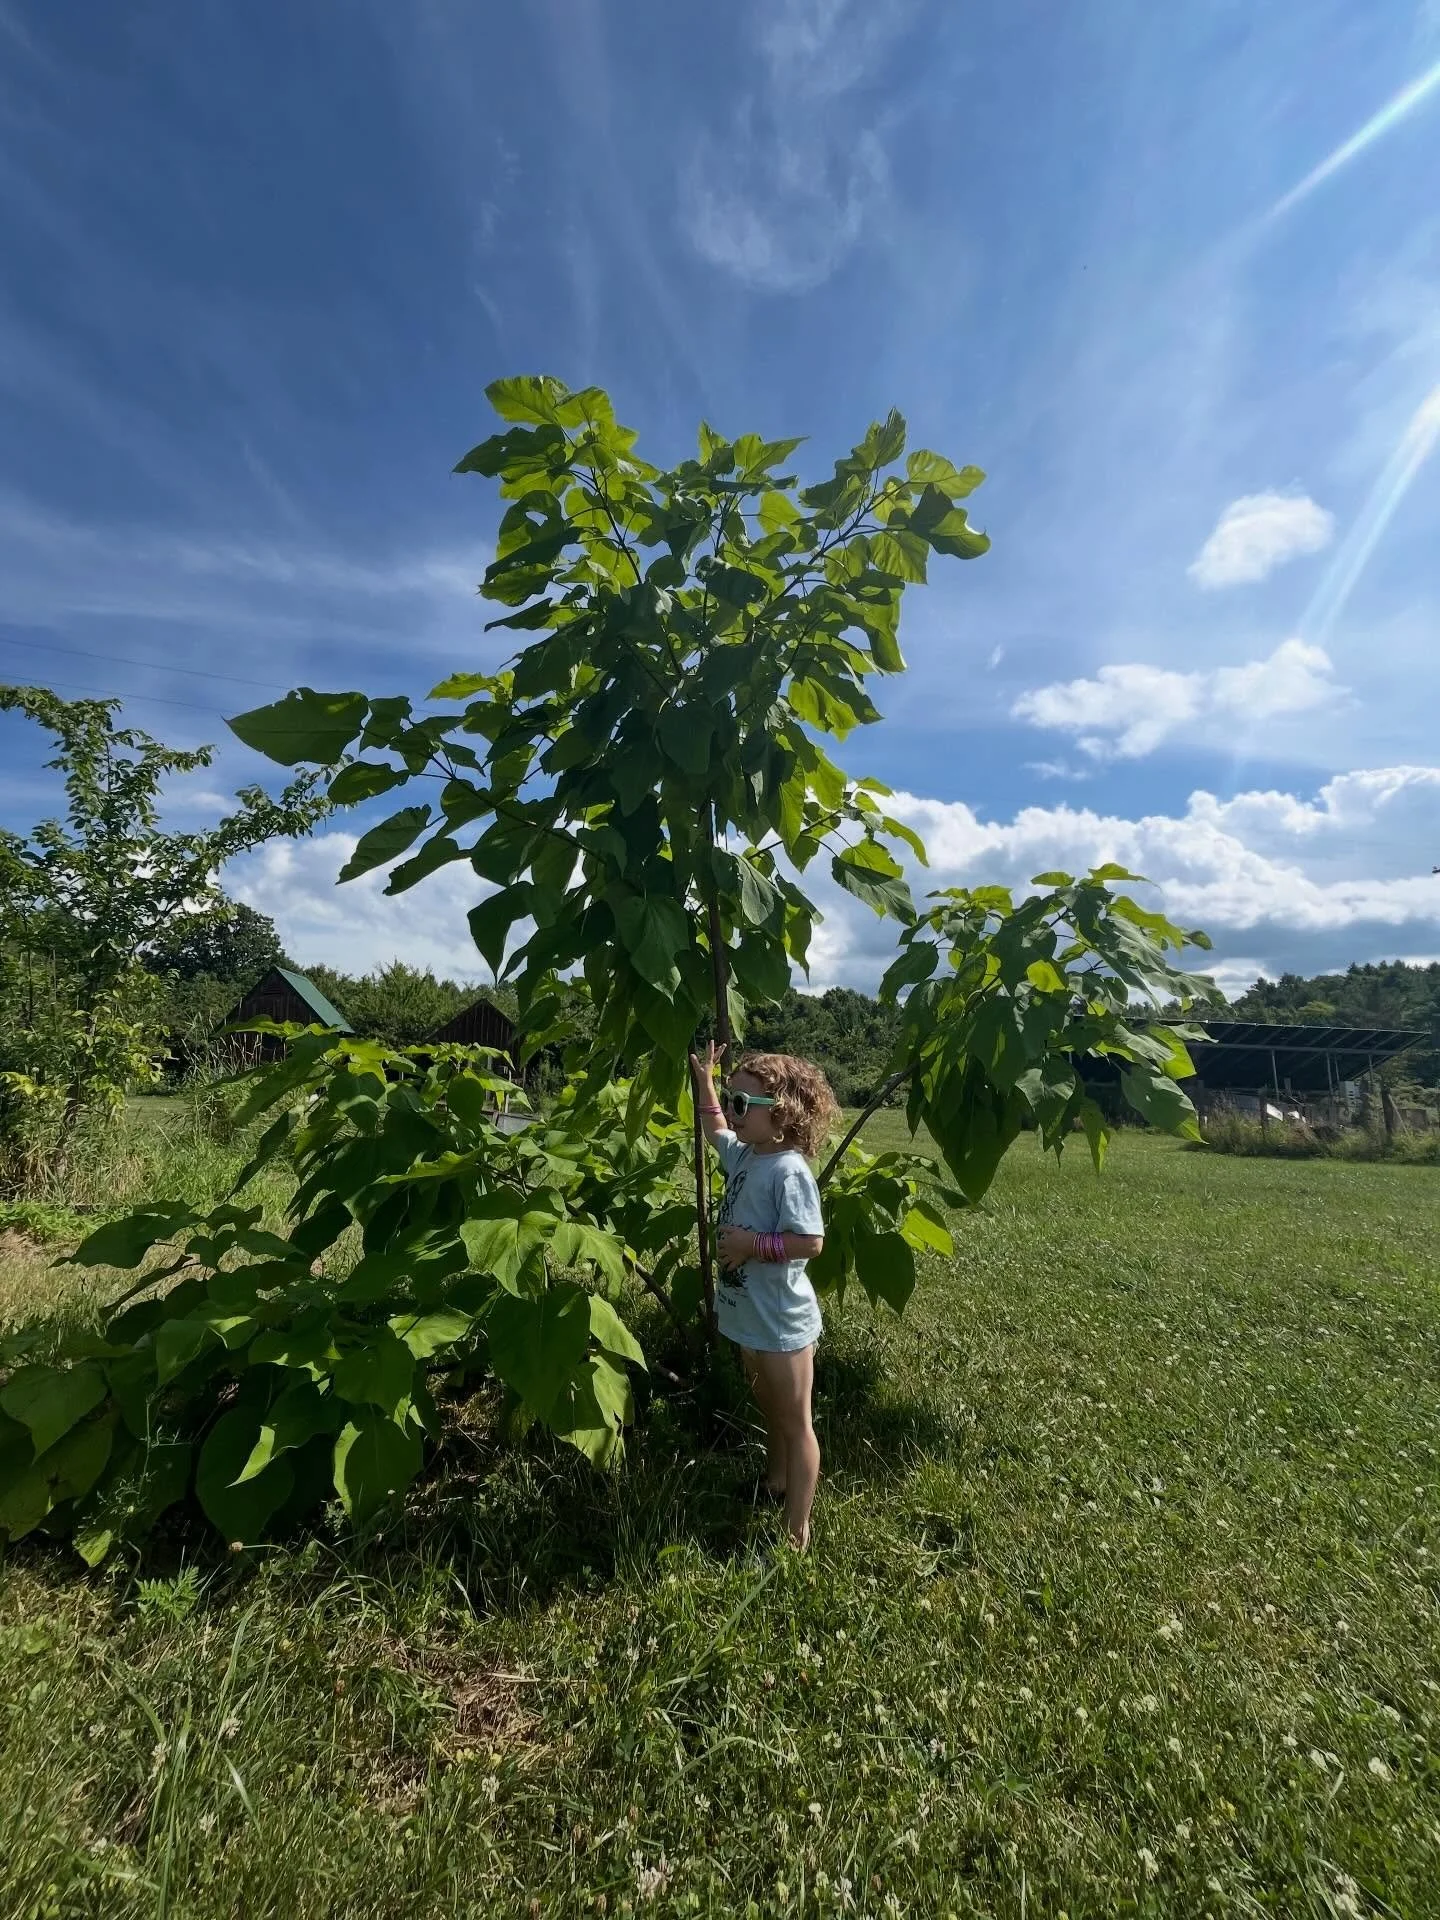
Garden Yields
For this one, you're going to need to keep track of how much money you spend on seeds and supplies, and you're going to need a kitchen scale to weigh the food you produce.
Utilizing a
garden map
each year will help you keep track of what you've got going on. From there, check your local grocery store's prices to comparison shop: How much do you save by growing your own organic salad greens, veggies, and fruits in a year? Your garden yield chart will look something like this:
DATE OF HARVEST ITEM WEIGHT PRODUCED
If you know that organic spinach is running you several bucks per pound, and that for $5 you can grow 10 pounds of organic spinach in your yard, well, that combined with all the other crops you're growing can probably save you hundreds of dollars every year. We'll be keeping a close eye on our production here and will keep you updated. We're using the same system to track our aquaponics setup, weighing the food produced against the energy cost of running the grow light and keeping the fish fed (sidenote: we haven't had to buy salad greens for the house since August; before that, we were spending around $8/week on organic greens... so we know we've avoided spending at least a couple hundred bucks).
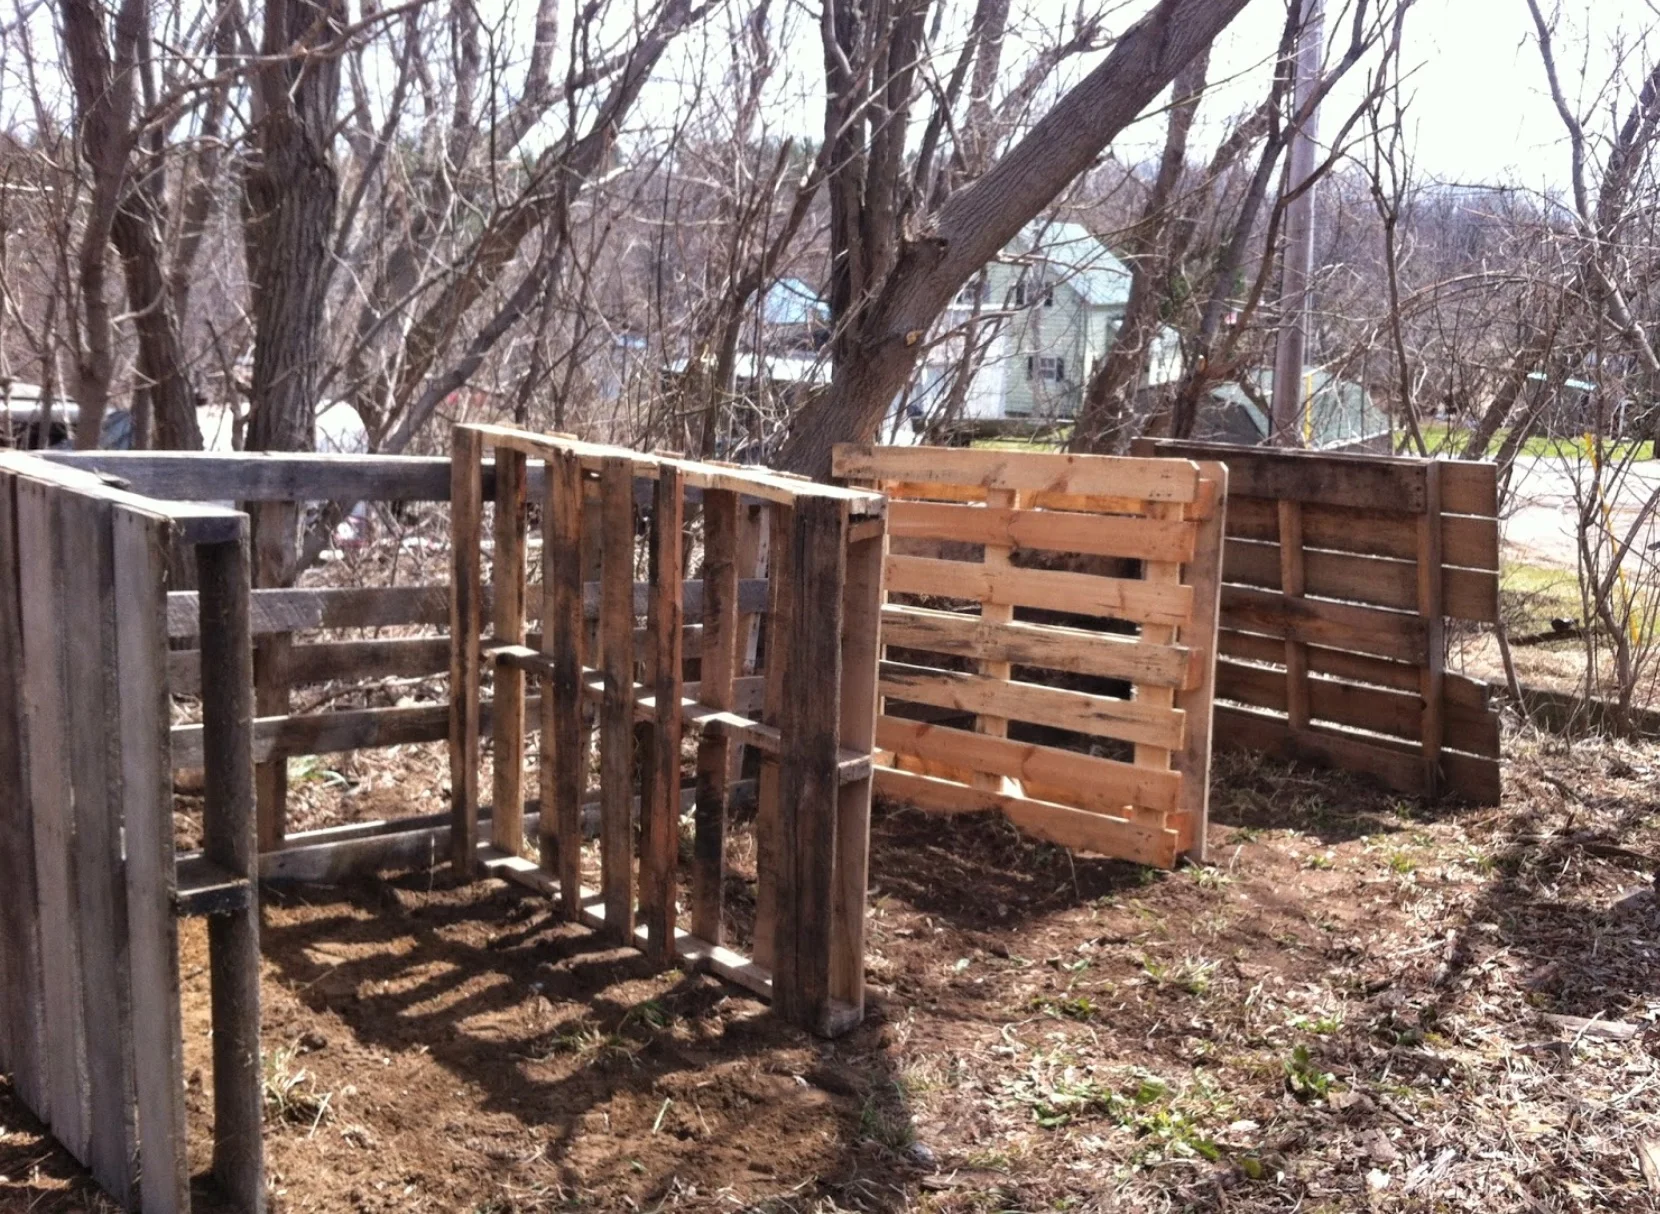
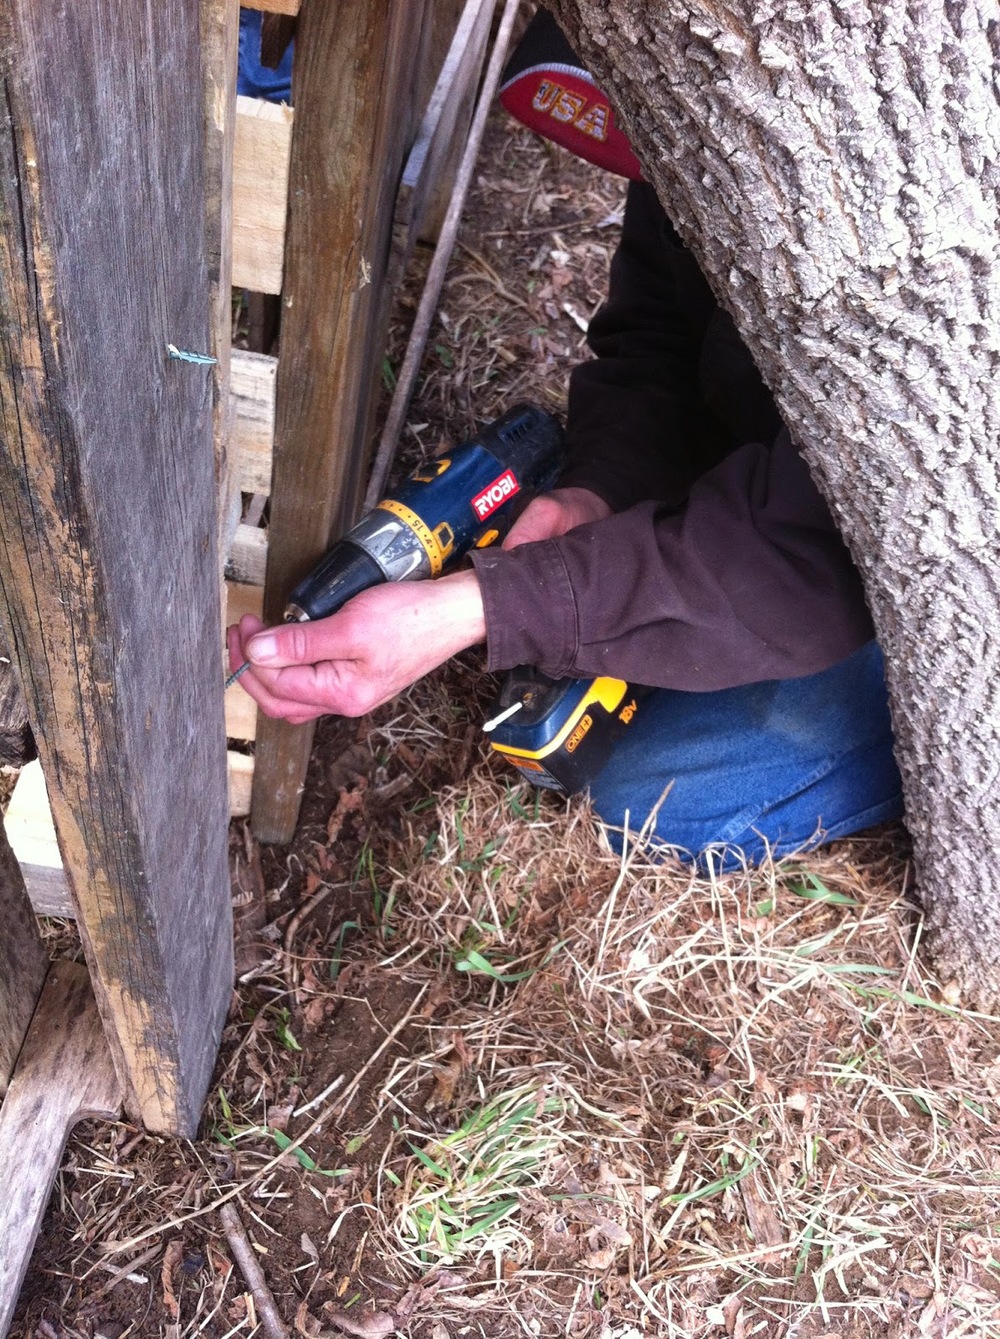
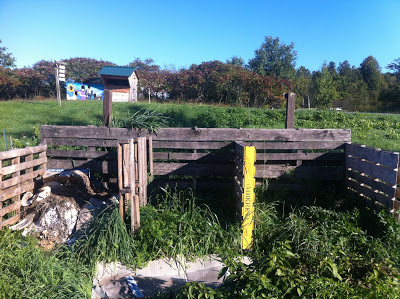
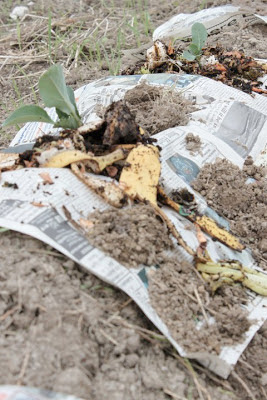
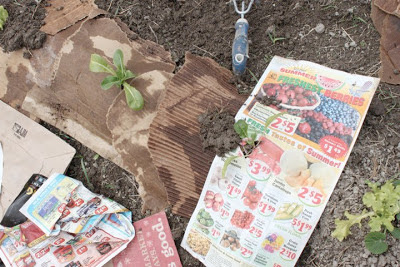
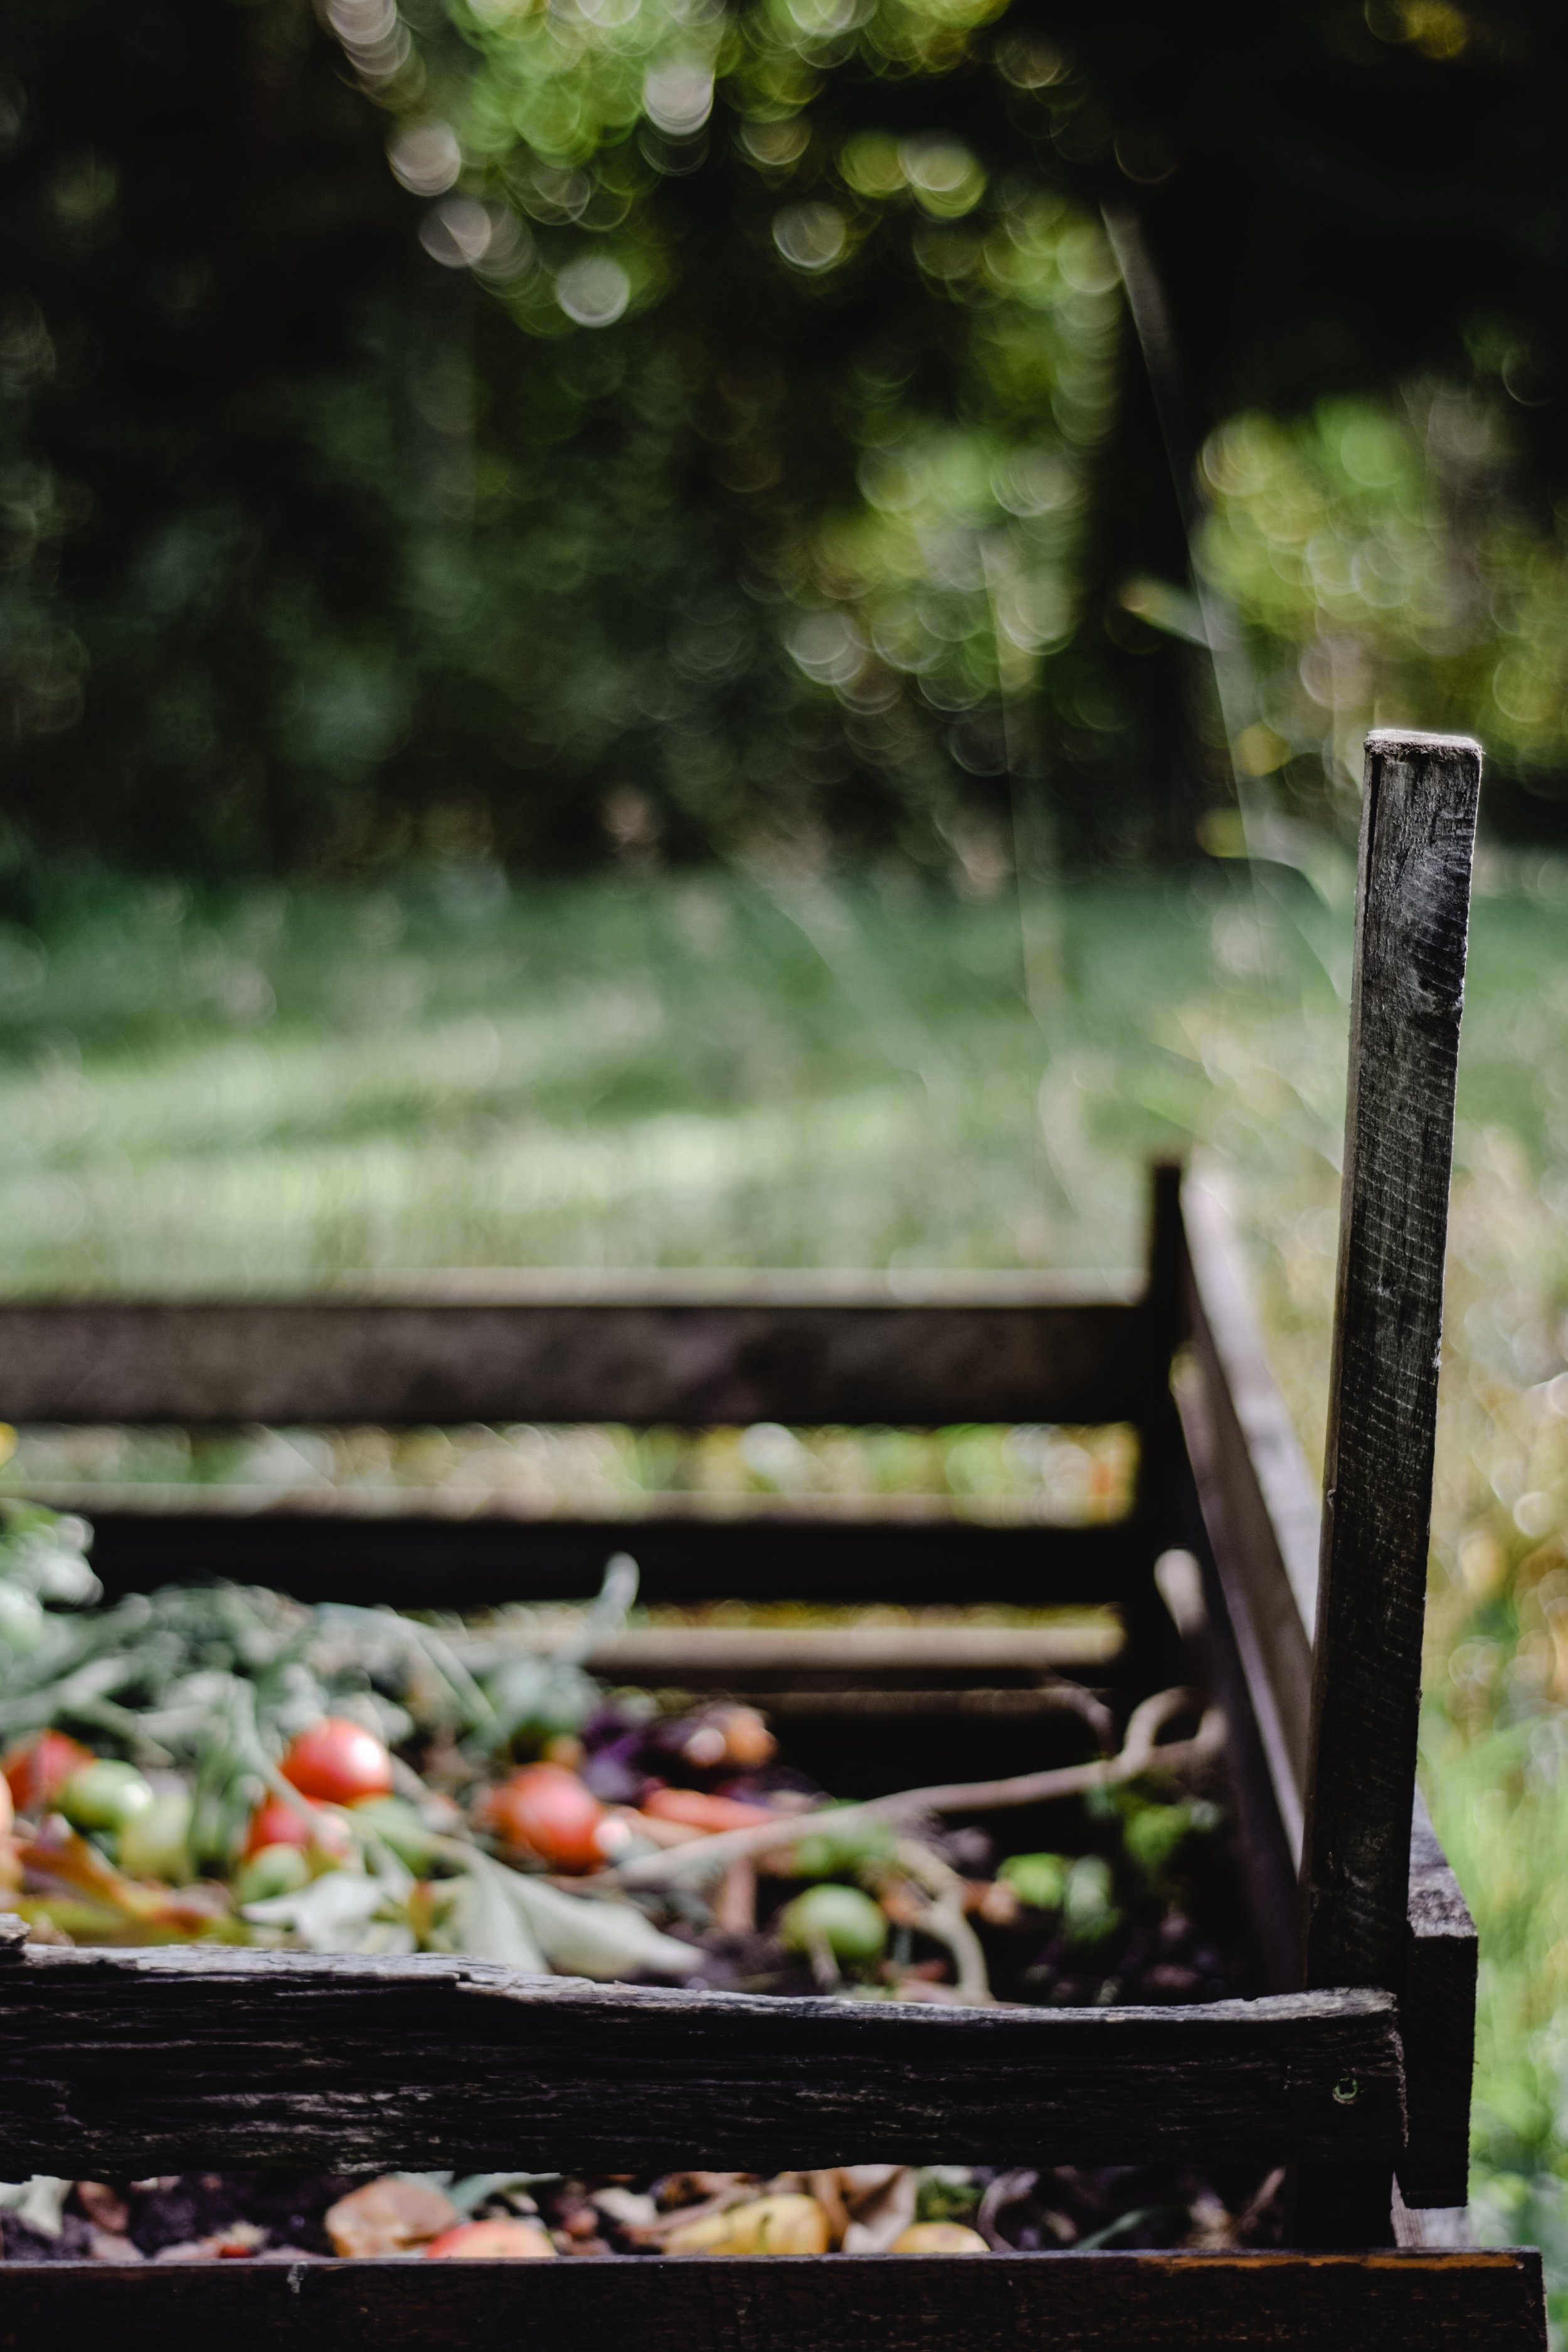
Food out of the Trash Supply
40 percent of food in the US is thrown out
. As it decays (
if
it decays—because it takes so long for garbage bags to break down, the food is often trapped without access to air. That means it sits instead of rots) in landfills, it produces methane. Methane traps more heat in the atmosphere than carbon dioxide. By keeping your own compost pile (or feeding your food scraps to your chickens), you can keep hundreds of pounds of food out of landfills, and fertilize your garden. Win-win! It's easy to keep track of how much food you're keeping out of landfills by simply utilizing a food scale in your kitchen. Weigh your empty compost bin, then weigh it again when it's full and subtract the original weight.