Tea-Party Tree Trunk

What's a girl to do when National Grid swoops through the yard and takes down a dead tree blocking the power line?

Stack that wood for next winter, turn that trunk into a table, and start planning an epic tea party.

Not every trunk has to be removed from its place in your yard—a simple plywood circle attached to the trunk with galvanized decking screws and a coat of exterior paint is enough to equip you with the most perfect table for an outdoor checkers match, picnic, or Mad Hatter tea party complete with log seats.

Do you not LOVE this?! Stay tuned for pics from the obviously impending matches of bocce ball and croquet with sides of tea and cucumber sandwiches in all the seersucker, linen, and party-dress fare we can get our hands on.
Comment

Nicole Caldwell

Nicole Caldwell is a self-taught environmentalist, green-living savant and sustainability educator with more than a decade of professional writing experience. She is also the co-founder of Better Farm and president of betterArts. Nicole’s work has been featured in Mother Earth News, Reader’s Digest, Time Out New York, and many other publications. Her first book, Better: The Everyday Art of Sustainable Living, is due out this July through New Society Publishers.

DIY Pallet Benches

I stumbled last year upon a DIY webpage that had plans for a bunch of different furniture all made from wood pallets. I instantly decided that I would start making things. Right before I came to Better Farm I constructed a poorly designed bed frame from pallets because I had no idea what I was doing and didn’t have the right tools. After learning a few things here at Better Farm, I was ready to try again; this time, with benches. I found the perfect pallet and grabbed some extra 2x4s that had been pulled off of other pallets that we were using for the sauna.

I took a circular saw and cut the pallet at the edge of the middle board so that I now had two separate pieces. From there I took a 2x4 and reconnected the boards that had just been cut with nails so I had two skinny pallets which would be used for the seat of the bench. I filled in the ends of each pallet with a 2x4 that had been cut to size so that I had a rectangular frame on the bottom.

The 2x4s were all roughly 36 inches in length so I cut 8 legs from them that measured roughly 18 inches. Each bench has four legs, which I attached in the corners after making sure they were square. I then attached a scrap piece at the ends of the benches on the legs for a little bit of extra support. The benches were made in about 2 hours and it was pretty simple.
To keep them looking rustic I gave them a light sanding and put some polyurethane on them. The first bench was more of a prototype so I just put it together without taking note of the writing that was on the pallets. The second time around I made a point to put the writing on the outside to give the bench more of a handmade look. It was a great project that anyone can do and I can’t wait to make more.     

DIY Hinged Bench from Old Doors

This bench, made from old, discarded doors, has a hinged top for huge amounts of storage space.

We kept busy last Saturday building the frame for a sauna, installing a lot of lights and new sound equipment in the Art Barn, and increasing storage in the barn's studio space. For that, Greg and I made a hinged bench that doubles as seating and storage.

For the sides of the bench, Greg cut one side of pocket door in half, using the other half as the front of the bench. He reinforced the walls and front by nailing the pieces together and screwing them into a small wood frame running along the floor and wall.  

When the base was all put together, we started on the top. We realized pretty quickly that we'd need a support beam running along the length of its center; and we had to put a piece of wood into the wall so the whole thing wouldn't move. 


We hinged the top door to a piece of wood screwed into the back of the frame so that the entire top of the bench can lift up for storage. We plan to make another one of these so we have two long benches underneath the bank of windows on the second floor. In total, this project cost us $0, the only expenses being hinges (which we had), and the correct screws for the job (we used 2.5").


Got a great DIY project you'd like to share? Email us at info@beterfarm.org.

Progress on Frame Ceiling


We blogged recently about a ceiling design for Better Farm's Art Barn that will utilize donated, discarded frames. We "broke ground" on the project a couple of weeks ago, and have already used up the frames given to us by Fort Drum and Focal Point Frames. Here's how we went about the work:

Firstly, it's important to always keep your end-goal in sight:
This photo from the New York Times is of a ceiling created out of discarded picture frames by Dan Phillips of Phoenix Commotion.
1. Line up all matched frames in a row.
 2. Using a power nailer, connect corner pieces.
3. Use a chop saw to shorten sides to fit between ceiling beams.

4. Begin the laborious task of power-nailing the frames to the ceiling...


Got some frames you can donate to the cause? Email info@betterarts.org to help out!
Comment

Nicole Caldwell

Nicole Caldwell is a self-taught environmentalist, green-living savant and sustainability educator with more than a decade of professional writing experience. She is also the co-founder of Better Farm and president of betterArts. Nicole’s work has been featured in Mother Earth News, Reader’s Digest, Time Out New York, and many other publications. Her first book, Better: The Everyday Art of Sustainable Living, is due out this July through New Society Publishers.

DIY Rustic Log Benches

A chainsaw, log, drill, and lag bolts are all you need to make your own rustic, outdoor bench.
Our friend Jamie Parker stopped in at Better Farm on Sunday with a truck bed filled with logs and a chainsaw. Two hours later, we had four benches perfect for campfire-sitting or enjoying music from the top of the hill behind the Art Barn. Here's a great spring project for those of you who are comfortable wielding a chainsaw.


Supplies
Logs
Chainsaw
Lag Bolts (at least 6 inches long)
Drill with 3/4 inch drill bit
Socket set

Directions

1. Cut legs for your benches. Our legs are 20 inches high, but make yours as high as you like. First cut the logs at the length, then halve the chunks.
2. Cut the length of your bench by halving a longer log.


3. Notch out for your seat to sit flat on the legs.
4. Pre-drill two holes over each leg and use your socket set to screw in your lag bolts. You're all done! A coat of poly will protect your benches against inclement weather and rot.

Got a DIY project you'd like to share? E-mail us at info@betterfarm.org.
Comment

Nicole Caldwell

Nicole Caldwell is a self-taught environmentalist, green-living savant and sustainability educator with more than a decade of professional writing experience. She is also the co-founder of Better Farm and president of betterArts. Nicole’s work has been featured in Mother Earth News, Reader’s Digest, Time Out New York, and many other publications. Her first book, Better: The Everyday Art of Sustainable Living, is due out this July through New Society Publishers.

Gallery Ceiling Will be Picture-Perfect

This photo from the New York Times is of a ceiling created out of discarded picture frames by Dan Phillips of Phoenix Commotion. The image became our inspiration for the gallery ceiling in Better Farm's Art Barn.
Thanks to donations from Focal Point Custom Framing and Fort Drum, Better Farm's Art Barn is about to have a gallery ceiling fittingly made entirely out of upcycled picture frames. It's a lesson in upcycling, but more than that we like to think of it as a very literal intersection between art and sustainability. In return for keeping hundreds of old picture frames out of burn pits or landfills, we get to use them to create a thing of beauty—and a thought-provoking thing at that.

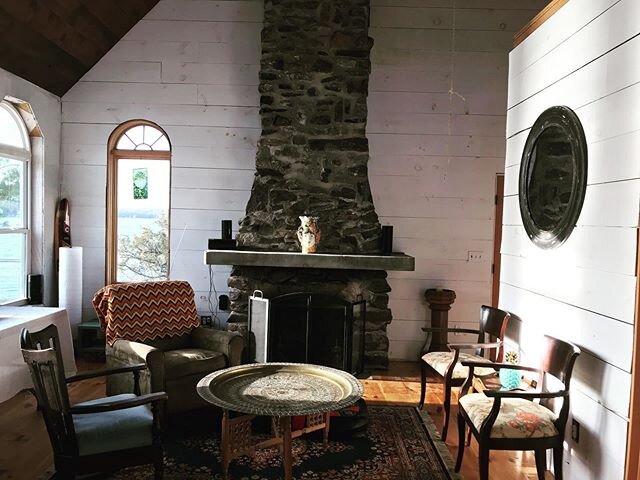
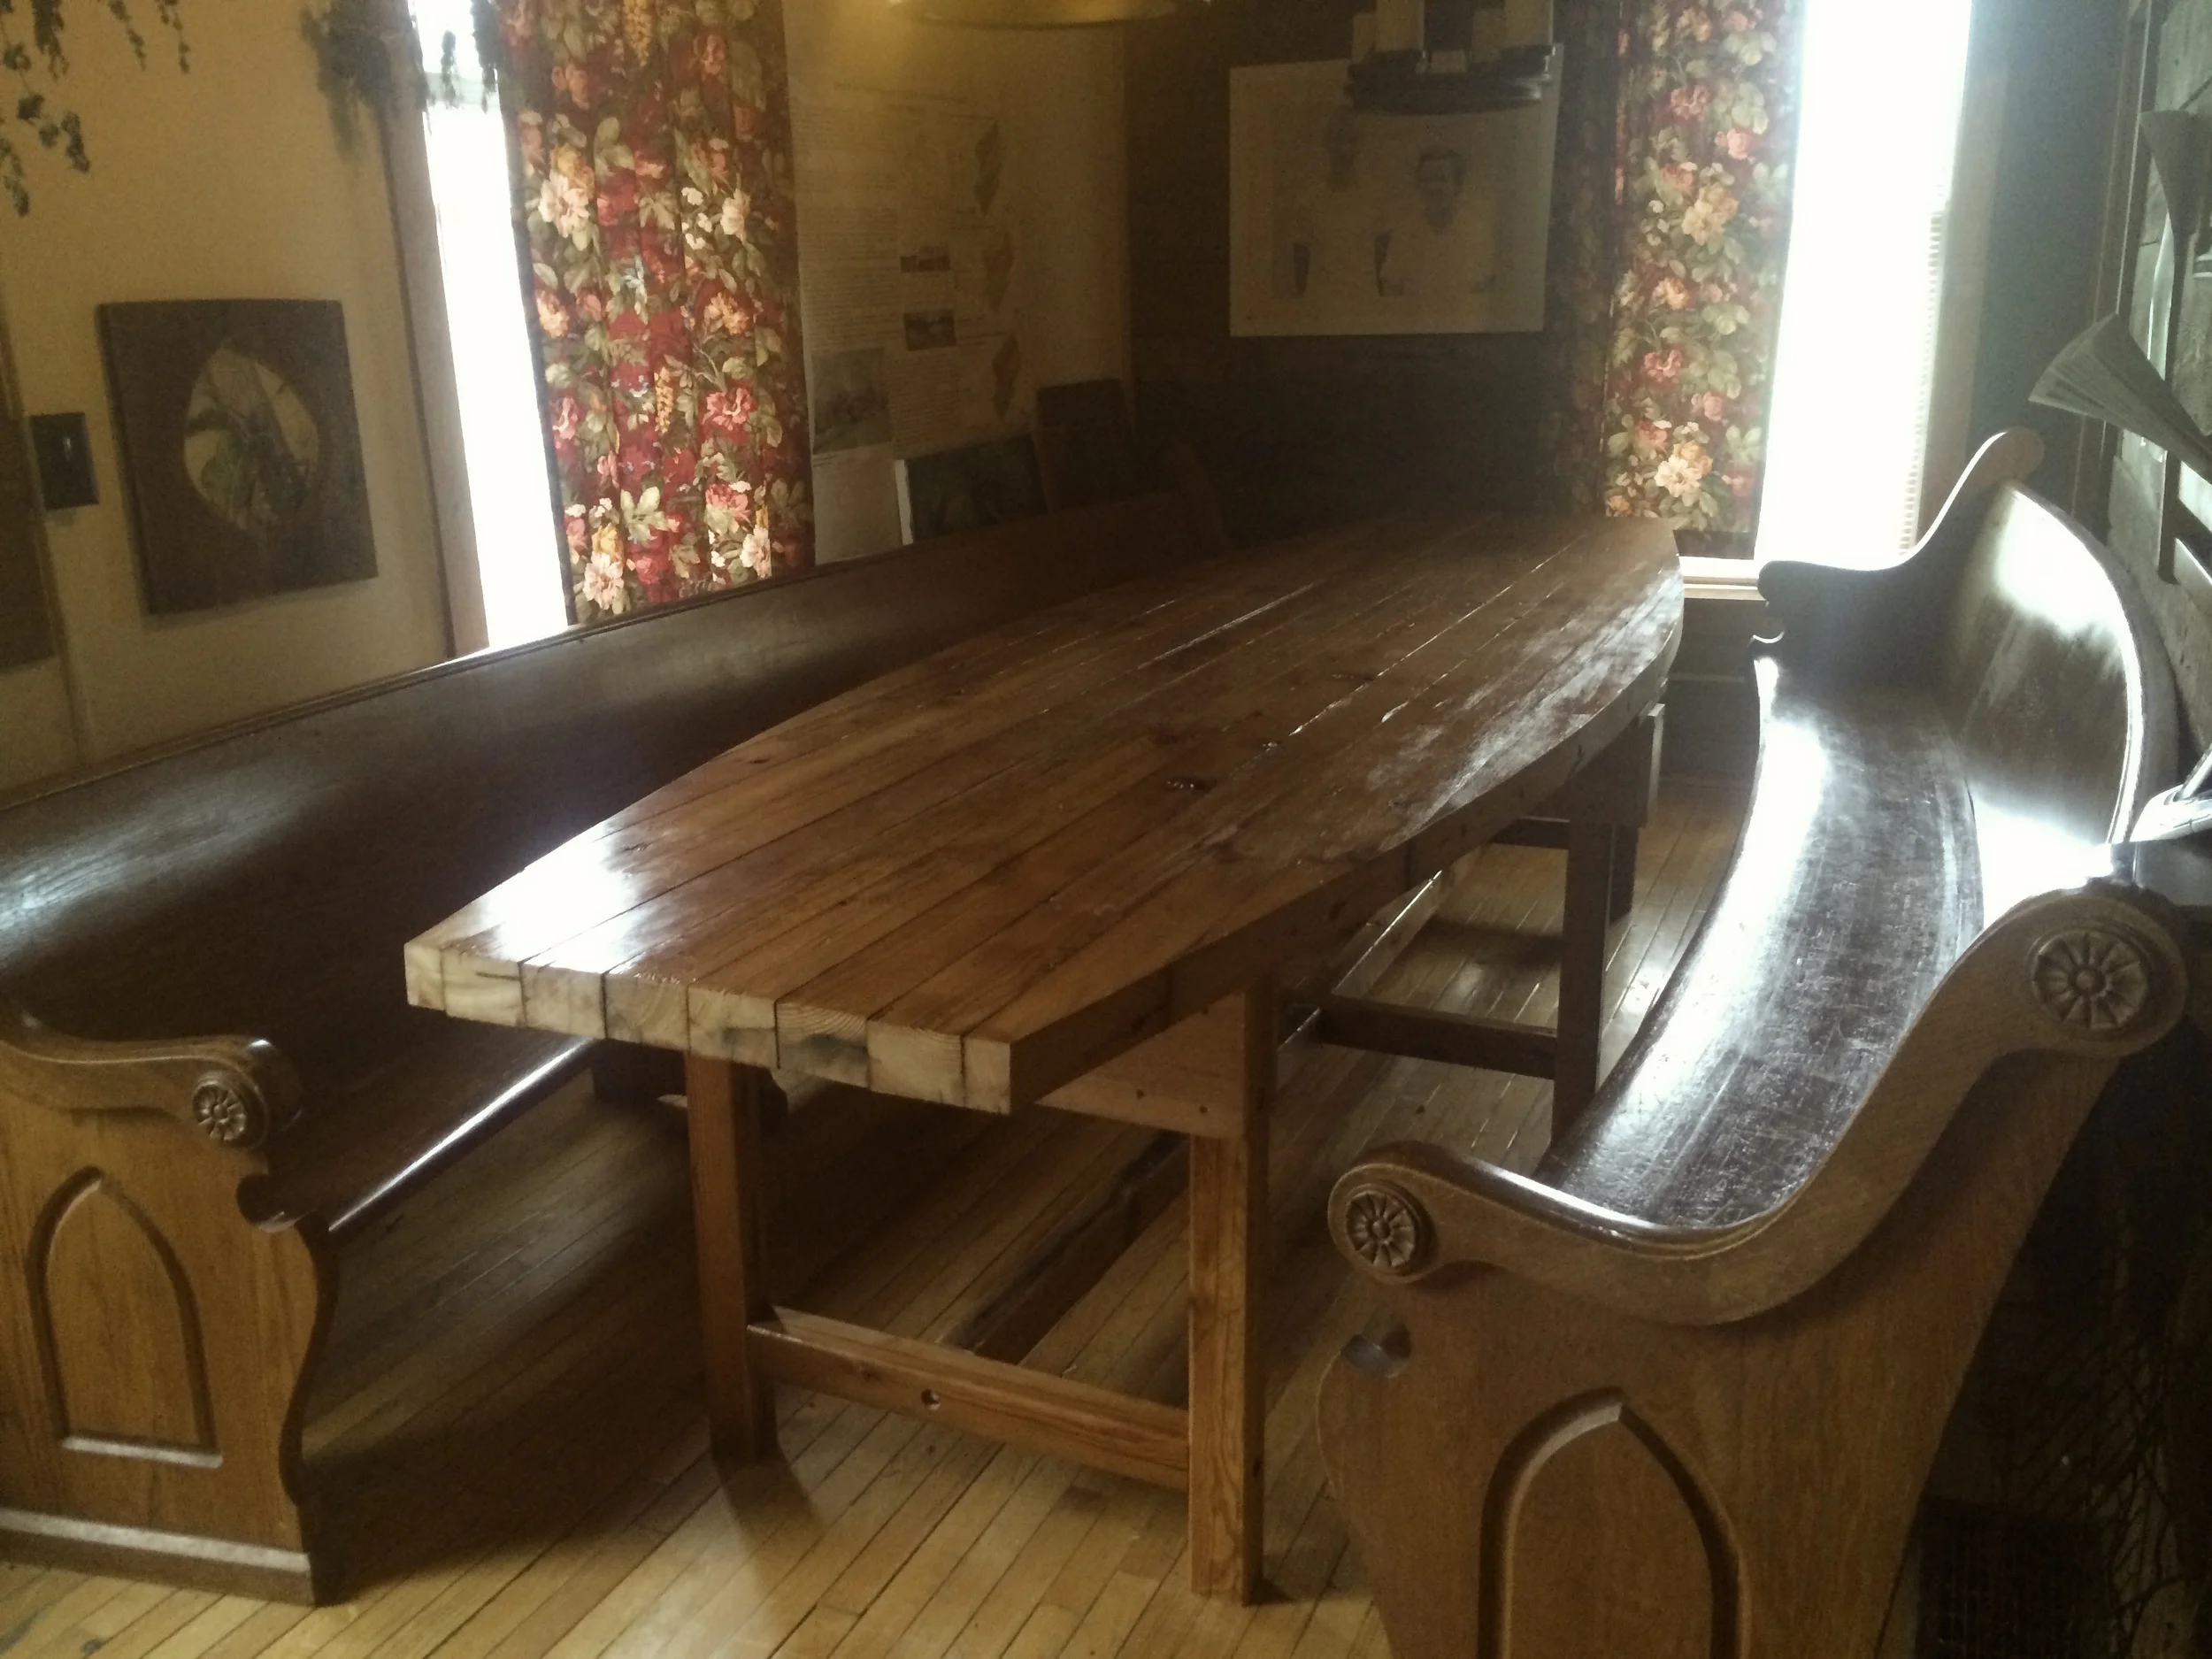
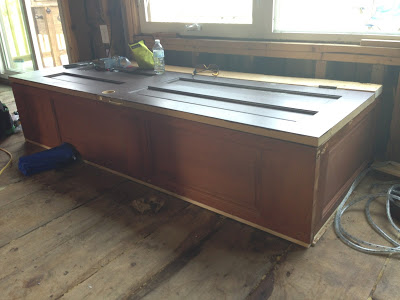
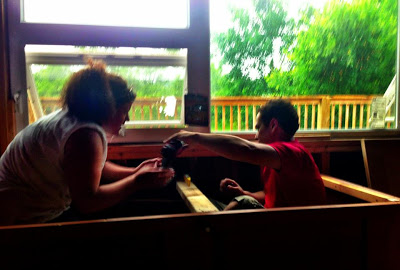
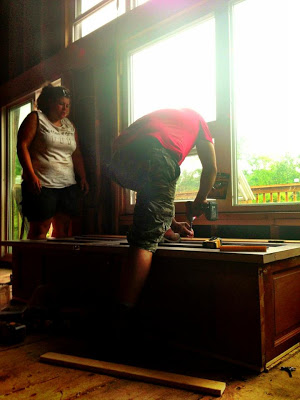
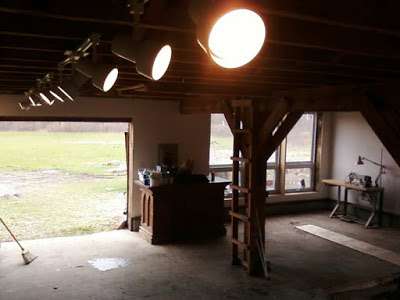
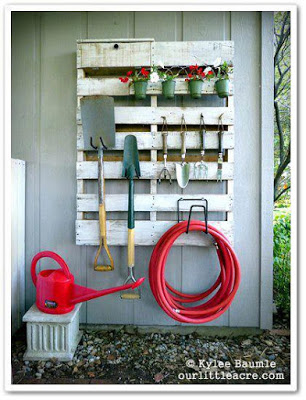
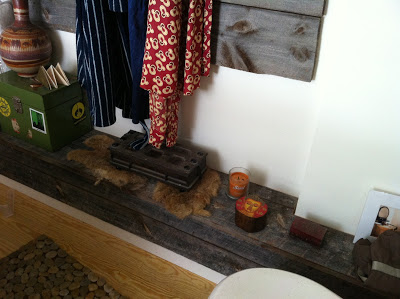
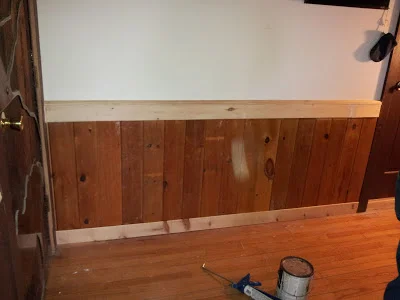
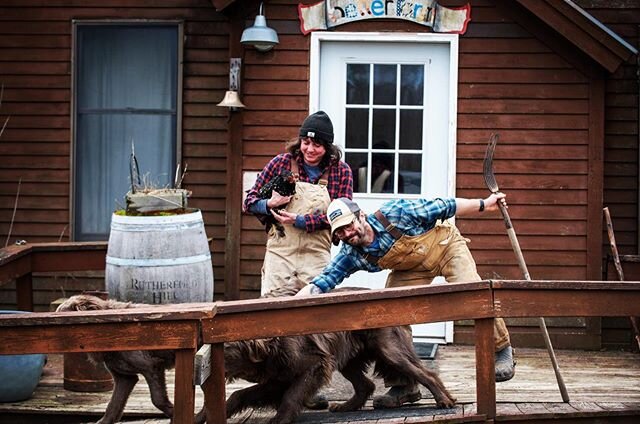
The gallery space in Better Farm's Art Barn.

Since I moved to Better Farm in 2009, the 
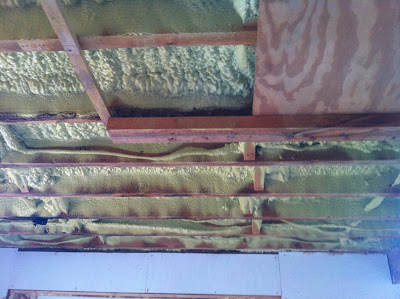
Art Barn overhaul has been one of our biggest and ongoing projects. We've cleared out years' worth of hay from the second story, added bank after bank of windows, rented dumpsters to haul out all the old and broken stuff that had been piled up over the course of decades, added track lighting and gallery walls, and turned the whole space into a studio and art and performance gallery. In the fall of 2011 we added recycled soy sprayfoam insulation on the first level, and in the spring of 2012 added a second-story deck overlooking a natural amphitheater (to check out the unreal sound quality for yourself, be sure to visit us at this year's betterArts/Better Farm Open House & Fundraiser.

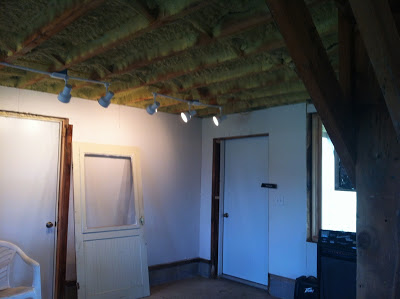
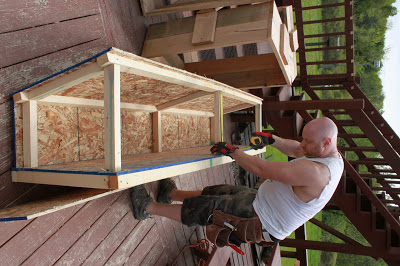
I've been kicking around a bunch of ideas for the ceiling on the first floor of the Art Barn, which betterArts uses as its gallery space:
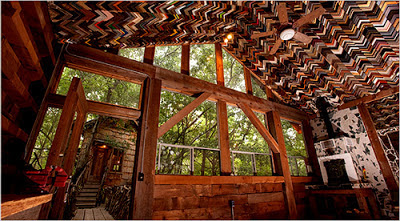
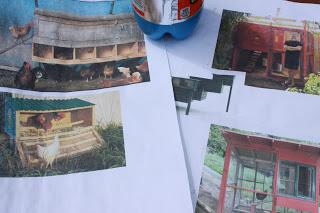
I considered using old barn wood, then wondered about using some old siding we have in the wood shed. Many people suggested sheet-rocking it, or zipping down some slab wood to use. Then, Fort Drum donated a bunch of old, broken picture frames to us. I recalled an article in the New York Times about Dan Phillips of Phoenix Commotion, a man who builds recycled houses—which is to say, he takes building materials destined for the dump and builds homes with them for next-to-nothing.

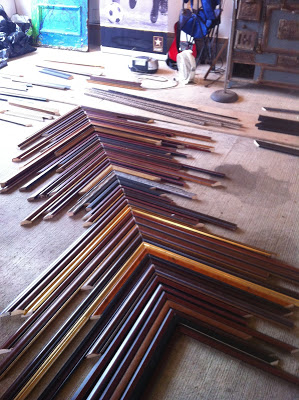
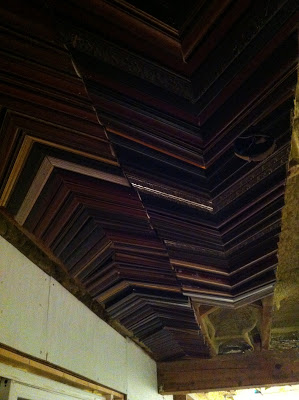
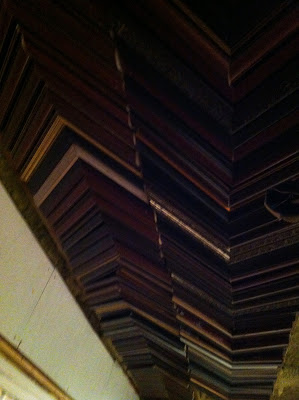
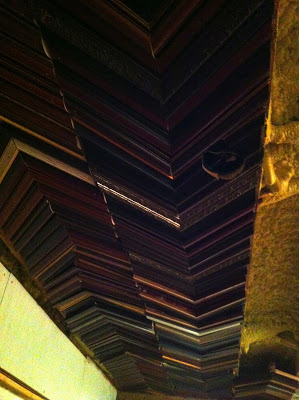
In one of the images from that article (see above), he took picture frame corners to create a zig-zag pattern across the ceiling of a house. This was the perfect solution for our Art Barn ceiling! I set about finding a frame shop locally that might be willing to donate more frames to betterArts to use in the non-profit's gallery space.

Tracy Spencer from Focal Point Custom Framing in Watertown was extremely gracious and said that while the company seldom has broken frames, they do have some small frames with defects and discarded moulding. I met with Tracy Saturday morning and picked up the bounty—we're hoping to continue working with Focal Point in the future to get the project completed (many frame pieces are required!). Tracy also through in some beautiful suede matboard that we can use for arts & crafts projects in the community.

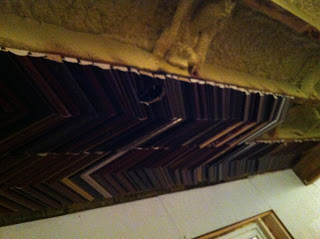
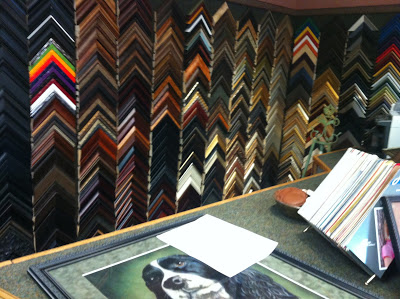
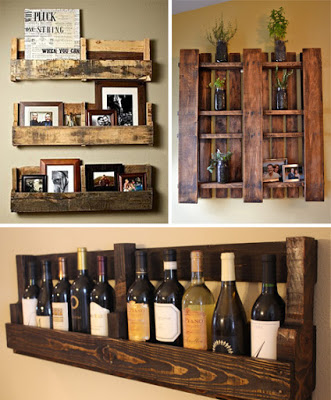
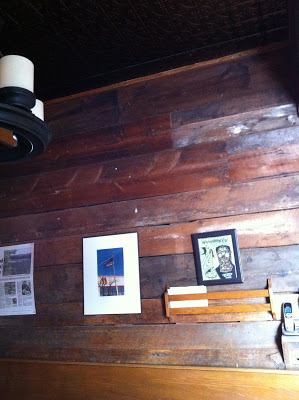
Here's Focal Point's display wall, also indicative of what our ceiling will look like:

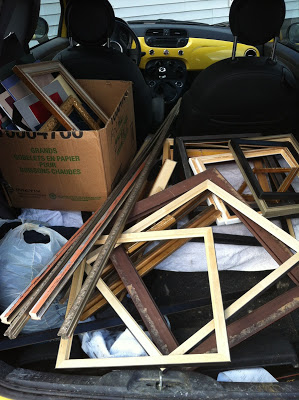
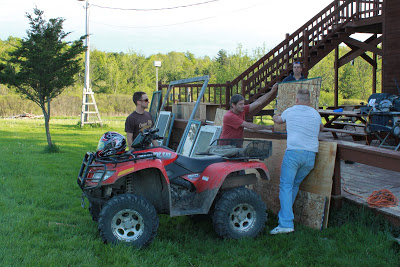
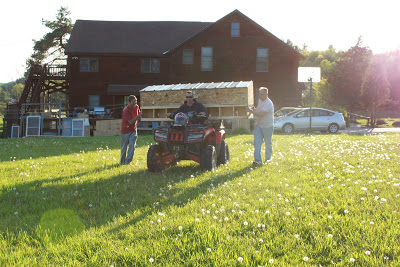
 My car, stuffed to the gills:

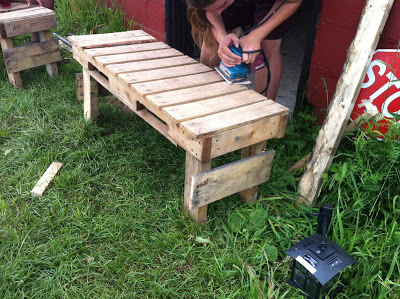
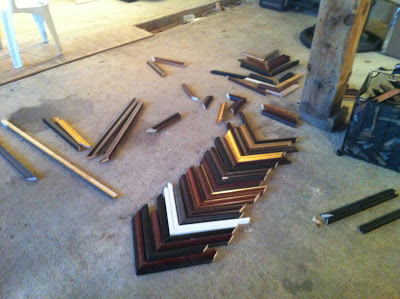
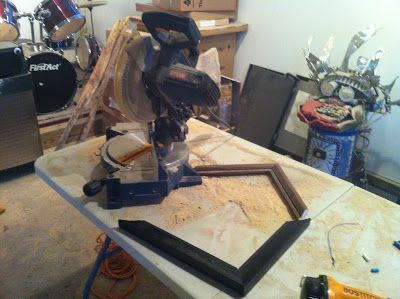
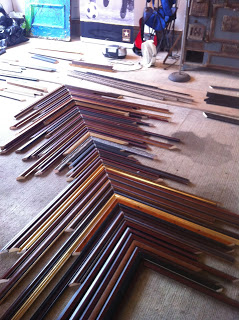
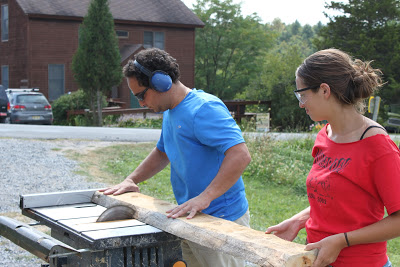
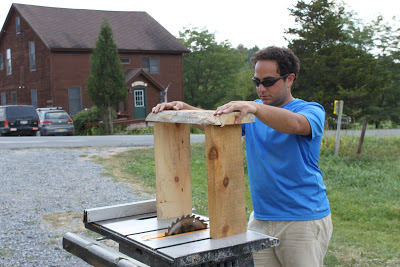
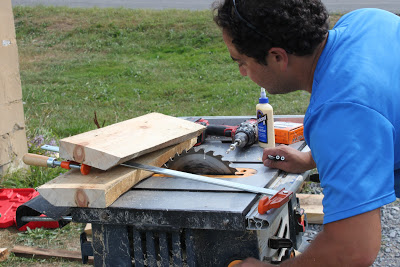
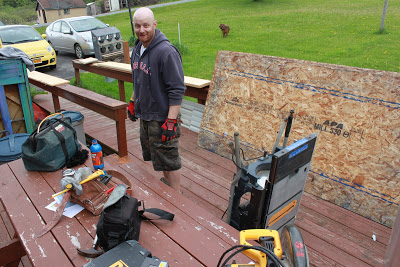
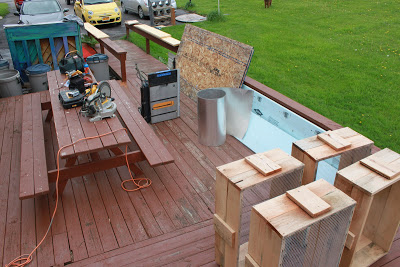
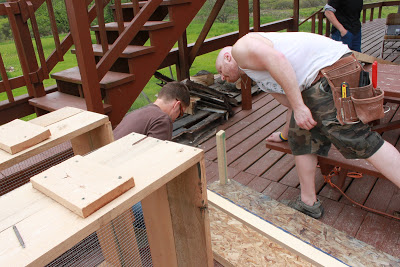
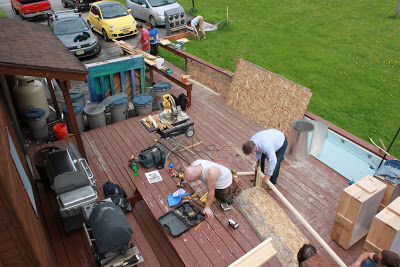
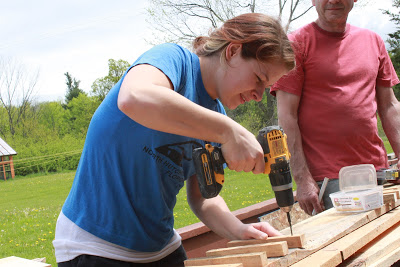
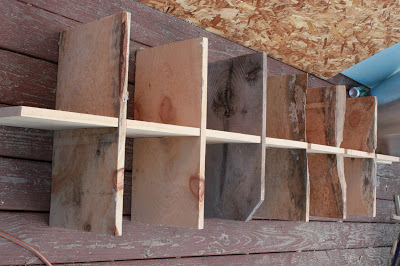
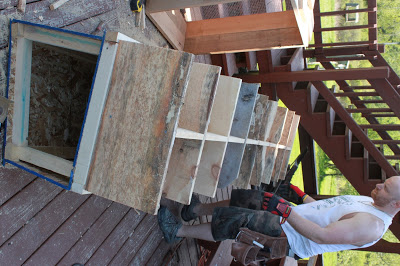
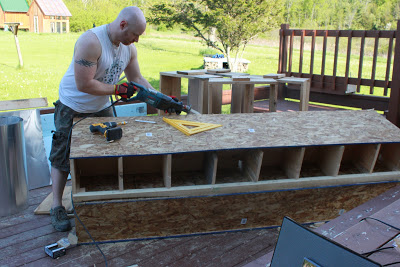
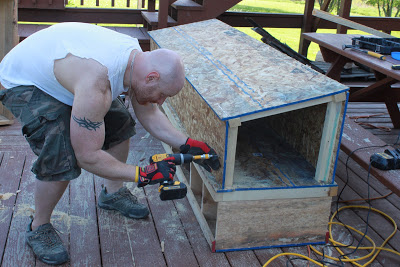
Back at the Farm, I got the Ryobi chop saw out and ready to make 45-degree cuts on the frames:

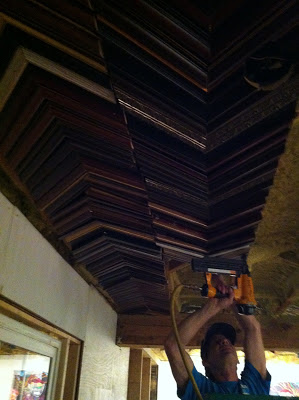
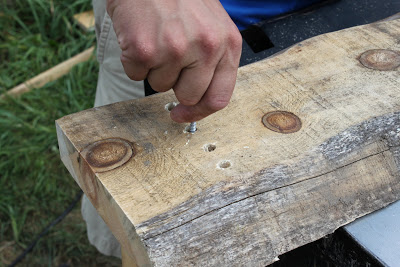
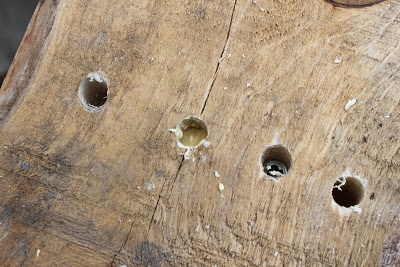
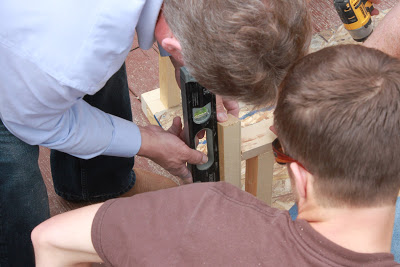
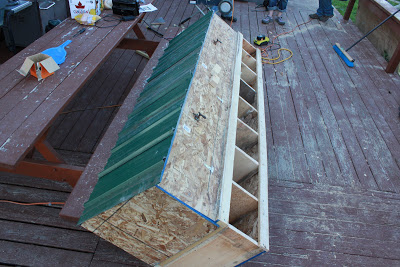
Then began the extremely tedious process of piecing all the frames together:

We will get chopping this week and should be able to get a quarter to a full half of the ceiling completed before the open house in May. Stay tuned for updates!
Comment

Nicole Caldwell

Nicole Caldwell is a self-taught environmentalist, green-living savant and sustainability educator with more than a decade of professional writing experience. She is also the co-founder of Better Farm and president of betterArts. Nicole’s work has been featured in Mother Earth News, Reader’s Digest, Time Out New York, and many other publications. Her first book, Better: The Everyday Art of Sustainable Living, is due out this July through New Society Publishers.

Whet Your Pallet

This pallet adirondack chair was featured on Green Upgrader.

Building with pallets is a great starter upcycling venture. They're made of solid hard wood, they're readily available (just track down some friends who work construction), and they're oft-abandoned after they serve their purpose. Here are just a few wonderful ideas we tracked down online over the last few months.

For compost bins:

...For tables...

...For shelving...

...For storage...
 ...For seating (or sleeping!)...

...For outside bars:

...For work-room stairs...

...For bringing in-house forts to a whole new level...
 ...for plants...


...for storage...

Got a great upcycling idea you'd like to share? E-mail us at info@betterfarm.org.
Comment

Nicole Caldwell

Nicole Caldwell is a self-taught environmentalist, green-living savant and sustainability educator with more than a decade of professional writing experience. She is also the co-founder of Better Farm and president of betterArts. Nicole’s work has been featured in Mother Earth News, Reader’s Digest, Time Out New York, and many other publications. Her first book, Better: The Everyday Art of Sustainable Living, is due out this July through New Society Publishers.

Barn Wood Carpentry

Master Bath hook rack and shelf unit made with old barn wood.
Old barn wood is one of the most fun and aesthetically pleasing mediums to work with; as imperfections become assets and applications are almost infinite. When we cut holes in the barn across the street for windows two years ago and swapped out older doors for new, we stashed the wood in a shed for later use. Well, the future is now. Circular and table saws provided all the cuts necessary to make the following rustic pieces:


Sliding barn-style door used for master bath.
Dining alcove wall (done several years ago, utilizing different barn wood).

Master Bath hook rack and shelf unit made with old barn wood.
Built-in bathroom shelf.
Kitchen phone shelf.
Got a great upcycling idea you'd like to share? E-mail us at info@betterfarm.org.
Comment

Nicole Caldwell

Nicole Caldwell is a self-taught environmentalist, green-living savant and sustainability educator with more than a decade of professional writing experience. She is also the co-founder of Better Farm and president of betterArts. Nicole’s work has been featured in Mother Earth News, Reader’s Digest, Time Out New York, and many other publications. Her first book, Better: The Everyday Art of Sustainable Living, is due out this July through New Society Publishers.

DIY Wainscot Paneling

With a recent renovation project that added a bathroom and reinvented another, a doorway in the kitchen was moved. That left a wall only half-covered with tongue and groove wainscot panels:

Using discarded tongue and groove from the bathroom project and some other pieces we refined to make our top and bottom edges, we were able to create our own custom wainscot panels for free.

Here's a simple step-by-step guide if you'd like to give this a go—it's a great way to dress up any room.

Wainscot Paneling

Materials

  • Basic hand tools

  • Circular saw

  • Jigsaw

  • Pneumatic finish nail gun to complete this project

  • Table saw

Step-By-Step Instructions

1. Allow your wood to acclimate.

Stack the wood in your room about a week before you start installing it so it has time to adjust to the humidity level in your home.

2. Prep your space.

We removed the existing panels so that all our boards would be uniform. Protect tile, wood and vinyl floors with two layers of heavy paper or cardboard taped down. Cover carpeted floors with canvas dropcloths.

 3.

Install the baseboard.

A radial arm saw or sliding miter saw works best for cutting baseboard, but you can make perfect cuts with a circular saw, too. Install a sharp blade and clamp a square to the board as a saw guide. A giant speed square also makes a great saw guide. For a great-looking job, arrange the boards for the best color and grain match before you make the final cuts, especially on boards that must be spliced to cover a long wall. If your floors are unusually wavy or out of level, trim the bottom of the boards to fit the contour of the floor. They don't have to fit perfectly. Base shoe molding will cover gaps up to 3/8 in. Arrange baseboard around the room so the grain pattern and color of adjoining pieces match as closely as possible. Rough-cut the boards a few inches longer than needed. Then cut the boards to exact length and nail them to each stud with two 2-1/2 in. nails.

4.

Glue and nail the paneling.

Figure out approximately how many full-length tongue-and-groove boards you'll need and cut them to your desired height. Don't assume the boards have a perfectly square mill-cut end. First trim one end square, then cut it to length. Use a level to make sure the first board is plumb before you glue and nail it. You may have to plane a bit from the top or bottom of the groove side to fit a board against out-of-plumb door or window trim. Apply glue to the back of each piece of wood, then drive nails into the drywall hold the boards firmly until the glue dries. If you run across a board that's bowed or crooked, save it for a spot where there's a stud mark so you can bend it straight and nail it to solid wood. In this situation, or at corners or other tight spots, it's OK to nail through the face of the board. Fill the nail holes with matching putty after the first coat of finish. Don't worry if the tops of the boards don't line up perfectly; you'll cover them later with the cap and shelf. Add new pieces of wainscot by pushing the grooved edge onto the tongue of piece already applied.

5.

Notch around any electrical outlets.

Notch the boards to fit around electrical boxes. Don't forget to make a small notch for the outlet screws—it's hard to do after the paneling is in place. The electrical code requires that electrical boxes be flush with wood paneling. You could move the boxes out, but this would be a big job. Instead, buy box extensions, available at hardware stores and home centers, and install them before you reinstall the switches and receptacles.

6.

Space boards for an even corner fit.

Measure from the corner to the edge of the board, excluding the tongue, to determine the width of the last board. Measure every 12 inches along the corner and mark these dimensions on the final board. Connect the marks to create a cutting line.

7.

Install your wainscot chair rail.

The Wainscot chair rail is applied by nailing on 16” centers. Nail into studs whenever possible for strength.

 8.

Prime and paint.

Remember to tape off your lines!

Got a great DIY idea you'd like to share? E-mail us at info@betterfarm.org.

Comment

Nicole Caldwell

Nicole Caldwell is a self-taught environmentalist, green-living savant and sustainability educator with more than a decade of professional writing experience. She is also the co-founder of Better Farm and president of betterArts. Nicole’s work has been featured in Mother Earth News, Reader’s Digest, Time Out New York, and many other publications. Her first book, Better: The Everyday Art of Sustainable Living, is due out this July through New Society Publishers.

Slab Wood Furniture

Benches and end tables made from slab wood.
Whether you're short on cash and in need of some indoor/outdoor furniture or you just love the way rustic building looks, here's a simple and free way to deck out your patios, decks and interiors: slab wood.

With a table saw, some slab wood from your local lumber mill (often discarded by them, free for you!), a few wooden dowels, some screws, wood glue, and a little help from your friends, you'll have your guests guessing what boutique you went to in order to find this one-of-a-kind furniture.
Slab wood donated by Grisanti over at Redwood Lumber

Because all pieces of slab wood are different, and because your needs will be different, there's no sense in us offering sizes for cuts of wood. Just make sure your legs are even lengths, your seat or table top is wide enough, and you offer appropriate support for weight. We used a table saw to make all our cuts and trimmings.


Here are Greg and Elyna cutting down the boards:

And visualizing the finished product:

 Pre-drilled holes get screws, a dollop of wood glue, and some dowels:


 And voila:


Got a great DIY project to share? Itching to volunteer your time and expertise at Better Farm? E-mail us at info@betterfarm.org or call (315) 482-2536.
Comment

Nicole Caldwell

Nicole Caldwell is a self-taught environmentalist, green-living savant and sustainability educator with more than a decade of professional writing experience. She is also the co-founder of Better Farm and president of betterArts. Nicole’s work has been featured in Mother Earth News, Reader’s Digest, Time Out New York, and many other publications. Her first book, Better: The Everyday Art of Sustainable Living, is due out this July through New Society Publishers.

Work Day: Operation Coop Construction

We've been gearing up for a few months now for an influx of animals at Better Farm: clearing out a shed on the property so we can welcome a couple cashmere goats next month, making plans with the Clayton Co-op to provide them with organic eggs from here on out, and doing research into new coop designs to house a flurry of rescued hens and baby bard rocks.

So yesterday, a whole slew of Better Farm volunteers showed up to construct two chicken coops, each of which can house up to 25 hens. We bought plywood to protect roosting boxes from predators, but the entire rest of the operation drew from discarded scrap wood, metal roofing, an upcycled egg-laying box, and anything else we could find on-site.

Here's the set-up:


And our inspiration: a classic, mobile, rectangular box at left, and a larger coop design, at right, utilizing discarded screens and windows:

Here are some shots of the first design being impletmented:


The second coop was started, and will be finished next week—stay tuned! You can see the complete album here.


Thanks to: Erin Fulton, Brian Purwin, Holly Boname, Jon-Michael Passerino, Bob Laisdell, Susan Kerbel, Matt Smith, Nick Bellman, Carl Frizzelle, and Joel Zimmer for their help on these projects!

Want design plans or coop-construction advice? E-mail us at info@betterfarm.org.
Comment

Nicole Caldwell

Nicole Caldwell is a self-taught environmentalist, green-living savant and sustainability educator with more than a decade of professional writing experience. She is also the co-founder of Better Farm and president of betterArts. Nicole’s work has been featured in Mother Earth News, Reader’s Digest, Time Out New York, and many other publications. Her first book, Better: The Everyday Art of Sustainable Living, is due out this July through New Society Publishers.