DIY Herb-Drying Hanger
/Now that the winter holidays are just around the corner, many of you may be preparing elaborate meals for your friends and family. Fresh herbs from your own garden are a great way to pep up any meal, but as it gets colder it may be more practical to use crushed dried herbs instead. You can easily dry your own herbs in your house. Simply tie them up and hand them somewhere out of the way, where it's not too cold or moist. I didn't have a good place to hang them, so I decided to try and make a hanger out of an old lampshade. I chose lampshades since they could provide two levels of hanging space with a small footprint. I picked up two interesting lamp shades at a thrift store for fifty cents each. I looked for ones with unique "skeletons" since the fabric would be removed.


Before I started mutilating—I mean
modifying—
my two lampshades, I gathered my supplies and prepped a flat work space. You will need your shade, butcher's twine or string, scissors and a strong knife (some of the fabric was pretty tough), and what ever it is you want to hang. I had some fresh herbs harvested from the farm earlier that day, along with a small fall bouquet that I wanted to preserve.I separated the flowers into little bouquets and the herbs into small bunches. I wrapped the butcher's twine a few times around the stems and tied a simple knot, leaving about a four inch tail. Once all the bunches were tied, I set them off to the side.
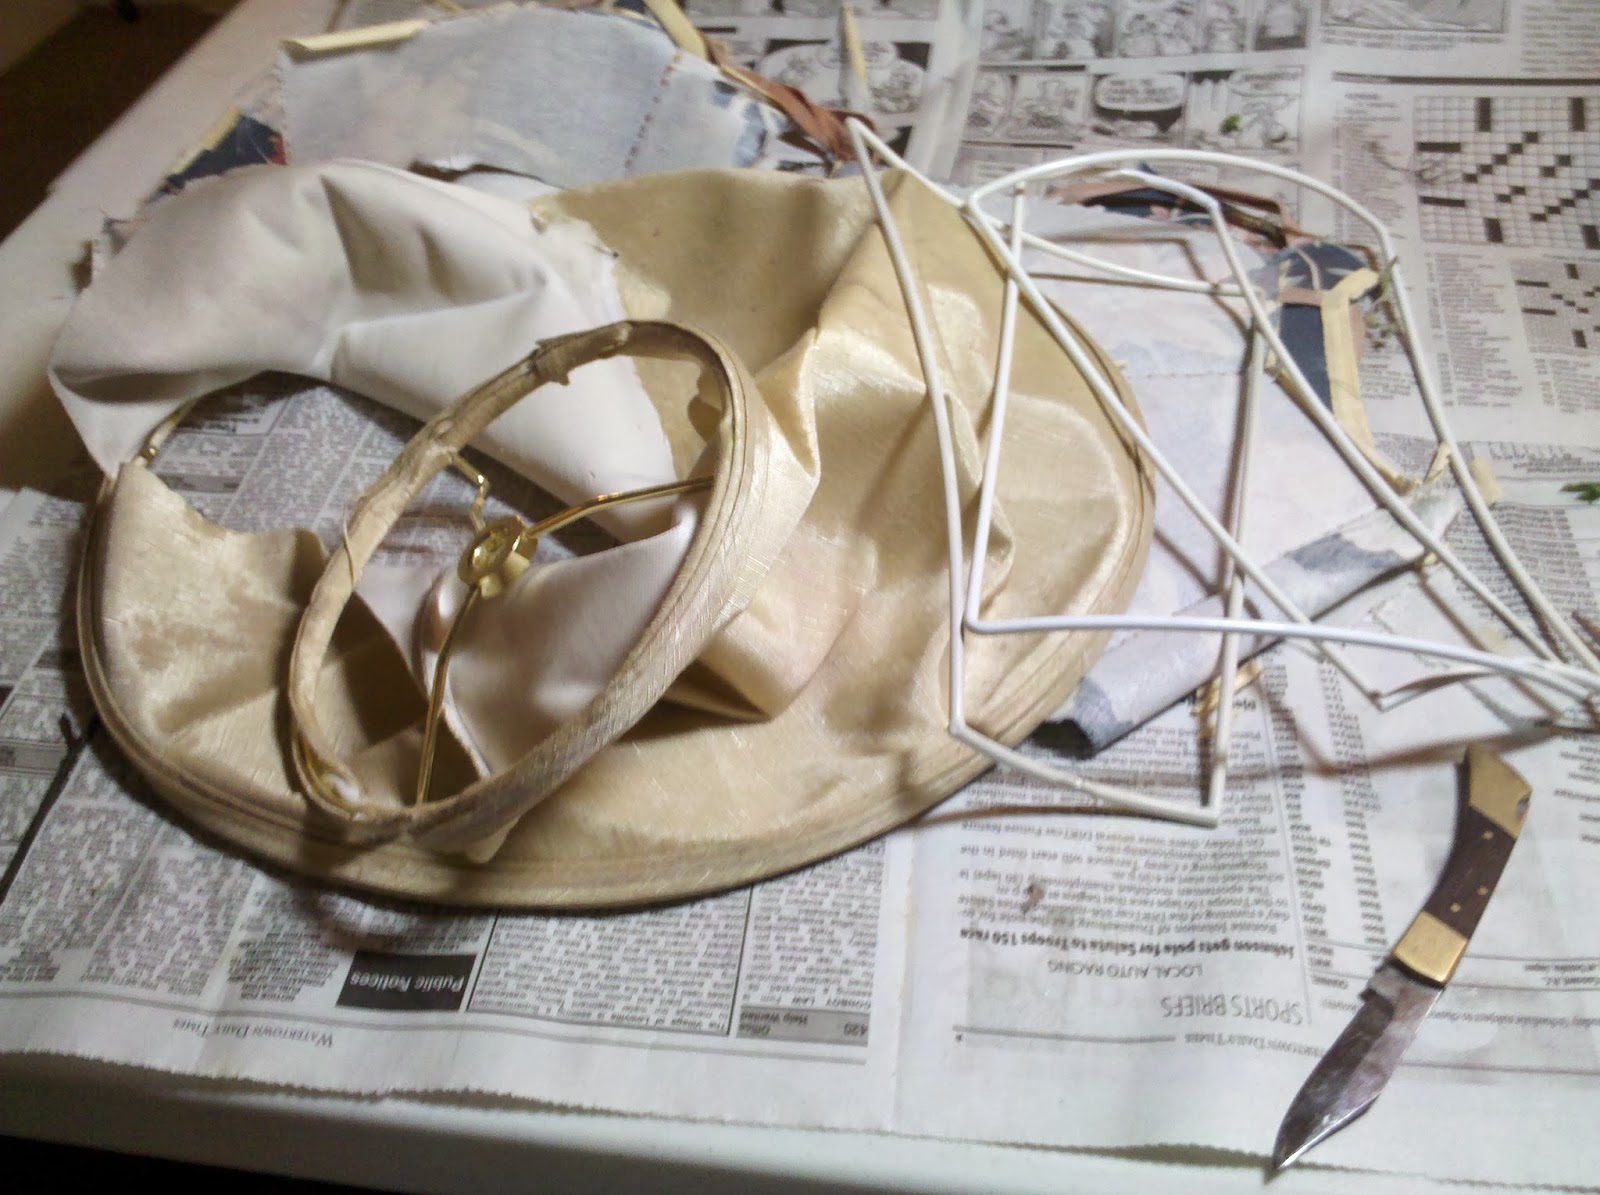

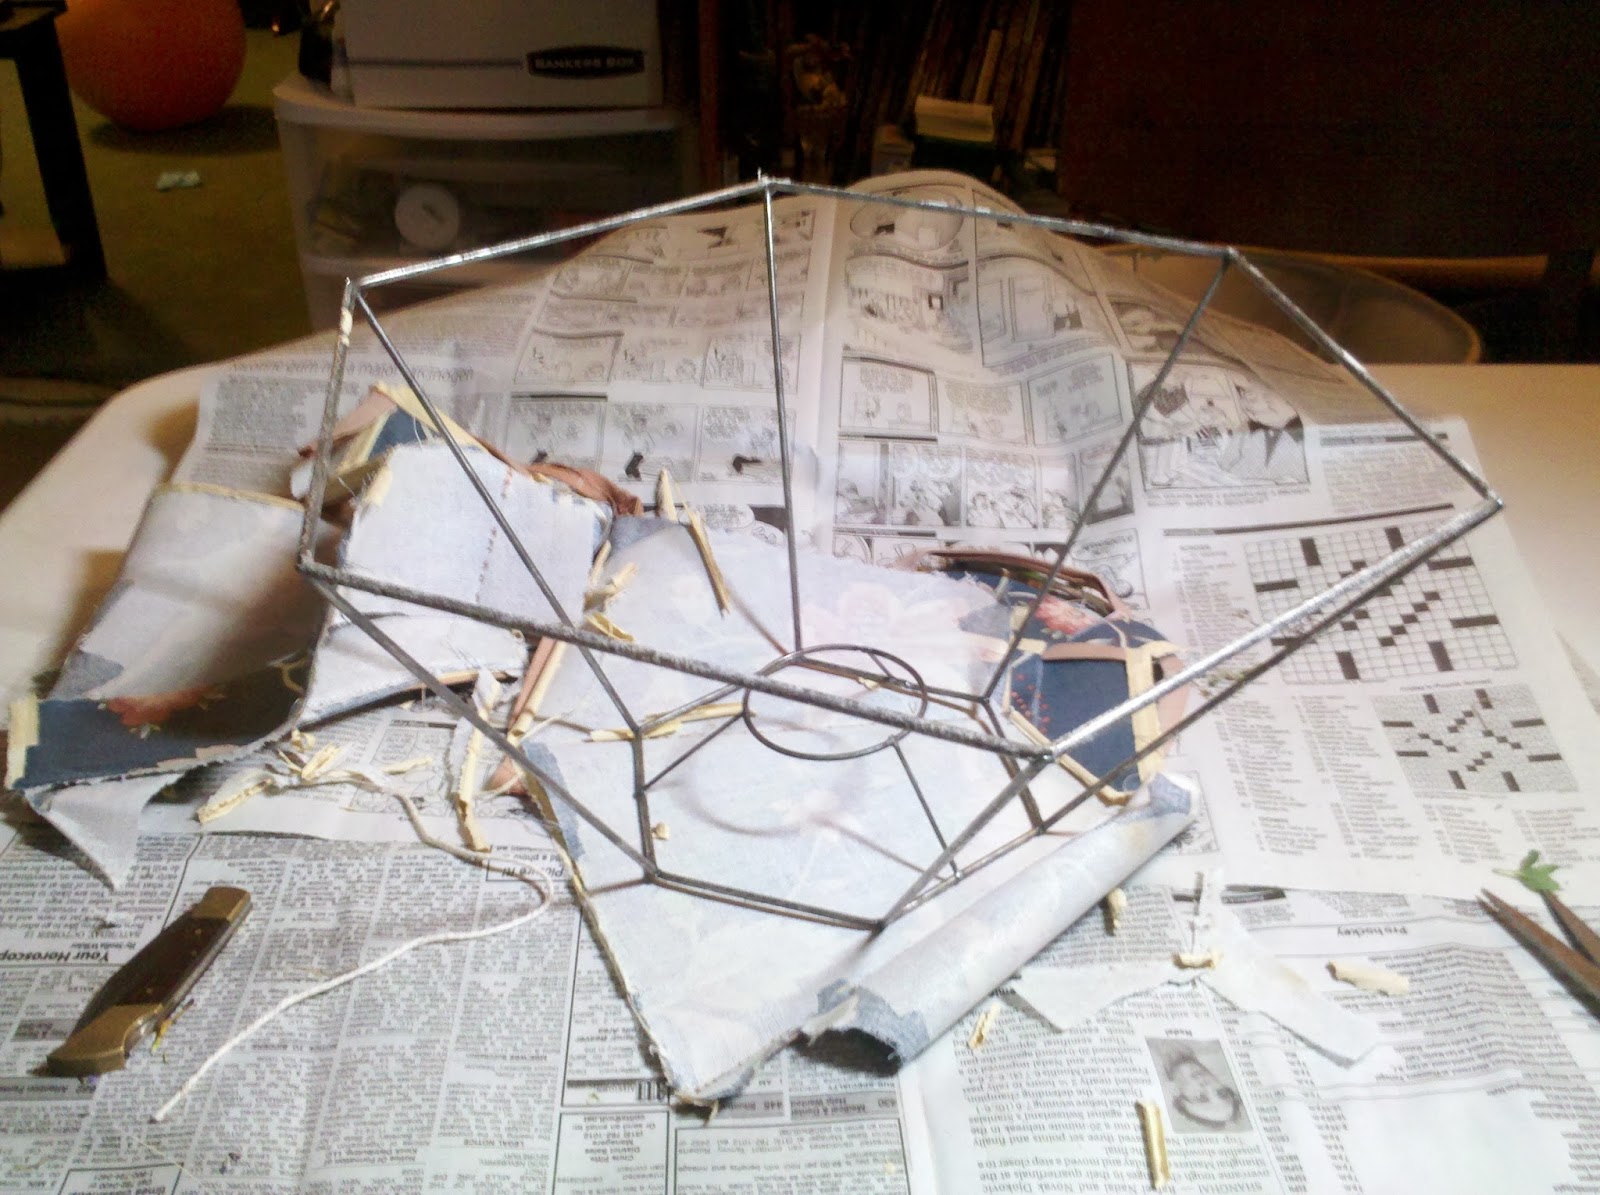
Now it was time for the lampshades! These are the two that I picked. If you want the shape of the shade to be preserved once the fabric is removed, pay attention to the structure of the wire skeleton. The newer shade that I picked basically collapsed with out the fabric to hold it together. The older shade was made of a single solid piece, so it held its shape nicely. There was quite a bit of glue stuck to the wire, so I soaked all of the wire pieces in hot soapy water and scrubbed them down.

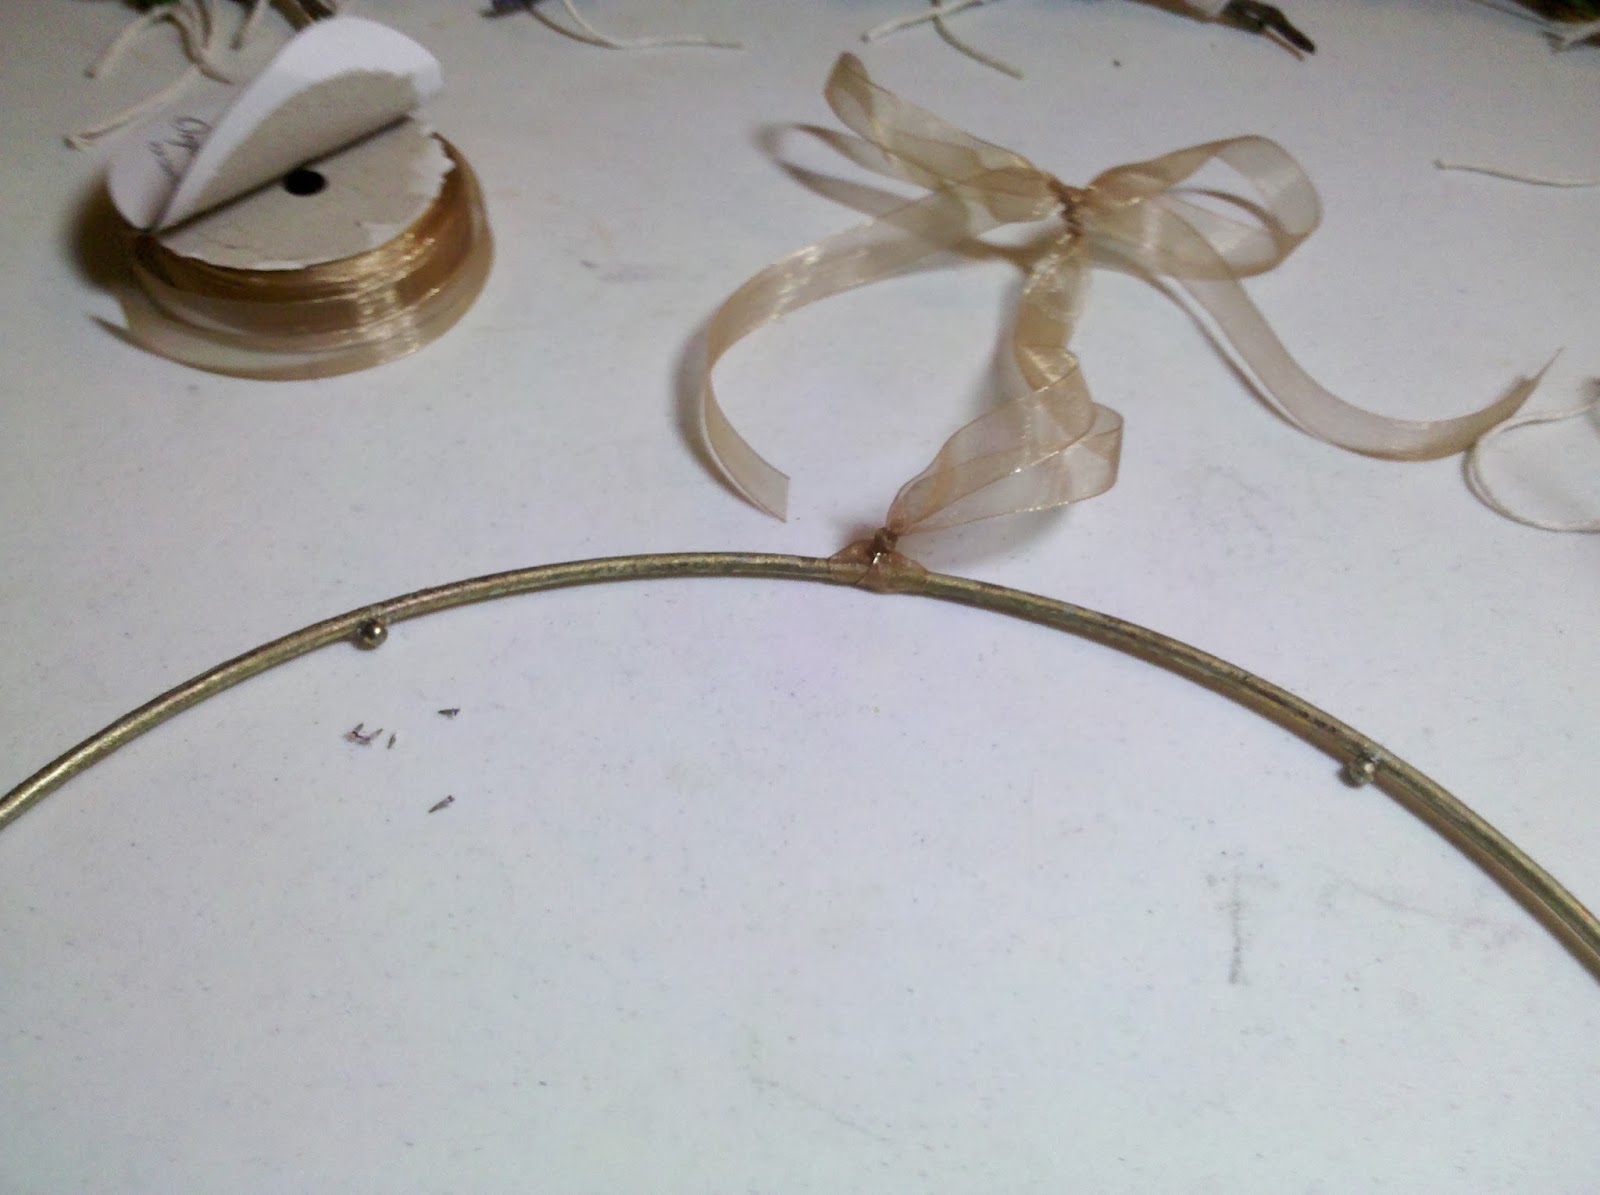
The newer shade wasn't a total loss. The large bottom ring had small nobs evenly spaced around it, so that I could still tie the herb bunches around it with out them slipping to the bottom. I used some gold ribbon to make a hanger, and tied on the herbs. I could have also tied the ring horizontally, but I didn't have enough ribbon. It would also have been a pain to make sure the ribbons were all the same so that the ring was parallel to the floor. I really liked the end result, though. Great option if you don't have a lot of space.

The older shade really turned out great. It has a great shape and has lots of space to tie herbs too. I was just going to hang it from some butcher's twine, but I found a chain for a hanging planter that worked perfectly. The whole project only took about an hour. Honestly, the part that took the longest was deciding which herb bunches to hang where. The middle looked a little bare, so I added a small pumpkin for color. Now it looks like a pretty harvest decoration that is also practical. Take that, Pinterest!

Once the herbs have dried, you can chop or crush them and put them in air-tight containers to use throughout the winter. Mine dried long ago, but I admit I haven't taken them down yet. I just love the way the project turned out. I hope you all have as much luck with your own DIY attempts!