Aquaponic Setup Complete!
/ |
| Aquaponics in action! |
Here's a quick synopsis of how we got to where we are:
First, we consulted with a dear friend who works for Brooklyn Farms about how to set up our tank, what supplies we needed, and how the whole thing works. He started us out with these marching orders:
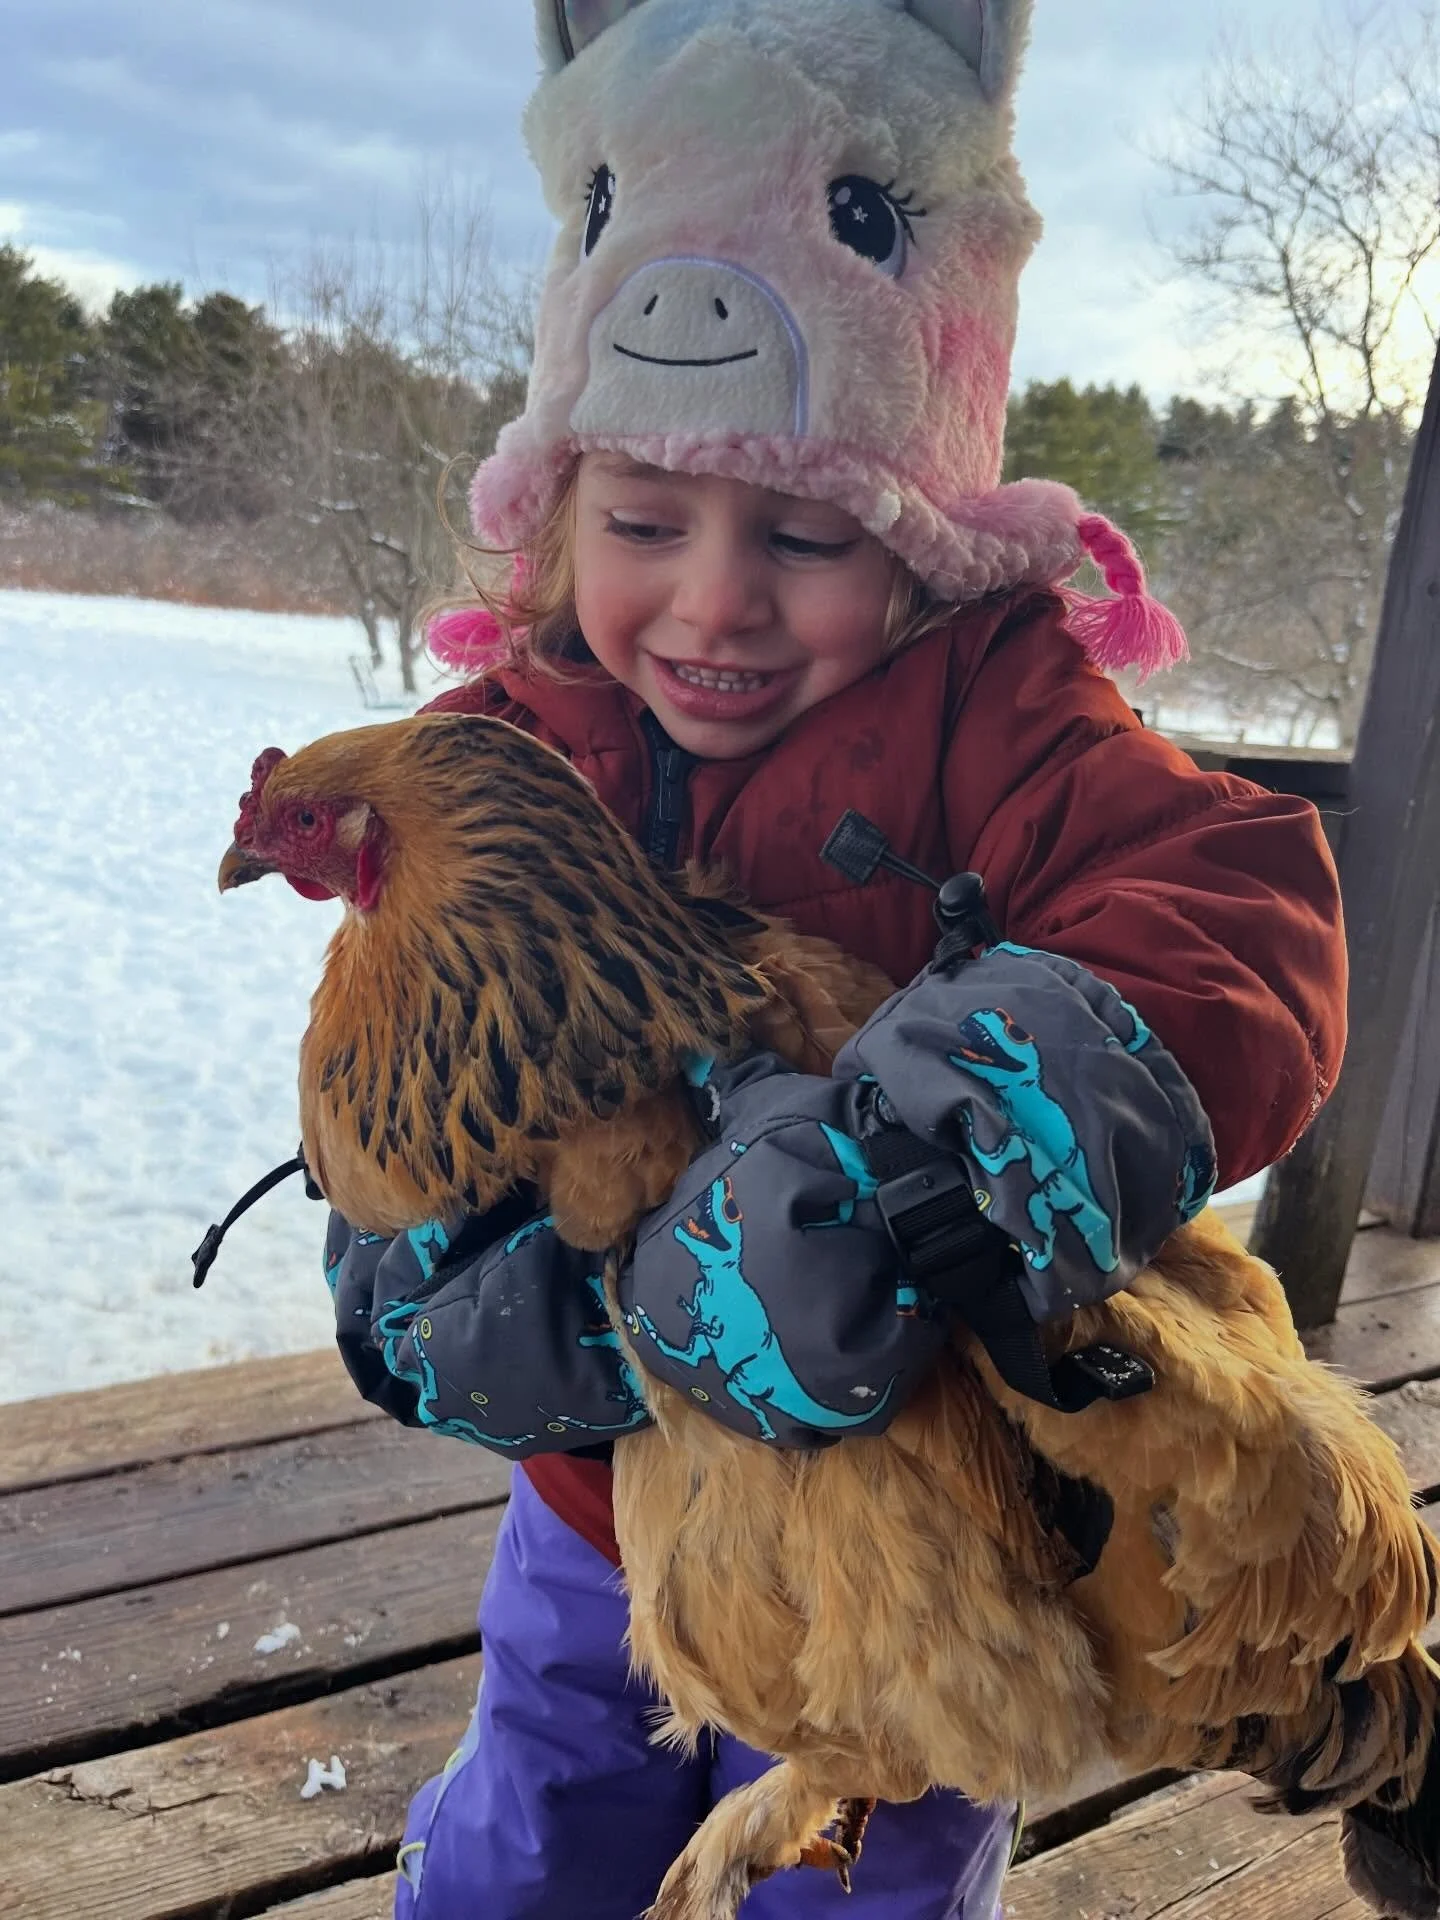
- Purchase at least a 40-gallon fish tank, with two corner filters and gravel for the bottom
- Fill the tank with water
- Two days later, add fish. At first, only add feeder fish. Some will die—and when they do, leave them floating in the water. As the feeder fish break down, they'll be ammonia-based waste. Bacteria will slowly colonize and turn ammonia into nitrite (ammonia and nitrite are both toxic to plants). After that, more bacteria will colonize and change nitrite into nitrate, which is usable fertilizer.
 |
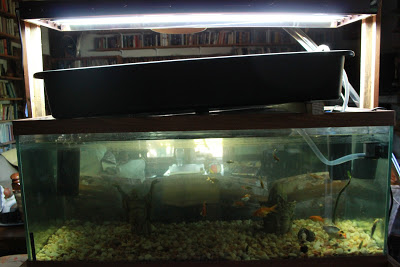
| Intern Director Jaci Collins, left, with Carl Frizzell and Noah Bogdonoff |
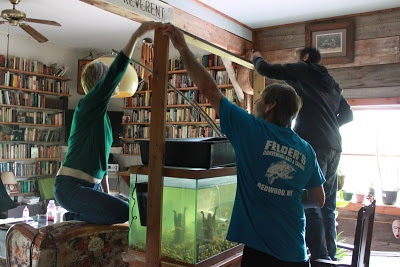
Then we hooked up the pump and tubes so the water came up out of the tank and over the pea gravel in the grow bed (we also poked holes at one end of the grow bed so the water could drain back out into the tank):
Finally, it was time to plant the seeds. But how do you plant seeds directly into gravel? Here are some tips we gleaned online:
- Select your seeds. To grow directly from seed rather than seedling, use small seeds such as carrots, herbs, radishes, lettuce or other salad greens.
- “Broadcast” the seeds over your aquaponic system by gently tossing them on the growing surface -- in this case, the water of the growing beds. Allow the seeds to settle into the gravel at the bottom of the bed. Distribute the seeds as evenly as possible.
- Insert seeds into seed-starting media if you're attempting to grow larger plants such as beans, cucumbers, melons or peas. With your index finger, push seeds into the center of starting media such as rockwool or peat sponges. Distribute the media evenly throughout the growing beds.
- Clean young seedlings thoroughly under a water faucet, removing all dirt before attempting to plant them in your aquaponic system. Arrange seedlings evenly, gently securing their roots with the gravel of the growing beds.
- Keep the fish-to-tank
volume ratio at about 2:1 as you grow your seeds. Feed the fish daily --
fish consume about 1.5 percent of their body weight each day. Maintain
consistent water quality and pH levels, and clean your filtration system
and tubing once a month. When plants appear, trim or harvest them as
needed for each individual plant type.
Now we wait for the seedlings to appear. Stay tuned!
For more information on this process, click here.