Easy Vegan Borscht With Fresh Garden Veggies
/
Just-picked beets shine in this simple, farm-to-table recipe.
Read MoreJust-picked beets shine in this simple, farm-to-table recipe.
Read More
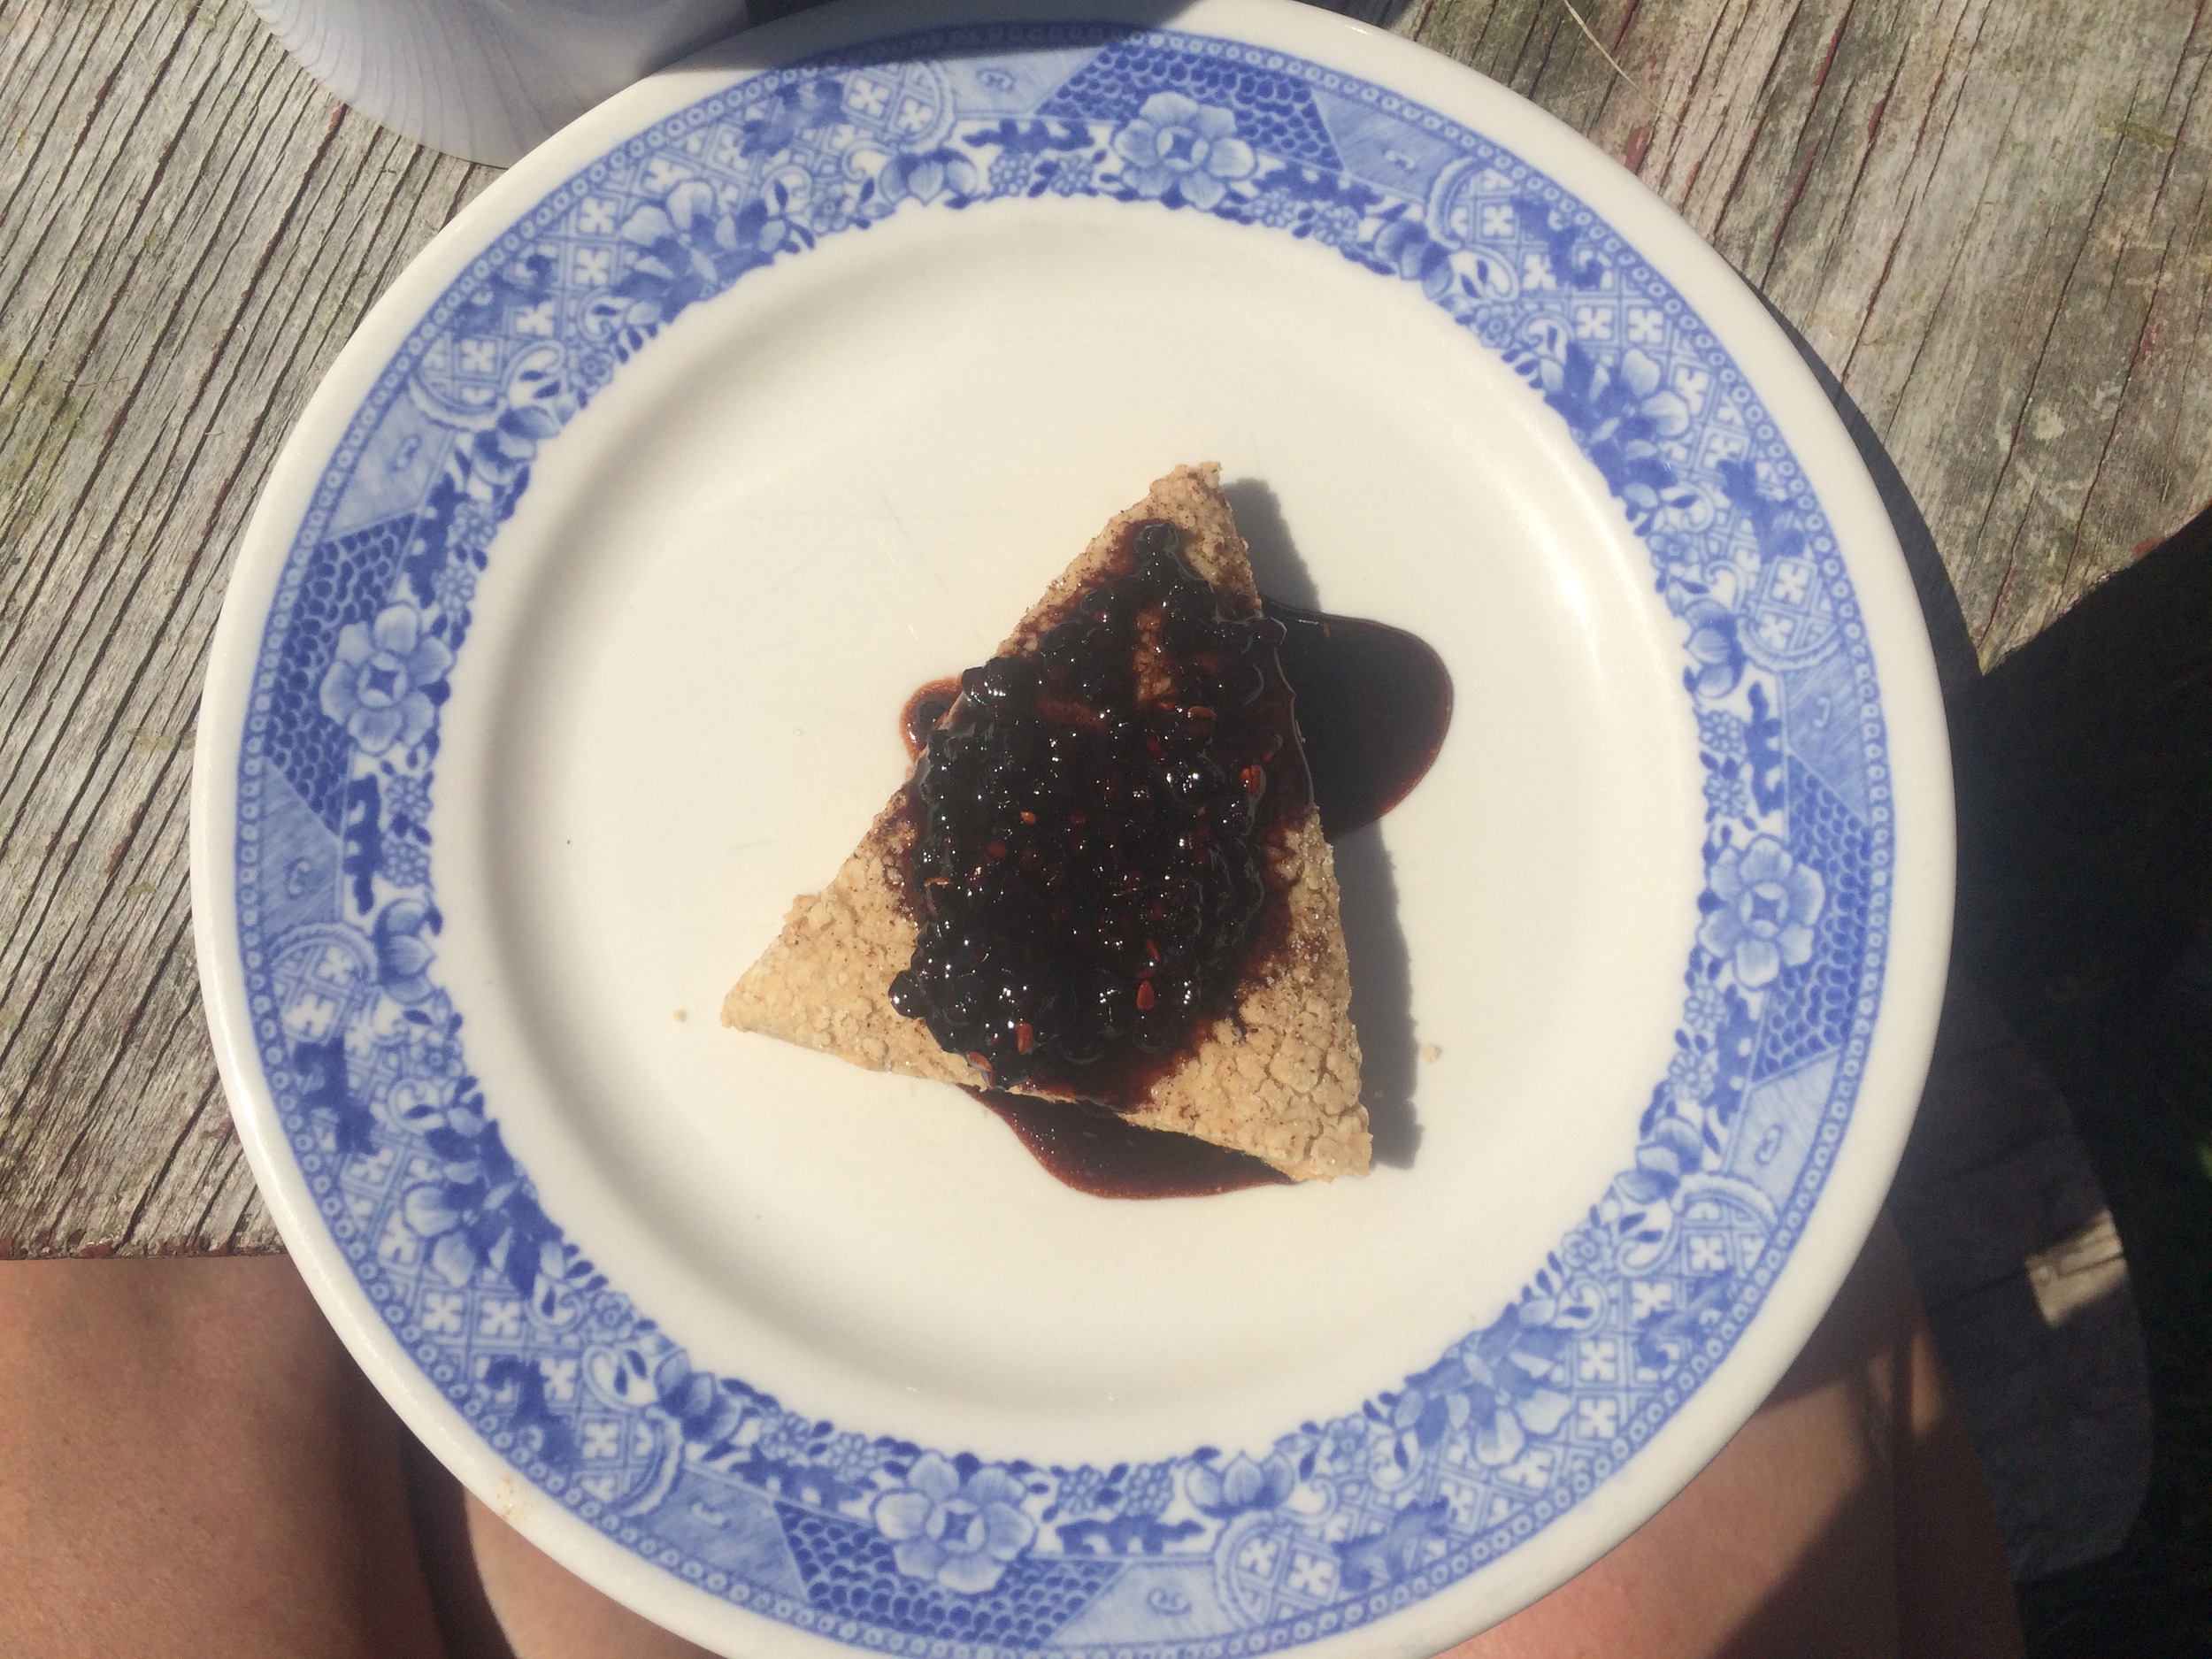
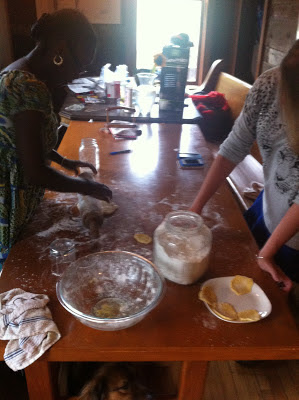
Shay (left) and Rachel show off their scones and elderberry jam.
It was domestic bliss at Better Farm yesterday as sustainability students Shayna Jennings and Rachel Magathan did some preserving and baking to host a small tea time with Better Farm residents.

Utilizing elderberries picked locally last season (and kept frozen in a standing basement freezer), Rachel set about making the jam while Shay took charge on the scones. Within the hour, several people from the farm were enjoying a proper high tea outside. Here's how the ladies pulled it off.
Ingredients
Directions

Ingredients
Instructions
Two things to note here: the jam will bubble up so you do need to use a big pan (a preserving pan, if you have one). To know when the jam has set, put a saucer into the freezer and after 10 minutes, spoon a blob onto a cold saucer. Leave it for 10–15 seconds, then push with your finger. If it has formed a skin and wrinkles when you push, it has reached setting point.
Elderberry jam recipe from Gin and Crumpets.
Better Farm's sustainability students last week foraged wild edible plants on the property for a farm-to-table meal.
Nina, Steph and Levi headed out into the woods, fields, and pond to find cattail, nettles, burdock and thistle for inclusion in Vietnamese pho, a traditional noodle soup.
Read More
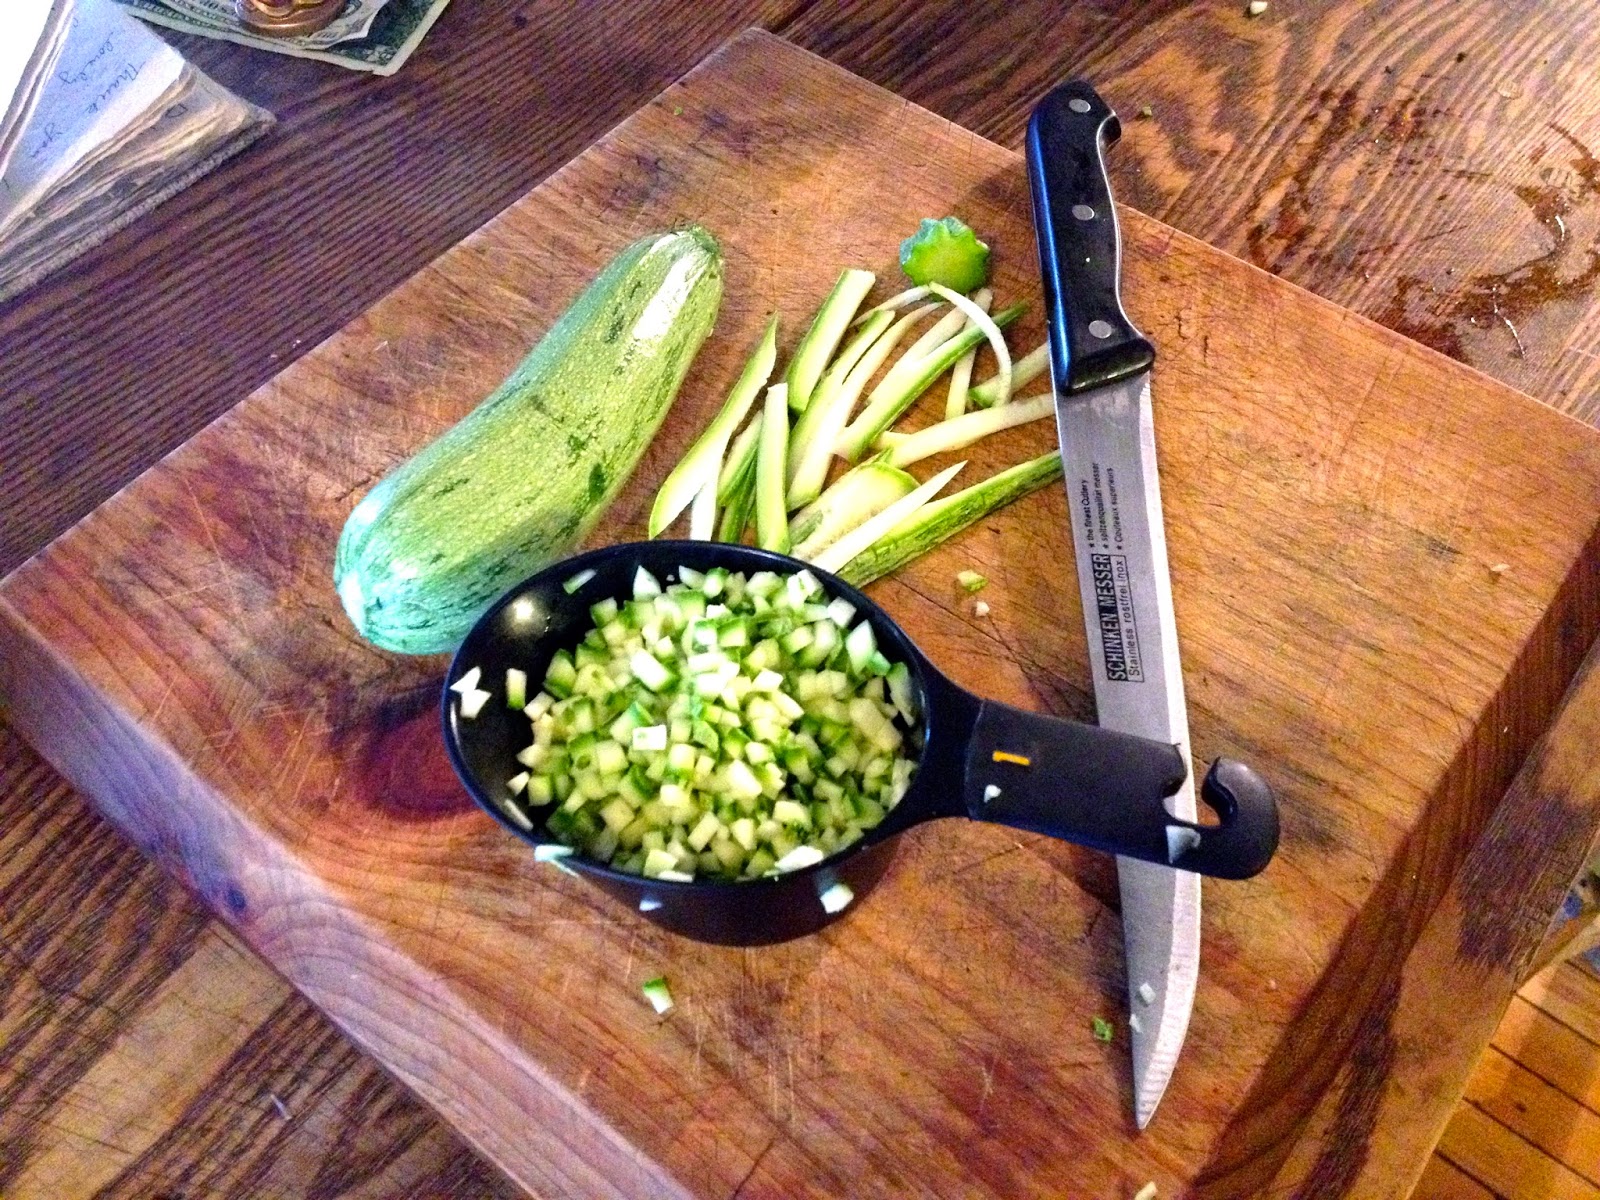
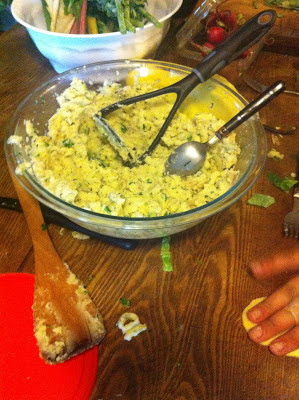
Best. Relish. Ever.
The zucchini is coming in hot this week in the Better Farm garden, leading to a rainy-day decision to put it to good use and can up some sweet zucchini relish! Based on what we found in the kitchen cabinets, Xuan and I cooked up a fresh batch, forged from two different recipes we found online.
The recipes came from Food.com and Taste of Home sites. Borrowing some tips from each, here are the steps Xuan and I took to make the (truly, absolutely delicious) relish.
Ingredients

Instructions

Xuan Du chops up some heirloom zucchinis.


In a world of international shipping, plane travel, criss-crossing railroad tracks, and roads, invasive species have become par for the course. In any ecosystem, you're likely to find a number of species that have immigrated from elsewhere; often with detrimental effects to the native population.
Invasivore, a group of people taking advantage of this invasion, promotes the consumption of invasive species as a means of controlling those populations and essentially turning proverbial lemons into delicious lemonade.
From prehistoric times, humans have had an amazing track-record of severely reducing the populations of species we eat. Indeed, it seems that much of the time we can’t stop ourselves. The folks at Invasivore believe we can tap that hunger to reduce the impacts of harmful invasive species.
The mission at Invasivore is to be a one-stop guide for devouring
, those organisms which have been moved around the world, damaging their new surroundings. Think of it as reasonable revenge for the harm these species cause. The word “invasivore” comes from combining “
Invasi
ve Species” with the latin for “devour” as in “carni
vore
”. Thus invasivore = one who eats invasive species.
Over at the group's website, you can peruse recipes for preparing invasive species (
ahem,
), as well as exposition and commentary on related topics such as species’ profiles, histories and cultural significance, harvesting tips, interviews with Invasivores-at-large, and summaries of relevant scientific research.
Material for the Invasivore project is based upon work supported by the
under Grant # NSF-DGE-0504495 to the
interdisciplinary training program at the
.


It's a great year for apples. Whether you've got a tree or two in your yard, enjoy picking your own, or just love to load up at farmers' markets, we're coming up on a strong season of pies, fresh-pressed cider, turnovers, and any other apple-related dishes you can dream up.
After a tricky season last year when droughts caused a marked decrease in fruit production, apples have made a comeback with places like the local
Burrville Cider Mill bringing back gallon jugs of cider
and a marked drop in consumer cost for the fruit that did Adam and Eve in.
So however you go about acquiring this most wonderful fruit, consider between bites creating a delicious batch of apple sauce, pressing your own cider, or just utilizing one of the below recipes for a treat that's, well, sweet like apple pie on a Sunday afternoon.
Not for the faint of heart, here's a tutorial on constructing your very own cider press:
http://www.instructables.com/id/Small-Homebuilt-Cider-Press/
And for the rest of you, here are some great recipes being broadcast throughout the Internet in recent days:
Canned Apple Pie Filling
Great as a gift, or for storing until you want a fresh-baked pie this winter!
10 pounds tart apples - peeled, cored and sliced (~20 cups sliced)
5 1/2 cups sugar
1 1/2 cup Clearjel
1 T. cinnamon

2-1/2 cups cold water (2 1/2 qts water if you omit apple juice)
5 cups apple juice
1 tsp. nutmeg
3/4 cup bottled lemon juice
Preparation -
For fresh apples, place 6 cups at a time into 1 gallon of boiling water and boil one minute when it comes back to a boil. Drain but keep fruit covered in a bowl.
In a stockpot, mix the sugar, Clearjel, cinnamon, nutmeg together. Add the water and apple juice, stir to mix well. Bring to a boil and cook until thick and bubbly, stirring frequently. Remove from heat. Add the lemon juice. Fold apples into mixture.
Pack the apples into hot, sterilized quart size canning jars. Best way to fill is in layers. Using the funnel ladle one large scoop and using the spatula press the apples down in the jar to remove the bubbles. Continue filling using this technique so that you work your way up the jar with as little air bubbles as possible. Fill the jars to 1" headspace. (Because of expansion you can go to 2")
Wipe the rims and place the hot lid/rings on the jars. Process in a water bath canner for 25 minutes at a full rolling boil. Wait 5 minutes, remove and place on dishtowel overnight undisturbed. The next day remove rings and clean jars and label with recipe name and date. Store in a cool, dry, and dark place. This recipe will make 6 - 7 quarts.
Note:
For a great variation substitute brown sugar for the regular sugar and apple cider for the apple juice. This will make an amazing Caramel Apple Pie filling!
If you need Clear Jel you can order it from the
!
BEST Vegan Apple Pie
From
Ingredients:
Pie crust
(
or check out the “Wholly Wholesome” organic, traditional pie crust)
Filling:
4 large organic apple
1 tsp. ground cinnamon
1/2 tsp. nutmeg
1/2 c. sugar
juice of one lime
2 Tbs. flour
Pie Top:
1 stick of butter or vegan replacement (~1/2 c.)
3/4 cup flour
(1/3) cup sugar
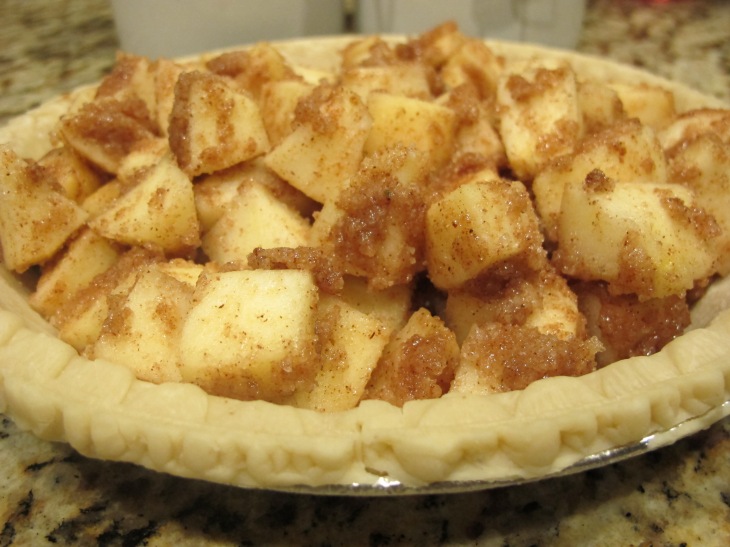
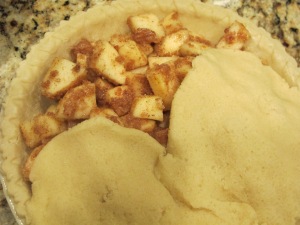
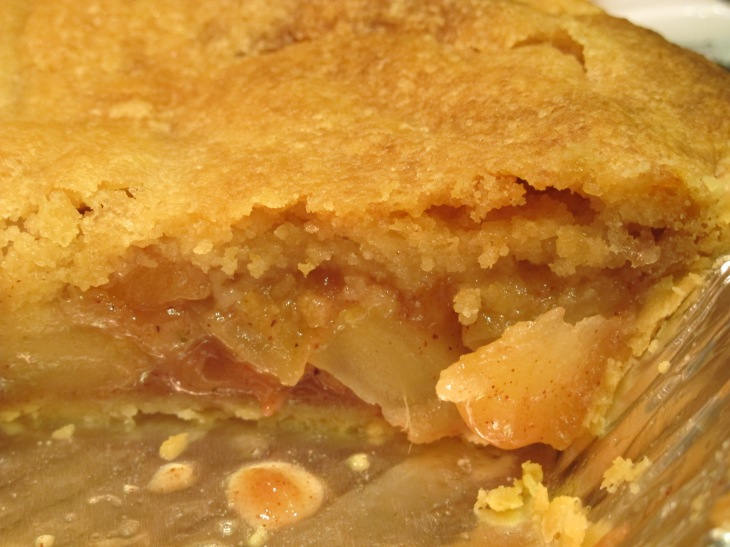
Preheat your oven to 350F. Wash, peel, and chop your apples. Place them in a bowl. Add the cinnamon, nutmeg, sugar, flour, and lime juice. Mix well. Pour the apples on the pie crust.
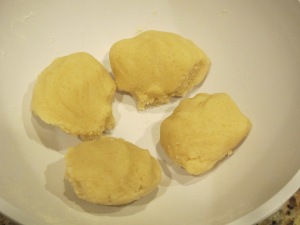
In a separate bowl place the buttery stick, the flour, and the sugar. Using your hands, combine the ingredients until they form a dough. Make one big dough ball and break into four smaller dough balls. Each dough ball should cover about 1/4 of the pie. Using your hands, flatten the dough balls as if you were making tortillas and start covering up the pie until it is completely covered.
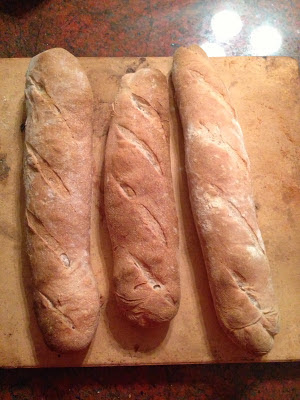
Bake for about 45 minutes or until slightly golden (see picture).
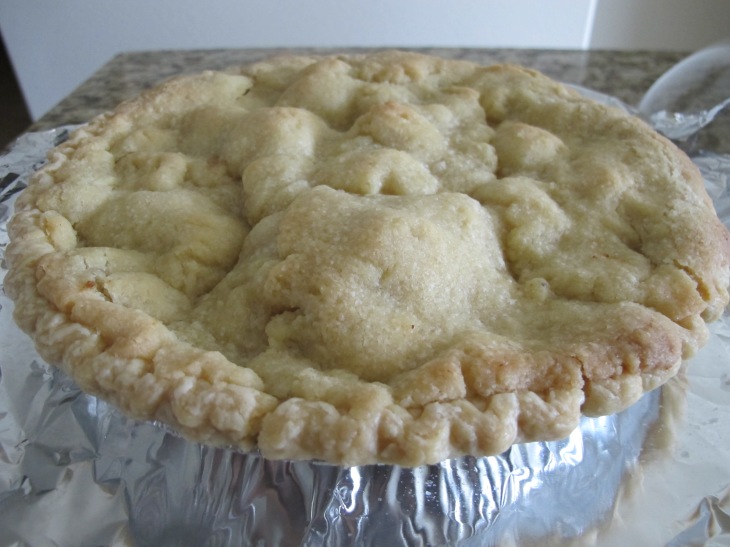
Let it cool before you dig in
*Note: Always bake the pie on top of a pizza pan in case of pie drippings.
Cranberry and Apple Crumble
From

This sweet-tart crumble is best served warm, topped with whipped cream or vanilla ice cream (or vegan alternative). To be sure you're using the freshest berries, you'll want to choose fruit that has bounce in it. Or you can put it to the water test. Small pockets of air trapped in fresh cranberries make them bounce—and float in water.
Ingredients
1/2 cup flour
1/4 cup plus 2 tablespoons sugar
1/4 cup packed brown sugar
1/4 cup chilled butter, cut into small pieces
6 cups peeled and sliced (about 1/2 inch thick) apples (we like Braeburn or Granny Smith)
1 cup fresh or frozen cranberries
1/3 cup fresh orange juice
1 tablespoon cornstarch
Directions
Heat the oven to 375°. Combine the flour, G cup of the sugar, the brown sugar, and the butter in a bowl. Mix the ingredients with your fingertips to create pea-size crumbs. (Alternatively, pulse the mixture in a food processor 10 times or so.)
Combine the apple slices and cranberries in a large bowl. Mix the juice, remaining 2 tablespoons of sugar, and cornstarch in a small bowl. Pour the mixture over the fruit and toss well.
Spoon the fruit into a 2-quart baking dish and sprinkle on the flour mixture. Bake the crumble until bubbly and golden brown, about 40 minutes. Serves 6 to 8.

We've been pairing salads with everything, like this homemade pesto dish from the garden.
At the farm, we have a HUGE amount of organic, buttercrunch lettuce we've been selling in bulk to stores and restaurants, and retail out of the farm stand. But we still have a lot leftover for our use in the house. Now, I’m not a big fan of lettuce or salads—kind of counterintuitive when you're flush with the stuff. I'm determined to change my ways. Also, this buttercrunch lettuce is a great source of
vitamin A, phytonutrients,
fiber, vitamin K, and folates: so it wouldn't hurt to add as much as possible to the diet.
Here's a little more about the
nutritional value of buttercrunch lettuce
, gleaned from LiveStrong.com:
Vitamins
Buttercrunch lettuce provides almost 70 percent of your DV for vitamin K, the nutrient responsible for proper clotting of blood. It also contributes more than one-third of your daily vitamin A needs. Vitamin A encourages strong vision and helps you fight infection. Additionally, buttercrunch offers 10 percent of your DV for folate, a nutrient that supports healthy pregnancies, brain development and may fight depression. Buttercrunch is higher in vitamin K than even Romaine lettuce but is not as high in vitamin A or folate.
Minerals
Each 1-cup serving of chopped or shredded buttercrunch lettuce provides between 2 and 5 percent of the DV for calcium, iron, magnesium, phosphorus, potassium and manganese. The mineral content of butterhead-type lettuces is about the same as that in Romaine or iceberg lettuces.
So, I wanted to look up recipes that involved lettuce so I could get better at eating it on a regular basis. Now, I love a classic BLT and I found a recipe for a BLT salad. Another lettuce recipe I want to try is Artichoke Salad. I mean, who doesn't like artichokes? The recipe I found for that calls for mushrooms, which I wouldn't have eaten a month ago but am now learning to love. The third salad I found is a Deep Dish Layered Salad. I'm working toward having a salad with every meal.
And of course remember that salads are great ways to do away with leftovers! In addition to any produce in your fridge, don't be afraid to toss last night's rice, beans, or what's left of your hummus, couscous, or pasta in as well.
BLT Salad
Ingredients
1 pound bacon (or vegan bacon, there are lots of kinds out there to choose from)
3/4 cup mayonnaise (or Veganaise/Nayonaise)
1/4 cup milk (soy milk will also work)
1 teaspoon garlic powder
1/8 teaspoon ground black pepper
salt to taste
1 head lettuce - rinsed, dried and shredded
2 large tomatoes, chopped
2 cups seasoned
croutons
Directions
Place bacon in a large, deep skillet. Cook over medium high heat, turning frequently, until evenly browned. Drain, crumble and set aside. In a blender or food processor, combine mayonnaise, milk, garlic powder and black pepper. Blend until smooth. Season the dressing with salt. Combine lettuce, tomatoes, bacon and croutons in a large salad bowl. Toss with dressing, and serve immediately.
Artichoke Salad
Ingredients
.7 ounces of Italian-style salad dressing
1 cup sour cream (or vegan sour cream equivalent, Tofutti makes a great one)
4 cups chopped lettuce
1 cup chopped red bell pepper
1 cup chopped broccoli
1 cup sliced fresh mushrooms
1/4 cup diced onion
1 can (14 ounces) artichoke hearts, drained and chopped
Directions
1. In a small bowl, whisk together the sour cream and Italian dressing mix.
2. In a large bowl, toss together the lettuce, red pepper, broccoli, mushrooms, onion and artichoke hearts. Top with dressing and toss until evenly coated. Refrigerate until ready to serve.
Deep Dish Layered Salad
Ingredients
2 eggs
1 1/2 heads lettuce - rinsed, dried, and shredded
1 cup chopped celery
1 cup chopped green bell pepper
1 cup chopped green onions
2 cups sliced fresh mushrooms
2 cups frozen green peas, thawed
2 tablespoons bacon bits
2 tablespoons grated Parmesan cheese
2 cups mayonnaise
2 tablespoons brown sugar
1/2 teaspoon garlic powder
1/2 teaspoon curry powder
Directions
1. Place eggs in a saucepan and cover with cold water. Bring water to a boil; cover, remove from heat, and let eggs stand in hot water for 10 to 12 minutes. Remove the eggs from hot water, cool, peel and chop.
2. Layer 1/2 of the lettuce in the bottom of a large bowl. Follow with a layer of celery, bell pepper, green onion, mushrooms, peas and egg. Top with remaining lettuce.
3. Prepare the dressing by whisking together the mayonnaise, brown sugar, garlic powder and curry powder. Spread evenly over top of salad. Sprinkle with bacon bits and Parmesan cheese. Refrigerate until ready to serve.
Want to get some lettuce of your very own? Stop by our farmstand or email info@betterfarm.org.
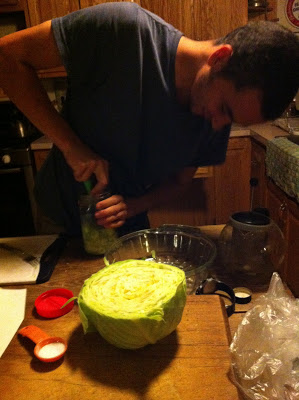 |
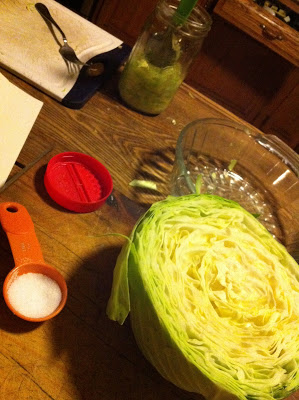
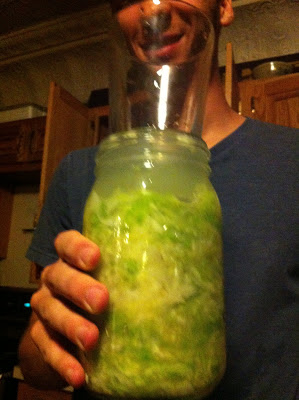
| Jacob Firman makes sauerkraut. |

Soybean slider!
I wrote last week about making soy milk from scratch. With the leftover mash, I experimented with a previously used chickpea slider recipe to create soybean sliders. The results were great, and the burgers are easy to freeze—but I'd recommend making way more than you need because they go fast!
I put the soybean mash in a bowl and added onions, shreddd carrots, and anythind else I could find in the fridge (potatoes, turnips, radishes—anything will work!). I added two eggs from our chickens, some bread crumbs, and lots of spices from the garden (sage, oregano, mint, and lots of chives). After I mixed it up, I added flour until I had the right consistency and put some vegetable oil in a pan to warm up.
I formed the mash into patties and fried them until they were golden-brown. Served up with a bunch of fixings, they were delicious! Meat-eaters and vegetarians alike will love this recipe.
I decided last week to make a vegan cake and I need soy milk. We'd run of soy milk out at the house, but we did have a lot of dried soybeans given to us last year by a local farmer.
I cleaned the soybeans, then put them in two bowls of water overnight to rehydrate. Once they were ready to go, I drained the soybeans and put them in a food processor, adding water as needed. Then I put the mash in a big pot to cook for 45 minutes at a low simmer. I drained the mash (see a subsequent post for an easy soybean slider recipe), and the remaining liquid was my
To make about 2 quarts and 1 1/2 pints of soy milk, you will need:
1 cup of soybeans (Soybeans are generally about 89 cents a pound, so this recipe would only cost about 50 cents)
11 total cups of water (this will be added two to three cups at a time)
1/4 cup of sugar (this probably will be adjusted according to your tastes)
Some basic equipment is also needed:
A blender
A pot (should be fairly big and be able to hold at least 11 cups)
Multiple bowls
A cheesecloth (this is for straining the mixture so other items could be used in place of this, like a strainer)
A wooden spatula for stirring
A container for holding the finished soy milk