Making Blueberry Wine


Alcohol fermenter Paul Jennings came to Better Farm this past Saturday, July 13, to teach a workshop on how to make two gallons of blueberry spice wine. It was much faster and simpler than I could have ever imagined! Anyone can do it in their own homes with the proper equipment. 

Here is the breakdown of ingredients:

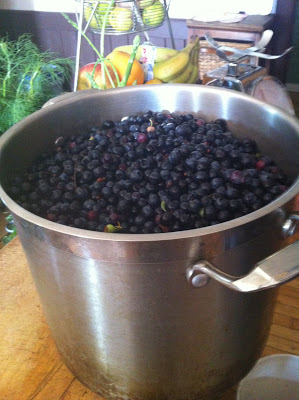
4 - 6 lbs. of blueberries 4.5 lbs. sugar
1 tsp. ginger 1 tsp. nutmeg
1 tsp. cinnamon 2 tsp. acid blend
2 tsp. yeast nutrient 1 tsp. tannin
1 tsp. pectic acid Nylon mesh bag
Montrachet yeast Stabilizer

Directions:

1)   Chill 1 gallon of water. 
2)   Boil the 1 gallon of water, spices and sugar
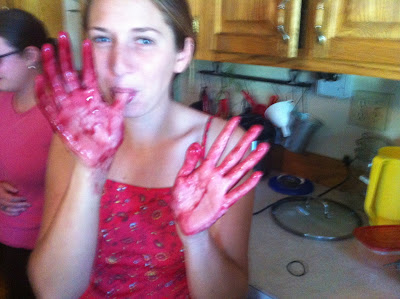
3)   Wash berries and place them into mesh bags and place in primary fermenter. Mash      
      berries.
4)   Pour boiled sugar water over berries in primary (this will set the color). Add 1 gallon
      of cool/cold water. Add tannin, acid blend, and yeast nutrient.
5)   When temperature of liquid has cooled, add the pectic enzyme and check and 
      record of the S.G.
6)   24 hours later, add yeast
7)   Stir daily
8)   When S.G. is about 1.030 (about 1 week), remove the berries and rack to 
      secondary after about 4 weeks, S.G. should be at 1.000 (this means that the 
      fermentation is complete). Rack again. Add clearing agent.
9)   Check clarity in about 1 month. If not clear at this point, wait another 2 weeks and
      re-check.
10)  When must is ready to bottle, add stabilizer
11)  If sweetening is needed, boil 4 - 12 oz. sugar in water and add
12)  Bottle!

NOTE: the longer the wine "ages," the better it will taste. Since this wine has no preservatives added, it should be consumed within one year.

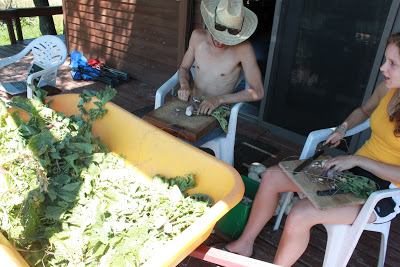
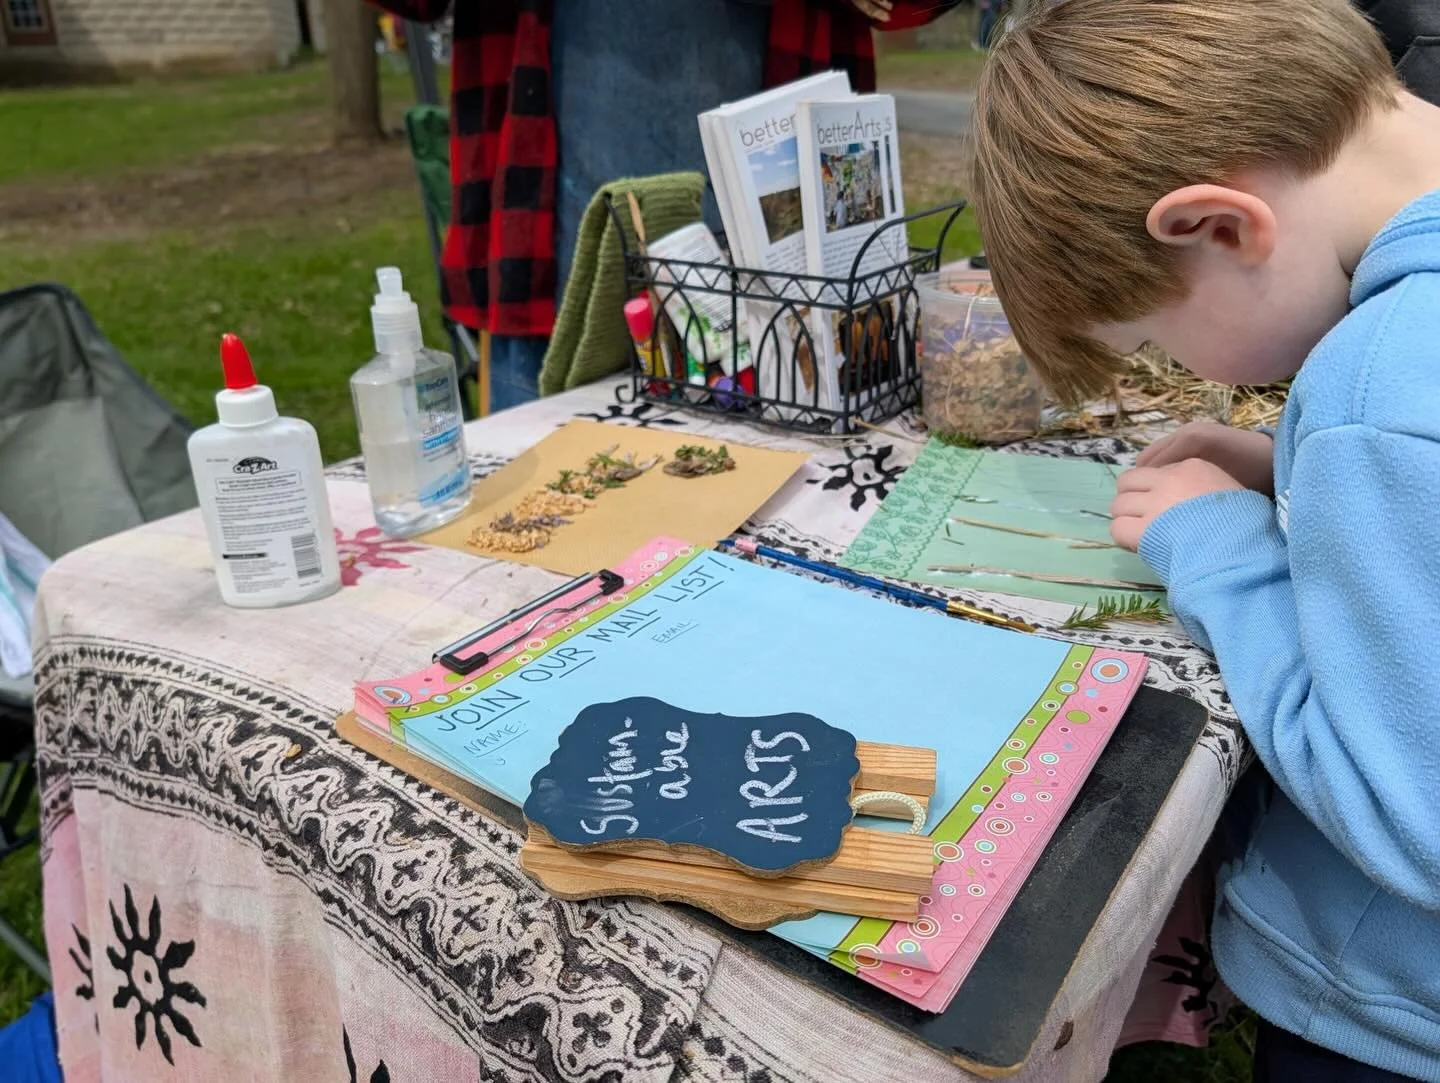
What was really special about this wine-making workshop was that residents at Better Farm were able to go out and pick local wild blueberries growing a town over in Plessis! It was a very sustainable and educational experience that provided a unique way to utilize local agriculture.

Aquaponics Harvest

Intern Jackson Pittman harvests basil, center, dill, top right and left, and lettuce, bottom right, from the aquaponics tank.
Temperatures outside may be dropping, but we're enjoying permanent summer inside Better Farm's aquaponics setup.

With our grow light going strong 12 hours a day, and rotating our bumper crop of lettuces and herbs, we've got daily pickings of fresh dill, basil, and a variety of salad greens. On average, we're saving $10 each week in organic lettuce, a myriad of sprouts (clover, alfalfa, brassica blend, sunflower, and more), fresh basil, dill, and oregano, and more. With our total cost of setup (grow light, tank, filters, gravel, fish, and fish food) topping out around $400, that means we're still about 20 weeks out from breaking even—and after that, it's basically like having $10 extra in our Better Farm pocket each week. As far as investments go, we consider that a great return. Our grow light uses a high-efficiency fluorescent bulb, costing us just a few dollars each month.

Money aside, nothing compares to fresh greens year-round. Check out that bounty:

Comment

Nicole Caldwell

Nicole Caldwell is a self-taught environmentalist, green-living savant and sustainability educator with more than a decade of professional writing experience. She is also the co-founder of Better Farm and president of betterArts. Nicole’s work has been featured in Mother Earth News, Reader’s Digest, Time Out New York, and many other publications. Her first book, Better: The Everyday Art of Sustainable Living, is due out this July through New Society Publishers.

Iron Chef: Zucchini

Clockwise from top: Zucchini stuffed with lentil-walnut pate (vegan cheese topper); string beans in vegan cream of mushroom glaze, cucumber-zucchini-corn salad, boca slider, and zucchini-mushroom-olive-jalapeno pizza.
We've canned, frozen, pickled, sold, and eaten fresh hundreds of pounds of food this summer already; but to celebrate our recent abundant harvest of zucchini and other fresh veggies (aquaponic lettuce, anyone?!) we decided to host an "Iron Chef" cookoff Friday at Better Farm.

With zucchini as the secret ingredient, we tasked contestants with coming up with dishes featuring the flavorful vegetable. Here's what they brought to the table:

The Menu
  • Zucchini-Cucumber Salad with Lemon Juice and Corn (Holly Boname)
  • Zucchini Stuffed with Lentil-Walnut Pate (Nicole Caldwell)
  • Sliders featuring Locally Sourced Beef (or Boca burger), Aquaponic Lettuce, Tomatoes, Cucumber, and Zucchini Slices (Nicole Caldwell)
  • Homegrown String Beans in Vegan Cream of Mushroom Glaze (Matt Smith)
  • Zucchini, Jalapeno, Mushroom, and Olive Pizza (Nick Bellman)
Every ingredient came directly out of Better Farm's gardens (exceptions: lemon juice, lentils, walnuts, mushrooms, soy milk, homemade pizza dough, cheese and olives). Here's the spread:


It was too tricky to pick a winner, so we just ate until we couldn't take another bite. Stay tuned for the next round!

For any of the above-listed recipes, e-mail us at info@betterfarm.org.
Comment

Nicole Caldwell

Nicole Caldwell is a self-taught environmentalist, green-living savant and sustainability educator with more than a decade of professional writing experience. She is also the co-founder of Better Farm and president of betterArts. Nicole’s work has been featured in Mother Earth News, Reader’s Digest, Time Out New York, and many other publications. Her first book, Better: The Everyday Art of Sustainable Living, is due out this July through New Society Publishers.

Garlic Harvest

Our 2012 garlic harvest.
Organic garlic can run you up to $2.49/head in the grocery store—or you can grow your own, and get up to 10 heads for $2.49. And then, when your garlic is ready to pick, you can save the hardiest heads and replant those in the fall... meaning that for less than $3, you can supply your family with garlic for years. For a larger, Better Farm-size family, it will take more than that. But we're still saving hundreds of dollars over the course of the next several years by planting and growing our own.

Here's everything you need to know for harvesting your own garlic (click here to learn about planting).


When to Harvest
  •  Dig up the garlic bulbs once the leaves begin to dry and fall over, usually in late July or early August. 
  • Dig carefully around each bulb to loosen the soil, then pull up the bulb by the leaves.
  • Inspect the flower stems for bulbil formation on hardneck garlic once they form in summer. Bulbils resemble small bulbs packed tightly together at the top of the stalk. They are covered in a papery fiber. Cut off the garlic stalk with a sharp knife once it falls over. Remove the entire stalk, cutting it off at the soil level.
  • Separate out the largest, healthiest-looking cloves for use as seed stock. Larger cloves generally produce larger garlic bulbs when planted.
  • Hang the heads by their leaves in a warm, dry place for two weeks. Brush or shake off any remaining soil once the bulbs are dried.
How to Store
  • Brush off any soil clinging to the bulbs. Leave the stalks and roots on the bulbs, while they dry.
  • Allow the bulbs to cure, or dry, for three to four weeks in either a well-ventilated room or a dry, shady spot outside. Sunlight can change the flavor of fresh garlic.
  • Once the tops and roots have dried they can be cut off.
  • You can also further clean the bulbs by removing the outer skins. Just be careful not to expose any of the cloves.
How to Plant
Separate the cloves and plant each one individually. Use the larger outer cloves for planting and use the smaller inner cloves for cooking.
Comment

Nicole Caldwell

Nicole Caldwell is a self-taught environmentalist, green-living savant and sustainability educator with more than a decade of professional writing experience. She is also the co-founder of Better Farm and president of betterArts. Nicole’s work has been featured in Mother Earth News, Reader’s Digest, Time Out New York, and many other publications. Her first book, Better: The Everyday Art of Sustainable Living, is due out this July through New Society Publishers.

Turnips!

Noah Bogdonoff and Amanda Treco tackle our turnip crop.
By Amanda Treco
With turnip harvesting season upon us, we found ourselves with a wheelbarrow full of turnips and no idea what to do with them. We decided to freeze most of the turnip yield for later use because turnips tend not to last well after harvesting. Here's how we did it:


The first step in preparing the turnips is to cut off the turnip greens. These can be used in cooking and are similarly flavored to mustard greens. Smaller leaves are preferable for eating since the larger leaves have a bitter taste. This taste can be lessened by pouring off the water from initial boiling and replacing it with fresh, cold water. The turnip roots themselves are tasty raw and can also be cooked in a wide variety of recipes ranging from sweet to savory. After peeling and cutting the turnips into cubes, we prepared the turnips for freezing by blanching them in hot water for two minutes, and then transferring them into ice cold water in order to stop the cooking process. This step is crucial because it helps the turnips retain their nutrients.

We ended up with six airtight containers to be frozen. After doing some research, root vegetables seem to best for up to a year after freezing. Hopefully this plentiful bounty of turnips will be put to use in tasty and nutritious recipes this coming winter.